Epson PictureMate User's Guide - Page 42
Selecting the Photos You Want to Print, twice. The Main
 |
UPC - 010343849952
View all Epson PictureMate manuals
Add to My Manuals
Save this manual to your list of manuals |
Page 42 highlights
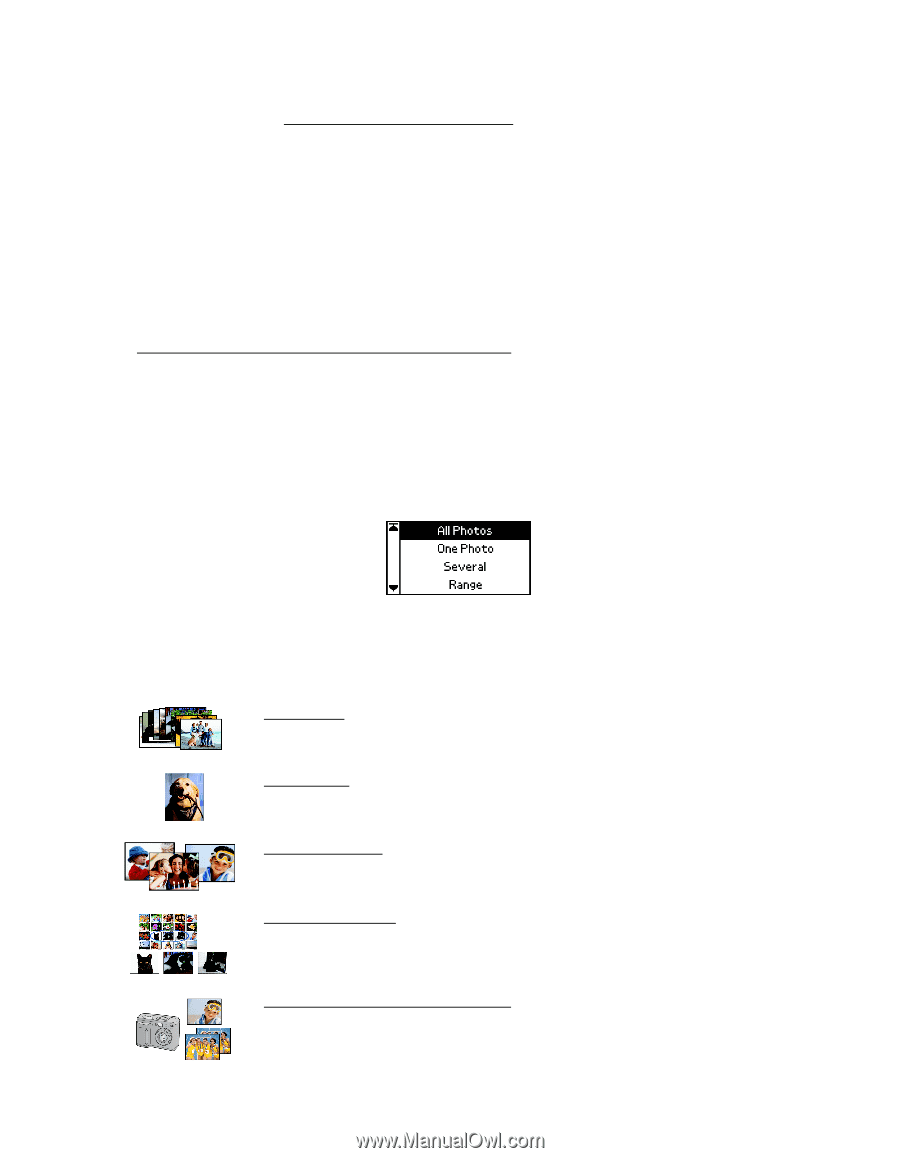
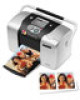
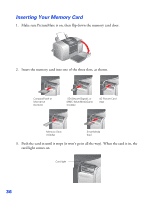
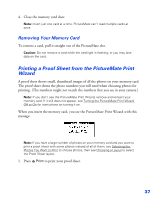
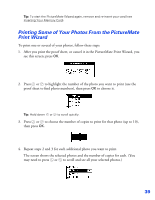
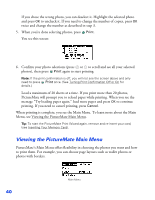
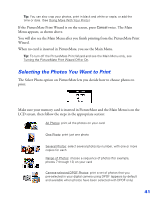
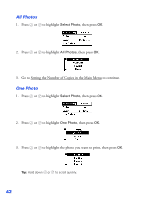
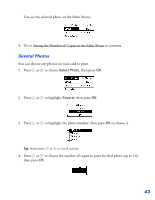
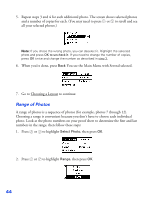
Tip: You can also crop your photos, print in black and white or sepia, or add the time or date. (See Doing More With Your Prints.) If the PictureMate Print Wizard is on the screen, press Cancel twice. The Main Menu appears, as shown above. You will also see the Main Menu after you finish printing from the PictureMate Print Wizard. When no card is inserted in PictureMate, you see the Main Menu. Tip: To turn off the PictureMate Print Wizard and see the Main Menu only, see Turning the PictureMate Print Wizard Off or On. Selecting the Photos You Want to Print The Select Photo option on PictureMate lets you decide how to choose photos to print: Make sure your memory card is inserted in PictureMate and the Main Menu is on the LCD screen, then follow the steps in the appropriate section: All Photos: print all the photos on your card One Photo: print just one photo Several Photos: select several photos by number, with one or more copies for each Range of Photos: choose a sequence of photos (for example, photos 7 through 12) on your card Camera-selected DPOF Photos: print a set of photos that you pre-selected in your digital camera using DPOF (appears by default and available when photos have been selected with DPOF only) 41
-
 1
1 -
2
-
3
-
4
-
5
-
6
-
7
-
8
-
9
-
10
-
11
-
12
-
13
-
14
-
15
-
16
-
17
-
18
-
19
-
20
-
21
-
22
-
23
-
24
-
25
-
26
-
27
-
28
-
29
-
30
-
31
-
32
-
33
-
34
-
35
-
36
-
 37
37 -
 38
38 -
 39
39 -
 40
40 -
 41
41 -
 42
42 -
 43
43 -
 44
44 -
 45
45 -
 46
46 -
 47
47 -
48
-
49
-
50
-
51
-
52
-
53
-
54
-
55
-
56
-
57
-
58
-
59
-
60
-
61
-
62
-
63
-
64
-
65
-
66
-
67
-
68
-
69
-
70
-
71
-
72
-
73
-
74
-
75
-
76
-
77
-
78
-
79
-
80
-
81
-
82
-
83
-
84
-
85
-
86
-
87
-
88
-
89
-
90
-
91
-
92
-
93
-
94
-
95
-
96
-
97
-
98
-
99
-
100
-
101
-
102
-
103
-
104
-
105
-
106
-
107
-
108
-
109
-
110
-
111
-
112
-
113
-
114
-
115
-
116
-
117
-
118
-
119
-
120
-
121
-
122
-
123
-
124
-
125
-
126
 |
 |