Epson PictureMate User's Guide - Page 45
Range of Photos, Go to Choosing a Layout
 |
UPC - 010343849952
View all Epson PictureMate manuals
Add to My Manuals
Save this manual to your list of manuals |
Page 45 highlights
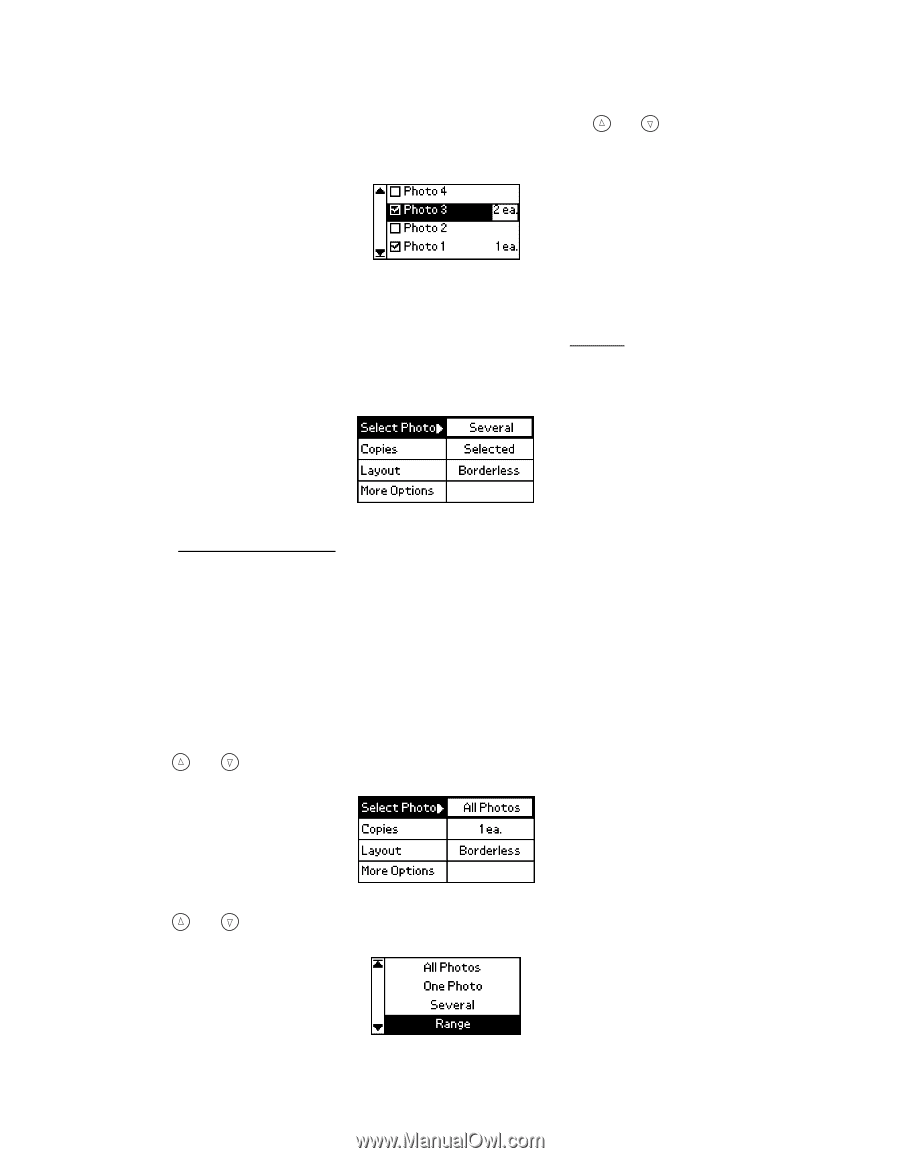
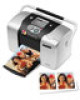
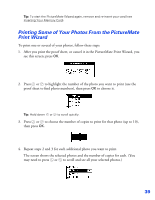
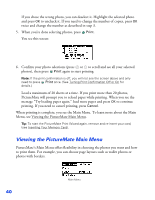
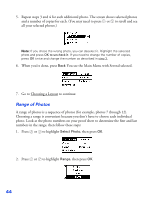
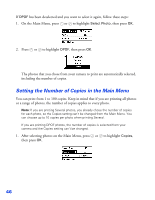
5. Repeat steps 3 and 4 for each additional photo. The screen shows selected photos and a number of copies for each. (You may need to press or to scroll and see all your selected photos.) Note: If you chose the wrong photo, you can deselect it. Highlight the selected photo and press OK to uncheck it. If you need to change the number of copies, press OK twice and change the number as described in step 3. 6. When you're done, press Back. You see the Main Menu with Several selected. 7. Go to Choosing a Layout to continue. Range of Photos A range of photos is a sequence of photos (for example, photos 7 through 12). Choosing a range is convenient because you don't have to choose each individual photo. Look at the photo numbers on your proof sheet to determine the first and last numbers in the range, then follow these steps: 1. Press or to highlight Select Photo, then press OK. 2. Press or to highlight Range, then press OK. 44
-
 1
1 -
2
-
3
-
4
-
5
-
6
-
7
-
8
-
9
-
10
-
11
-
12
-
13
-
14
-
15
-
16
-
17
-
18
-
19
-
20
-
21
-
22
-
23
-
24
-
25
-
26
-
27
-
28
-
29
-
30
-
31
-
32
-
33
-
34
-
35
-
36
-
37
-
38
-
39
-
 40
40 -
 41
41 -
 42
42 -
 43
43 -
 44
44 -
 45
45 -
 46
46 -
 47
47 -
 48
48 -
 49
49 -
 50
50 -
51
-
52
-
53
-
54
-
55
-
56
-
57
-
58
-
59
-
60
-
61
-
62
-
63
-
64
-
65
-
66
-
67
-
68
-
69
-
70
-
71
-
72
-
73
-
74
-
75
-
76
-
77
-
78
-
79
-
80
-
81
-
82
-
83
-
84
-
85
-
86
-
87
-
88
-
89
-
90
-
91
-
92
-
93
-
94
-
95
-
96
-
97
-
98
-
99
-
100
-
101
-
102
-
103
-
104
-
105
-
106
-
107
-
108
-
109
-
110
-
111
-
112
-
113
-
114
-
115
-
116
-
117
-
118
-
119
-
120
-
121
-
122
-
123
-
124
-
125
-
126
 |
 |