Epson PictureMate User's Guide - Page 52
Automatically Fixing Photo Appearance
 |
UPC - 010343849952
View all Epson PictureMate manuals
Add to My Manuals
Save this manual to your list of manuals |
Page 52 highlights
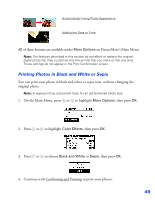
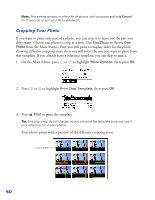
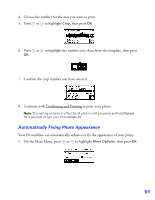
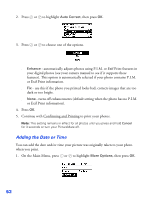
4. Choose the number for the area you want to print. 5. Press or to highlight Crop, then press OK. 6. Press or to highlight the number you chose from the template, then press OK. 7. Confirm the crop number you have selected. 8. Continue with Confirming and Printing to print your photo. Note: This setting remains in effect for all photos until you press and hold Cancel for 3 seconds or turn your PictureMate off. Automatically Fixing Photo Appearance Your PictureMate can automatically enhance or fix the appearance of your prints. 1. On the Main Menu, press or to highlight More Options, then press OK. 51
-
 1
1 -
2
-
3
-
4
-
5
-
6
-
7
-
8
-
9
-
10
-
11
-
12
-
13
-
14
-
15
-
16
-
17
-
18
-
19
-
20
-
21
-
22
-
23
-
24
-
25
-
26
-
27
-
28
-
29
-
30
-
31
-
32
-
33
-
34
-
35
-
36
-
37
-
38
-
39
-
40
-
41
-
42
-
43
-
44
-
45
-
46
-
 47
47 -
 48
48 -
 49
49 -
 50
50 -
 51
51 -
 52
52 -
 53
53 -
 54
54 -
 55
55 -
 56
56 -
 57
57 -
58
-
59
-
60
-
61
-
62
-
63
-
64
-
65
-
66
-
67
-
68
-
69
-
70
-
71
-
72
-
73
-
74
-
75
-
76
-
77
-
78
-
79
-
80
-
81
-
82
-
83
-
84
-
85
-
86
-
87
-
88
-
89
-
90
-
91
-
92
-
93
-
94
-
95
-
96
-
97
-
98
-
99
-
100
-
101
-
102
-
103
-
104
-
105
-
106
-
107
-
108
-
109
-
110
-
111
-
112
-
113
-
114
-
115
-
116
-
117
-
118
-
119
-
120
-
121
-
122
-
123
-
124
-
125
-
126
 |
 |
51
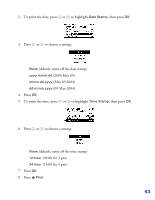
4.
Choose the number for the area you want to print.
5.
Press
or
to highlight
Crop
, then press
OK
.
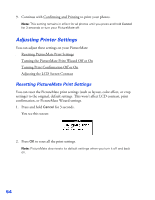
6.
Press
or
to highlight the number you chose from the template, then press
OK
.
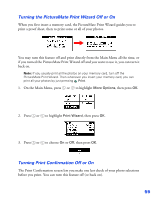
7.
Confirm the crop number you have selected.
8.
Continue with Confirming and Printing
to print your photo.
Note:
This setting remains in effect for all photos until you press and hold
Cancel
for 3 seconds or turn your PictureMate off.
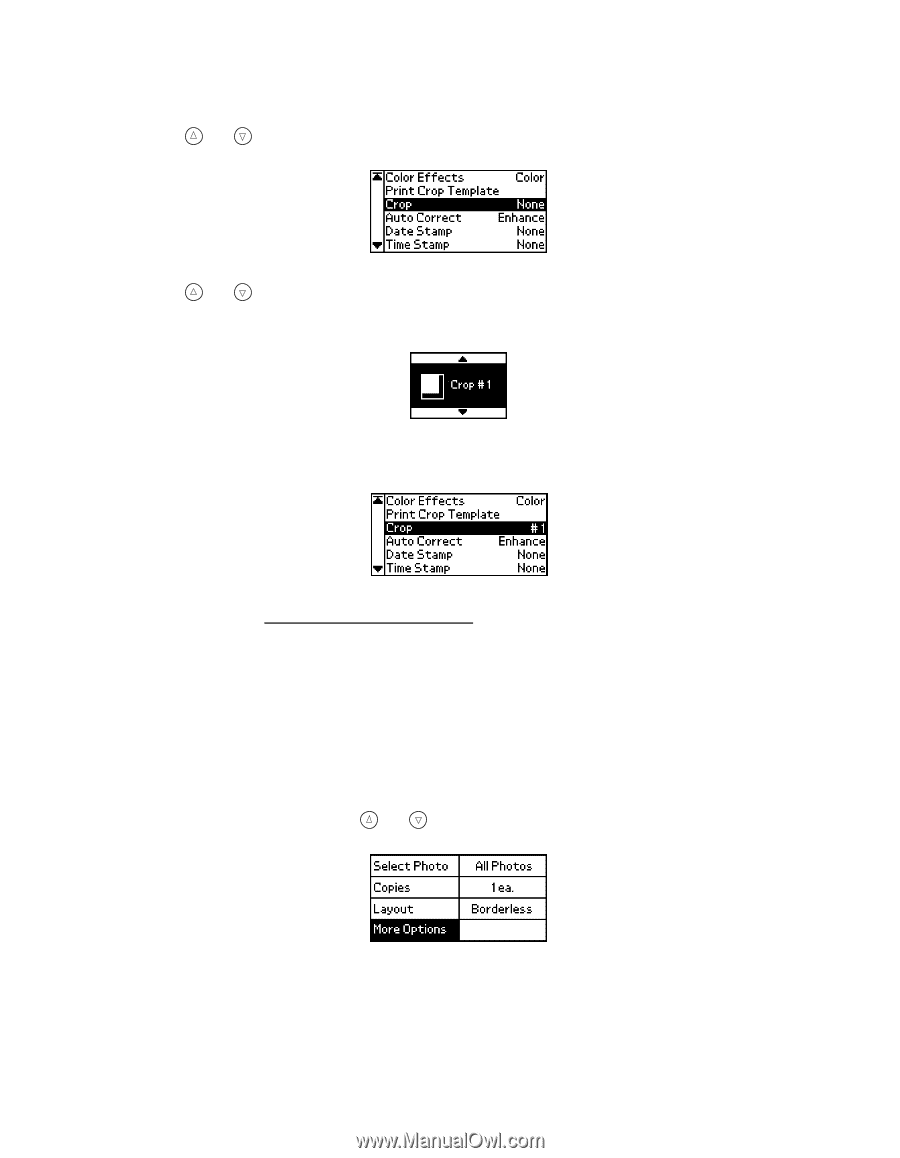
Automatically Fixing Photo Appearance
Your PictureMate can automatically enhance or fix the appearance of your prints.
1.
On the Main Menu, press
or
to highlight
More Options
, then press
OK
.