HP Integrity rx2800 Installation Guide - Page 30
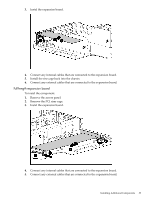
Access panel, To replace the component, reverse the removal procedure.
 |
View all HP Integrity rx2800 manuals
Add to My Manuals
Save this manual to your list of manuals |
Page 30 highlights
2. Install the power supply. Figure 2-5 Installing the power supply Access panel To remove the component: 1. Use the T-15 Torx screwdriver attached to the rear of the server to loosen the security screw on the hood latch. 2. Lift up on the hood latch handle, and then remove the access panel. Figure 2-6 Removing the access panel To replace the component, reverse the removal procedure. 30 Installing the server
-
 1
1 -
2
-
3
-
4
-
5
-
6
-
7
-
8
-
9
-
10
-
11
-
12
-
13
-
14
-
15
-
16
-
17
-
18
-
19
-
20
-
21
-
22
-
23
-
24
-
 25
25 -
 26
26 -
 27
27 -
 28
28 -
 29
29 -
 30
30 -
 31
31 -
 32
32 -
 33
33 -
 34
34 -
 35
35 -
36
-
37
-
38
-
39
-
40
-
41
-
42
-
43
-
44
-
45
-
46
-
47
-
48
-
49
-
50
-
51
-
52
-
53
-
54
-
55
-
56
-
57
-
58
-
59
-
60
-
61
-
62
-
63
-
64
-
65
-
66
-
67
-
68
-
69
 |
 |
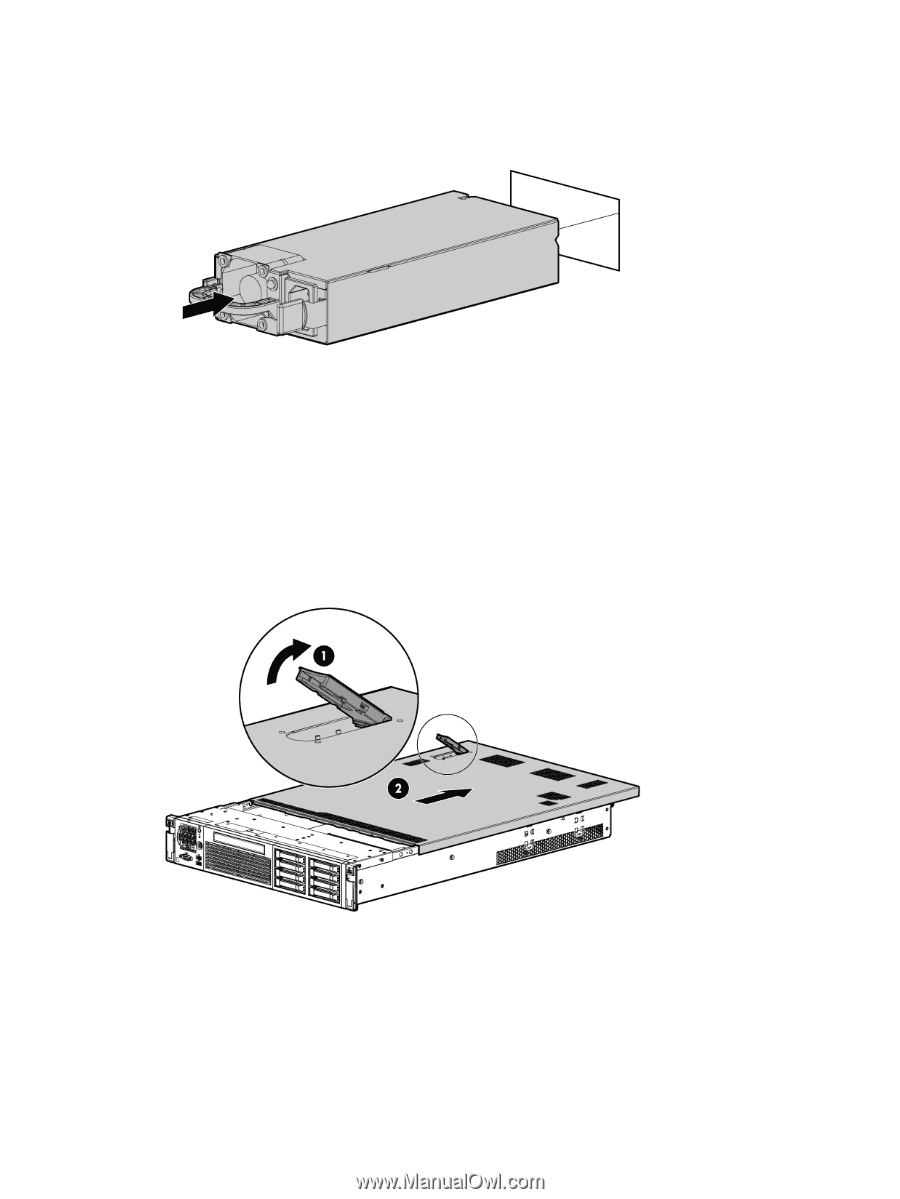
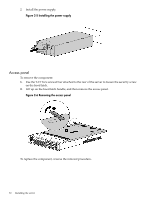
2.
Install the power supply.
Figure 2-5 Installing the power supply
Access panel
To remove the component:
1.
Use the T-15 Torx screwdriver attached to the rear of the server to loosen the security screw
on the hood latch.
2.
Lift up on the hood latch handle, and then remove the access panel.
Figure 2-6 Removing the access panel
To replace the component, reverse the removal procedure.
30
Installing the server