HP Scanjet 7450c HP Scanjet 7400C Series Scanner Mac - (English) User Manual - Page 47
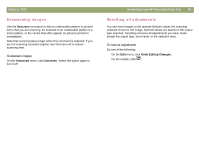
Changing the black-and-white threshold
 |
View all HP Scanjet 7450c manuals
Add to My Manuals
Save this manual to your list of manuals |
Page 47 highlights
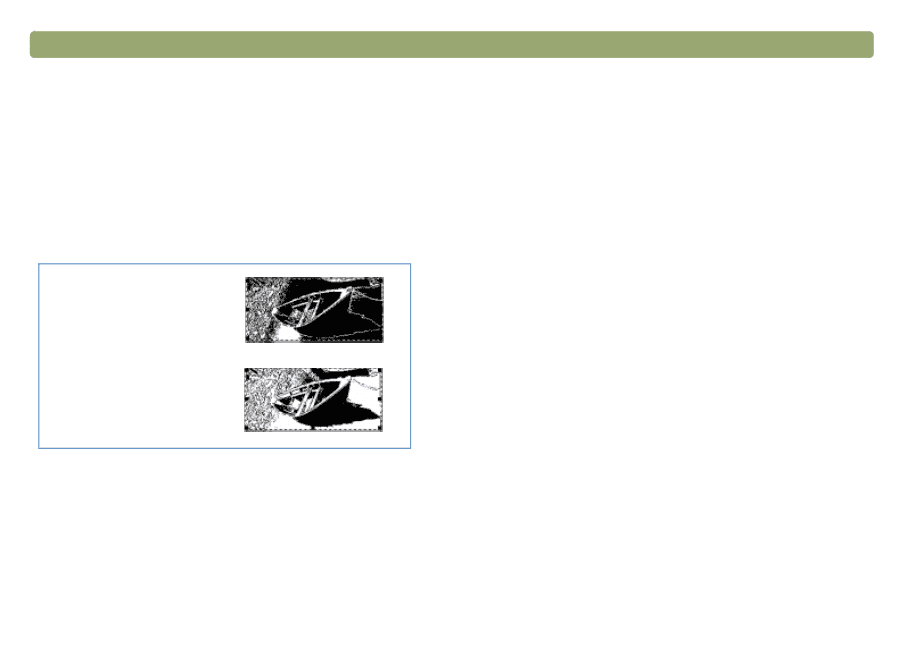
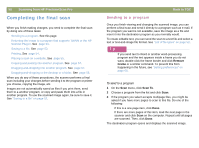
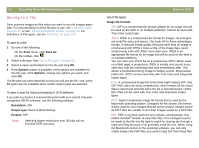
Back to TOC Changing the black-and-white threshold Changing black-and-white threshold only applies to images using the Black & White Bitmap output type. The threshold is a value in the image that represents the border between black and white. All values in the image that are lighter than the threshold appear as white, and all values darker appear as black. The image has a default threshold value. Choosing a number closer to zero makes more values appear as white. Choosing a higher number makes more values appear as black. Threshold at 127 (the default for this image) Threshold at 45 Scanning from HP PrecisionScan Pro 47 To change black-and-white threshold 1 Make sure that Black & White Bitmap is selected on the Output Type menu. The selection should have a dot beside it. 2 On the Advanced menu, click Adjust Black & White Threshold. 3 Do one of the following: q Drag the slider. q Type a new value in the field and press ENTER. q Click the Up or Down arrow next to the field. 4 If necessary, sharpen the image. This can be especially useful if the original was a color or black-and-white photograph. See "Sharpening an image" on page 38. To reset black-and-white threshold 1 On the Advanced menu, click Adjust Black & White Threshold. 2 Click Auto.
-
 1
1 -
2
-
3
-
4
-
5
-
6
-
7
-
8
-
9
-
10
-
11
-
12
-
13
-
14
-
15
-
16
-
17
-
18
-
19
-
20
-
21
-
22
-
23
-
24
-
25
-
26
-
27
-
28
-
29
-
30
-
31
-
32
-
33
-
34
-
35
-
36
-
37
-
38
-
39
-
40
-
41
-
 42
42 -
 43
43 -
 44
44 -
 45
45 -
 46
46 -
 47
47 -
 48
48 -
 49
49 -
 50
50 -
 51
51 -
 52
52 -
53
-
54
-
55
-
56
-
57
-
58
-
59
-
60
-
61
-
62
-
63
-
64
-
65
-
66
-
67
-
68
-
69
-
70
-
71
-
72
-
73
-
74
-
75
-
76
-
77
-
78
-
79
-
80
-
81
-
82
-
83
-
84
-
85
-
86
-
87
-
88
-
89
-
90
-
91
-
92
-
93
-
94
-
95
-
96
-
97
-
98
-
99
-
100
-
101
-
102
-
103
-
104
-
105
-
106
-
107
-
108
-
109
-
110
-
111
-
112
-
113
-
114
-
115
-
116
-
117
-
118
-
119
-
120
-
121
-
122
-
123
-
124
-
125
-
126
-
127
-
128
-
129
-
130
-
131
-
132
 |
 |