HP Visualize b180L hp Visualize workstation b132L, b132L plus, b160L, b180L se - Page 148
Removing EISA, GSC, and PCI Option Boards, Removing an EISA, GSC, or PCI Option Board
 |
View all HP Visualize b180L manuals
Add to My Manuals
Save this manual to your list of manuals |
Page 148 highlights
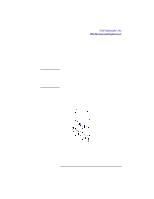
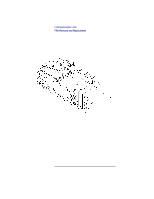
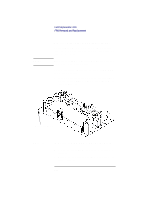
NOTE: Field Replaceable Units FRU Removal and Replacement Removing EISA, GSC, and PCI Option Boards Before removing EISA, GSC, or PCI option boards from the system unit, remove the Main Tray Assembly from the system unit. Slot 1 supports GSC or PCI option boards; slot 2 supports EISA, GSC, or PCI option boards. Perform the following steps to remove an EISA, GSC, or PCI option board: 1 Push in the locking tab and slide the option board support bracket toward the rear of the main tray to remove it, as shown in Figure 38. Retaining Screw Figure 38 Removing an EISA, GSC, or PCI Option Board 2 Remove the option board retaining screw, as shown in Figure 38. 3 Grasp the option board by the edge with both hands and pull it straight out. 126
-
 1
1 -
2
-
3
-
4
-
5
-
6
-
7
-
8
-
9
-
10
-
11
-
12
-
13
-
14
-
15
-
16
-
17
-
18
-
19
-
20
-
21
-
22
-
23
-
24
-
25
-
26
-
27
-
28
-
29
-
30
-
31
-
32
-
33
-
34
-
35
-
36
-
37
-
38
-
39
-
40
-
41
-
42
-
43
-
44
-
45
-
46
-
47
-
48
-
49
-
50
-
51
-
52
-
53
-
54
-
55
-
56
-
57
-
58
-
59
-
60
-
61
-
62
-
63
-
64
-
65
-
66
-
67
-
68
-
69
-
70
-
71
-
72
-
73
-
74
-
75
-
76
-
77
-
78
-
79
-
80
-
81
-
82
-
83
-
84
-
85
-
86
-
87
-
88
-
89
-
90
-
91
-
92
-
93
-
94
-
95
-
96
-
97
-
98
-
99
-
100
-
101
-
102
-
103
-
104
-
105
-
106
-
107
-
108
-
109
-
110
-
111
-
112
-
113
-
114
-
115
-
116
-
117
-
118
-
119
-
120
-
121
-
122
-
123
-
124
-
125
-
126
-
127
-
128
-
129
-
130
-
131
-
132
-
133
-
134
-
135
-
136
-
137
-
138
-
139
-
140
-
141
-
142
-
 143
143 -
 144
144 -
 145
145 -
 146
146 -
 147
147 -
 148
148 -
 149
149 -
 150
150 -
 151
151 -
 152
152 -
 153
153 -
154
-
155
-
156
-
157
-
158
-
159
-
160
-
161
-
162
-
163
-
164
-
165
-
166
-
167
-
168
-
169
-
170
-
171
-
172
-
173
-
174
-
175
-
176
-
177
-
178
-
179
-
180
-
181
-
182
-
183
-
184
-
185
-
186
-
187
-
188
-
189
-
190
-
191
-
192
-
193
-
194
-
195
-
196
-
197
-
198
-
199
-
200
-
201
-
202
-
203
-
204
-
205
-
206
-
207
-
208
-
209
-
210
-
211
-
212
-
213
-
214
-
215
-
216
-
217
-
218
-
219
-
220
-
221
-
222
-
223
-
224
-
225
-
226
-
227
-
228
-
229
-
230
-
231
-
232
-
233
-
234
-
235
-
236
-
237
-
238
-
239
-
240
-
241
-
242
 |
 |
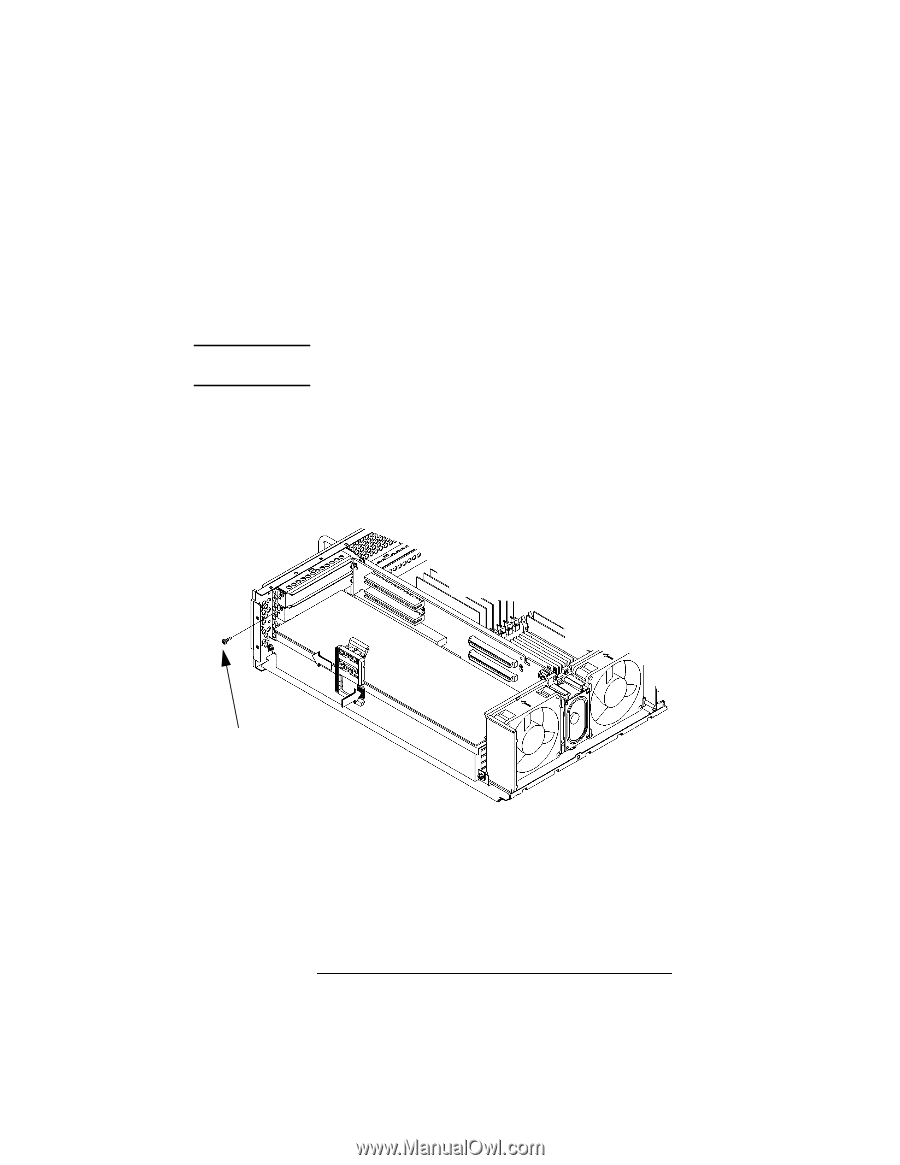
Field Replaceable Units
FRU Removal and Replacement
126
Removing EISA, GSC, and PCI Option Boards
Before removing EISA, GSC, or PCI option boards
from the system unit, remove the Main Tray Assembly
from the system unit.
NOTE:
Slot 1 supports GSC or PCI option boards; slot 2 supports
EISA, GSC, or PCI option boards.
Perform the following steps to remove an EISA, GSC,
or PCI option board:
1
Push in the locking tab and slide the option board support
bracket toward the rear of the main tray to remove it, as
shown in Figure 38.
Figure 38
Removing an EISA, GSC, or PCI Option Board
2
Remove the option board retaining screw, as shown in
Figure 38.
3
Grasp the option board by the edge with both hands and
pull it straight out.
Retaining Screw