Konica Minolta bizhub PRESS C7000/C7000P IC-307 User Guide - Page 62
Spot Color Editor overview, Editor, Tools, Resource Center, Resource, Calibrations., Separation
 |
View all Konica Minolta bizhub PRESS C7000/C7000P manuals
Add to My Manuals
Save this manual to your list of manuals |
Page 62 highlights
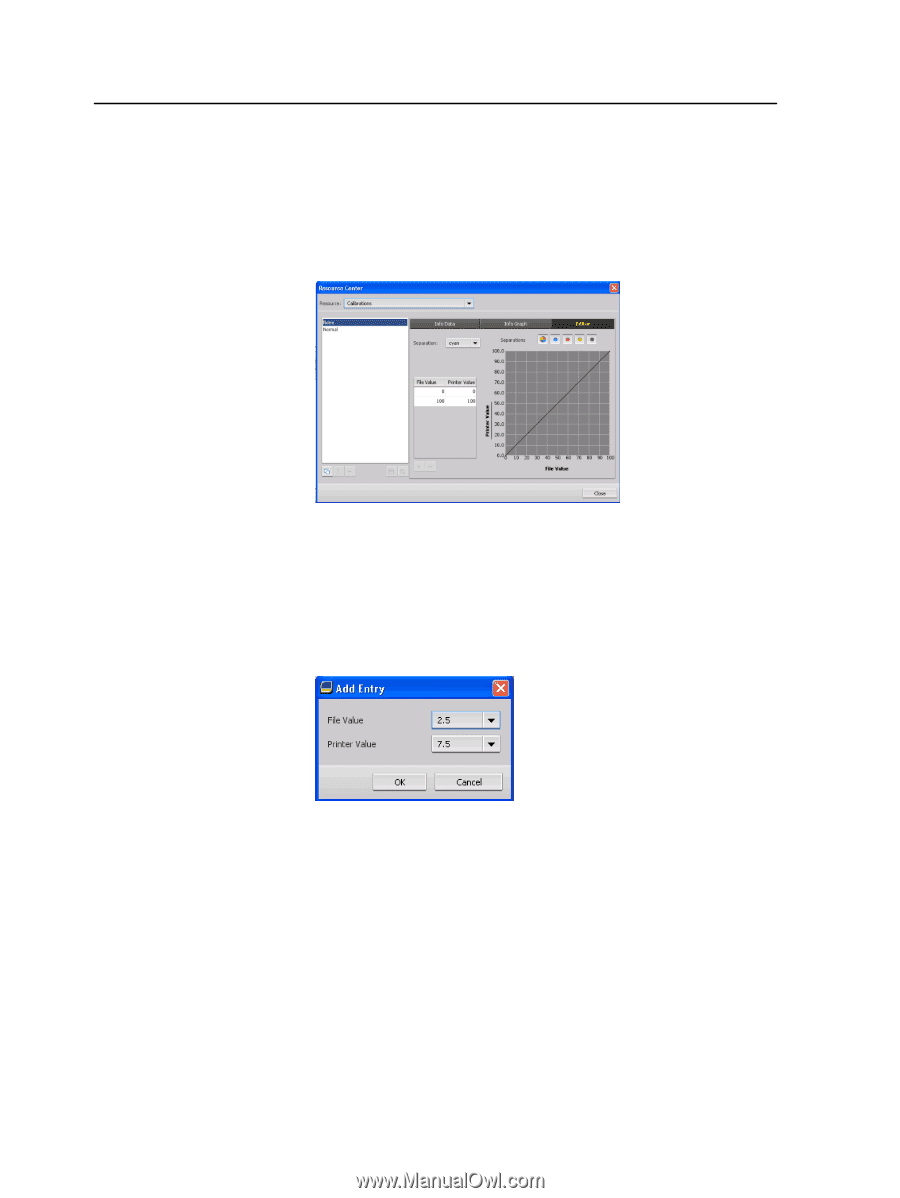
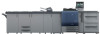
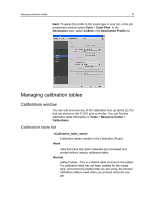
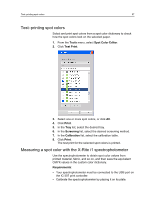
54 Chapter 7-Managing color the results, the Editor tab enables you to adjust the values of the image in the value table. 1. From the Tools menu, select Resource Center. 2. In the Resource list, select Calibrations. 3. Select the calibration table that you want to add an entry, and click the Editor tab. 4. From the Separation list, select the desired separation to that you want to add an entry. The file and printer values for the separation that you selected appear in the File Value and Printer Value lists. 5. Select a row in the value table, and click the Add button. 6. In the Add Entry window, from the File Value and Printer Value lists, select the desired values. 7. Click OK. The value table is updated, and the calibration graph is adjusted. 8. To save your changes, click the Save button. Spot Color Editor overview A spot color is a specially mixed ink that you can use to reproduce colors that are difficult to reproduce with CMYK inks. Individual job pages can contain RGB, CMYK, and spot color elements. The IC-307 print controller Spot Color Editor enables you to edit the values of every spot color in the spot color dictionary. The
-
 1
1 -
2
-
3
-
4
-
5
-
6
-
7
-
8
-
9
-
10
-
11
-
12
-
13
-
14
-
15
-
16
-
17
-
18
-
19
-
20
-
21
-
22
-
23
-
24
-
25
-
26
-
27
-
28
-
29
-
30
-
31
-
32
-
33
-
34
-
35
-
36
-
37
-
38
-
39
-
40
-
41
-
42
-
43
-
44
-
45
-
46
-
47
-
48
-
49
-
50
-
51
-
52
-
53
-
54
-
55
-
56
-
 57
57 -
 58
58 -
 59
59 -
 60
60 -
 61
61 -
 62
62 -
 63
63 -
 64
64 -
 65
65 -
 66
66 -
 67
67 -
68
-
69
-
70
-
71
-
72
-
73
-
74
-
75
-
76
-
77
-
78
-
79
-
80
-
81
-
82
-
83
-
84
-
85
-
86
-
87
-
88
-
89
-
90
-
91
-
92
-
93
-
94
-
95
-
96
-
97
-
98
-
99
-
100
-
101
-
102
-
103
-
104
-
105
-
106
-
107
-
108
-
109
-
110
-
111
-
112
-
113
-
114
-
115
-
116
-
117
-
118
-
119
-
120
-
121
-
122
-
123
-
124
-
125
-
126
-
127
-
128
-
129
-
130
-
131
-
132
-
133
-
134
-
135
-
136
-
137
-
138
-
139
-
140
-
141
-
142
-
143
-
144
-
145
-
146
-
147
-
148
-
149
-
150
-
151
-
152
-
153
-
154
-
155
-
156
-
157
-
158
-
159
-
160
-
161
-
162
-
163
-
164
-
165
-
166
-
167
-
168
-
169
-
170
-
171
-
172
-
173
-
174
-
175
-
176
-
177
-
178
-
179
-
180
-
181
-
182
-
183
-
184
-
185
-
186
-
187
-
188
-
189
-
190
-
191
-
192
-
193
-
194
-
195
-
196
 |
 |