Nokia N73 User Guide - Page 25
Record videos, Video capture indicators
 |
UPC - 758478011058
View all Nokia N73 manuals
Add to My Manuals
Save this manual to your list of manuals |
Page 25 highlights
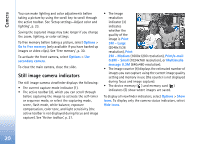
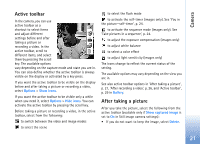
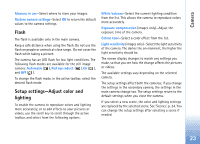
Camera Activate. The device beeps when the timer is running. The camera takes the picture after the selected delay elapses. To switch off Self timer, in the active toolbar, select Self timer > Off. You can also use the self-timer in the sequence mode. Tip! In the active toolbar, select Self timer > 2 seconds to keep your hand steady when taking a picture. Record videos 1 To activate the main camera, open the slide. If the camera is in the Image mode, select Switch to video mode from the active toolbar. 2 Press the capture key to start recording. In the portrait mode, use the scroll key for recording. The red record icon is shown and a tone sounds, indicating that recording has started. 3 Select Stop to stop recording. The video clip is automatically saved to the Images & video folder of Gallery. See 'Gallery', p. 28. The maximum length of the video is 60 minutes (if enough memory is available). To pause recording at any time, press Pause. The pause icon ( ) blinks on the display. Video recording automatically stops if recording is set to pause and there are no keypresses within a minute. Press the capture key again to resume recording. To zoom in or out of the subject, press the zoom key on the side of the device. To make lighting and color adjustments before recording a video, use the scroll key to scroll through the active toolbar. See 'Setup settings-Adjust color and lighting', p. 23 and 'Scenes', p. 24. To free memory before recording a video, select Options > Go to free memory (only available if you have backed up images or video clips). See 'Free memory', p. 30. To activate the front camera, select Options > Use secondary camera. Video capture indicators The video viewfinder displays the following: • The current capture mode indicator (1). • The video stabilization indicator (2) • The audio mute on indicator (3). • The active toolbar (4), which you can scroll through before recording to select the scene, white balance, and color tone (the toolbar is not displayed during recording). 25
-
 1
1 -
2
-
3
-
4
-
5
-
6
-
7
-
8
-
9
-
10
-
11
-
12
-
13
-
14
-
15
-
16
-
17
-
18
-
19
-
 20
20 -
 21
21 -
 22
22 -
 23
23 -
 24
24 -
 25
25 -
 26
26 -
 27
27 -
 28
28 -
 29
29 -
 30
30 -
31
-
32
-
33
-
34
-
35
-
36
-
37
-
38
-
39
-
40
-
41
-
42
-
43
-
44
-
45
-
46
-
47
-
48
-
49
-
50
-
51
-
52
-
53
-
54
-
55
-
56
-
57
-
58
-
59
-
60
-
61
-
62
-
63
-
64
-
65
-
66
-
67
-
68
-
69
-
70
-
71
-
72
-
73
-
74
-
75
-
76
-
77
-
78
-
79
-
80
-
81
-
82
-
83
-
84
-
85
-
86
-
87
-
88
-
89
-
90
-
91
-
92
-
93
-
94
-
95
-
96
-
97
-
98
-
99
-
100
-
101
-
102
-
103
-
104
-
105
-
106
-
107
-
108
-
109
-
110
-
111
-
112
-
113
-
114
-
115
-
116
-
117
-
118
-
119
-
120
-
121
-
122
-
123
-
124
-
125
-
126
-
127
-
128
-
129
-
130
-
131
-
132
-
133
-
134
-
135
-
136
-
137
-
138
-
139
-
140
 |
 |
