Samsung SHR-5162 User Manual - Page 24
menu setup - default password
 |
View all Samsung SHR-5162 manuals
Add to My Manuals
Save this manual to your list of manuals |
Page 24 highlights
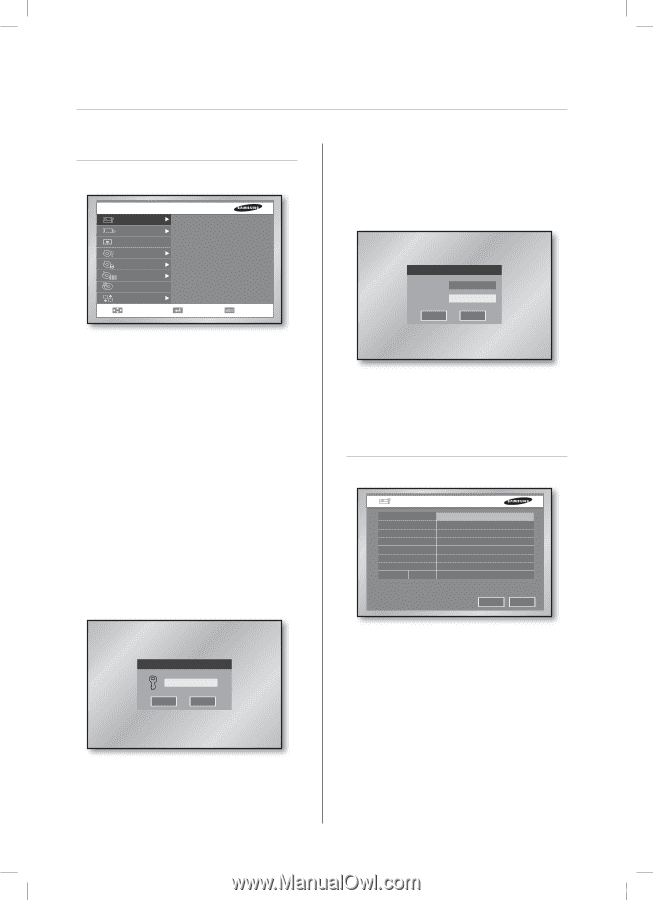
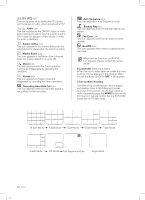
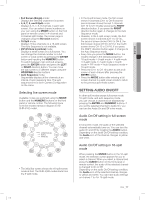
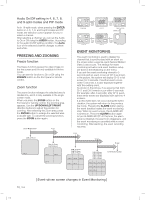
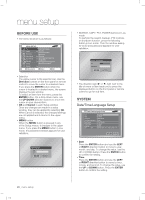
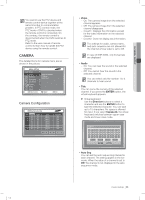
menu setup BEFORE USE The menu structure is as follows: MENU SETUP System Camera Monitoring Record Mode Event Record Schedule Backup Network Move/Control Date/Time/Language Password Load Factory Default System Log Event Log System Information and Setup Storage Setup Export/Import the Configuration Remote Control Device Select MENU Exit Selection The yellow cursor is the selection bar. Use the Direction buttons on the front panel or remote control to move the cursor to a desired menu. If you press the ENTER button when the cursor is located in a desired menu, the screen displays the sub window. To select an item from the menu, press the ENTER button. On a drop-down menu, use the UP/DOWN direction buttons to move the cursor on your desired item. OK and Cancel in each Setup window Once any changes are made in a setup window, they can be applied by selecting OK. When Cancel is selected, the changed settings are not applied and it returns to the upper menu. MENU button When the MENU button is pressed in any of the Setup menus, it changes to the upper menu. If you press the MENU button in Live mode, the password window appears for user validation. Admin Password OK Cancel SEARCH, COPY, PTZ, POWER buttons in Live mode To perform the search, backup, PTZ controls, or shutdown function, press the following button in Live mode. Then the window asking for an ID and password appears for user validation. Enter ID and Password ID Password Admin OK Cancel The direction sign (► or ▼) right next to the title of menu or item leads you to press the displayed button on the front panel or remote control to go for sub item. SYSTEM Date/Time/Language Setup Date/Time/Language Setup Date Time Time Zone Time Synchronization Date Format Time Format Language DST Off 2007-01-15 22:13:38 (GMT+08:00) Setup YYYY-MM-DD 24 Hours English Mar-last-Sun 01H ~ Oct-last-Sun 01H OK Cancel Date Press the ENTER button and use the LEFT or RIGHT direction button to move to year, month, and day. To change the value, use the UP or DOWN button. Press the ENTER button to confirm the setting. Time Press the ENTER button and use the LEFT or RIGHT direction button to move to hour, minute, and second. To change the value, use the UP or DOWN button. Press the ENTER button to confirm the setting. 20_ menu setup SHR-5162_Eng.indb 20 2007-06-18 11:48:08
-
 1
1 -
2
-
3
-
4
-
5
-
6
-
7
-
8
-
9
-
10
-
11
-
12
-
13
-
14
-
15
-
16
-
17
-
18
-
 19
19 -
 20
20 -
 21
21 -
 22
22 -
 23
23 -
 24
24 -
 25
25 -
 26
26 -
 27
27 -
 28
28 -
 29
29 -
30
-
31
-
32
-
33
-
34
-
35
-
36
-
37
-
38
-
39
-
40
-
41
-
42
-
43
-
44
-
45
-
46
-
47
-
48
-
49
-
50
-
51
-
52
-
53
-
54
-
55
-
56
-
57
-
58
-
59
-
60
-
61
-
62
-
63
-
64
-
65
-
66
-
67
-
68
-
69
-
70
-
71
-
72
-
73
-
74
-
75
-
76
-
77
-
78
-
79
-
80
-
81
-
82
-
83
-
84
-
85
-
86
-
87
-
88
-
89
-
90
-
91
-
92
-
93
 |
 |