Samsung SHR-5162 User Manual - Page 36
Site Setup > DVR Registration - web viewer
 |
View all Samsung SHR-5162 manuals
Add to My Manuals
Save this manual to your list of manuals |
Page 36 highlights
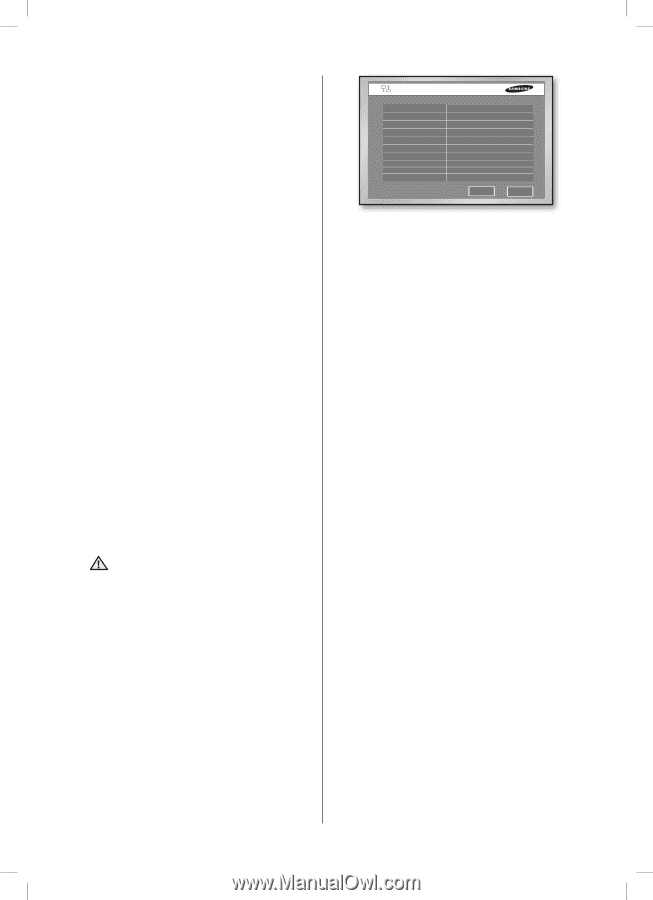
IP Set the IP address for the main body of the product for connecting to the network. If the connection mode is set to Static IP, type the IP address. If the connection mode is Dynamic IP or ADSL(PPPoE), the IP address allocated by the DHCP server or ADSL company automatically appears. In case of DHCP or ADSL connection failure, the value "000.000.000.000" is displayed. Then, press OK to retry connection for getting the IP address. If the connection failure continues, turn off the power for a while and reboot the system for retry. Gateway In case of Static IP, set the gateway address assigned. With Dynamic IP or ADSL, the address is automatically allocated. Subnet Mask Set the subnet mask address assigned. DNS Set the DNS address. The default value is "168.126.63.1." If you have hard time to connect to the network when you are using DHCP or ADSL, contact the network manager or ADSL company personnel to set up a new DNS address. ADSL User ID If the product is connected to the ADSL network, input the user ID subscribed to the ADSL company. You can input the user ID using the virtual keyboard up to 40 letters irrespective of alphabets, numbers, and symbols. Password If the product is connected to the ADSL network, input the user password subscribed to the ADSL company. You can input the password using the virtual keyboard up to 40 letters irrespective of alphabets, numbers, and symbols. In case of ADSL, the audio is not CAUTION played on Smart Viewer. Be sure to set the IP, port, Subnet mask, gateway, and DNS to make Smart Viewer connected to the product. Wrong settings may result in not being connected to the product. Please contact the network manager or ADSL company personnel to get the correct setting values. Transfer Protocol Settings You have to configure the data transfer protocol related settings to use network for transferring data. 32_ menu setup SHR-5162_Eng.indb 32 Transfer Protocol Settings Protocol Type Port(TCP) Port(UDP) Unicast/Multicast Multicast IP TTL DDNS Site Host Name User Name User Password UDP 554.555.556.557 8000-8159 Unicast 224.126.063.001 005 Off OK Cancel Protocol type. Select any of TCP and UDP. If you have selected ADSL in IP Setup, only TCP is available. In this case, audio transmission is not available. Port(TCP) Select a number ranging from 554 to 998 using the UP/DOWN direction buttons and the port number will change by 4. Once the first port number is determined, the following 3 numbers will change. Port(UDP) Select a number ranging from 8000 to 9760 using the UP/DOWN direction buttons and the port number will change by 160. Once the first number is determined, the following number will change. Unicast/Multicast Select any of Unicast and Multicast. Unicast is set by default. When you select Multicast, the multicast IP is activated and you can input the address ranging from 224.0.0.0 to 239.255.255.255 using the UP/DOWN direction buttons. TTL Enter a number ranging from 0 to 255. You can input it only when Multicast is selected. The default value is "5." DDNS Site Select a DDNS site. This DDNS setup is necessary to see the monitoring screens from the remote computer that is running Smart Viewer. Available values are Off, Samsung DDNS, dyndns.com, no-ip.com, and changeip. com. If you select Off, the IP will not be registered in DDNS. - If you select Samsung DDNS, register the TCP IP in DDNS that is operated by Samsung. To configure the DDNS-related settings in Smart Viewer, select Setup > Site Setup > DVR Registration and set the address type with MAC Address, and then register the MAC address that is displayed in the System Information and Setup menu. (or you can get the Ethernet address on the side label attached on the product.) - Using the free public DDNS web sites such as dyndns.com, no-ip.com, and changeip. com, you can acquire an URL by registering a dynamic IP. After this action completes, enter the host name, user name, and password in this window. 2007-06-18 11:48:32
-
 1
1 -
2
-
3
-
4
-
5
-
6
-
7
-
8
-
9
-
10
-
11
-
12
-
13
-
14
-
15
-
16
-
17
-
18
-
19
-
20
-
21
-
22
-
23
-
24
-
25
-
26
-
27
-
28
-
29
-
30
-
 31
31 -
 32
32 -
 33
33 -
 34
34 -
 35
35 -
 36
36 -
 37
37 -
 38
38 -
 39
39 -
 40
40 -
 41
41 -
42
-
43
-
44
-
45
-
46
-
47
-
48
-
49
-
50
-
51
-
52
-
53
-
54
-
55
-
56
-
57
-
58
-
59
-
60
-
61
-
62
-
63
-
64
-
65
-
66
-
67
-
68
-
69
-
70
-
71
-
72
-
73
-
74
-
75
-
76
-
77
-
78
-
79
-
80
-
81
-
82
-
83
-
84
-
85
-
86
-
87
-
88
-
89
-
90
-
91
-
92
-
93
 |
 |