Canon VIXIA HF M30 VIXIA HF M30 / HF M31 / HF M300 Instruction Manual - Page 124
Playback on a TV Screen
 |
View all Canon VIXIA HF M30 manuals
Add to My Manuals
Save this manual to your list of manuals |
Page 124 highlights
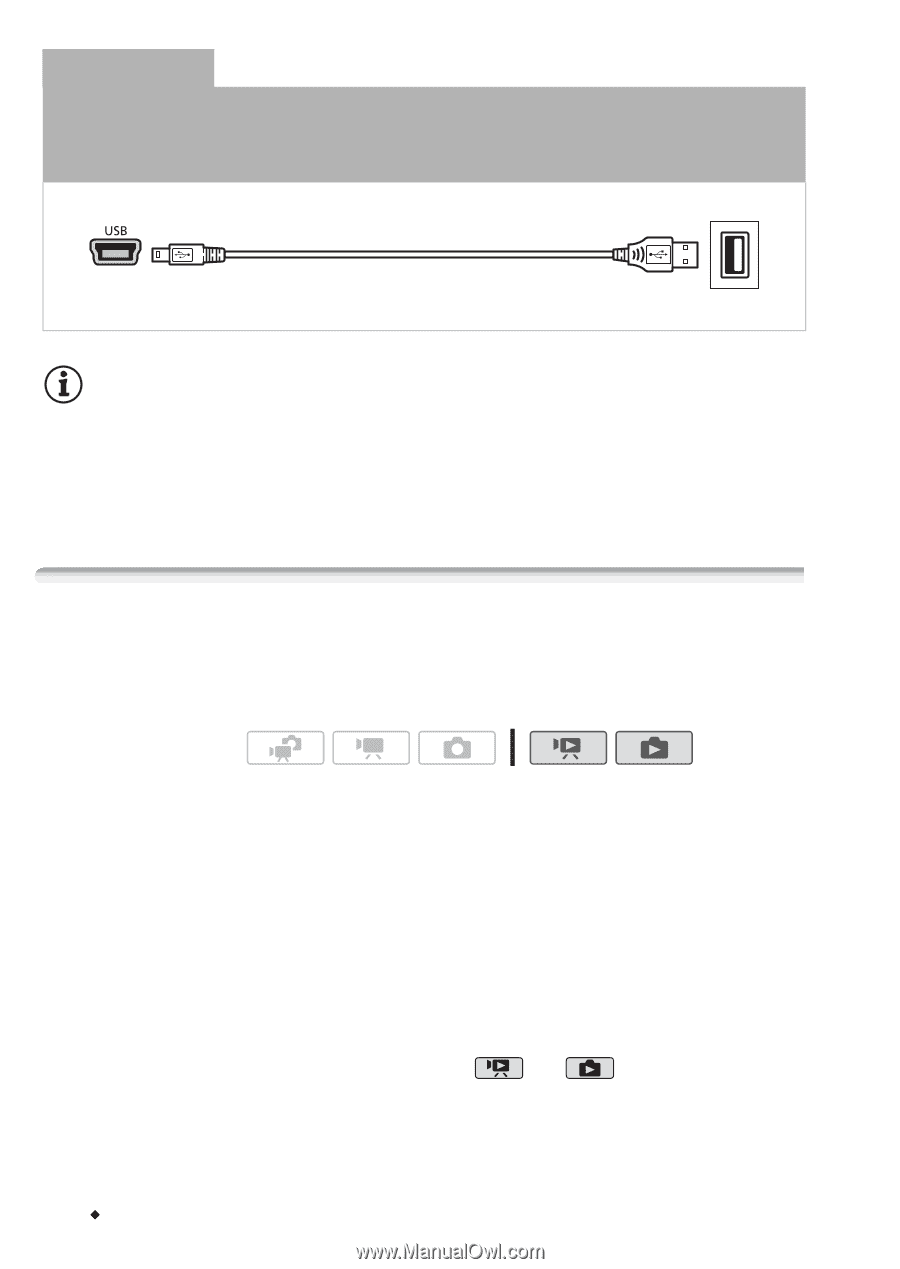
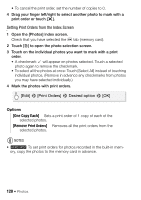
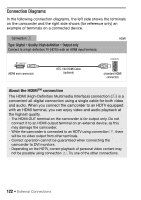
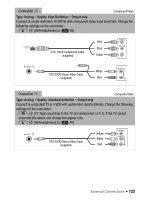
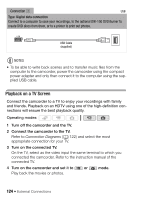
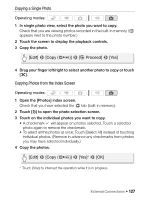
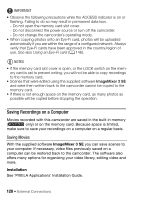
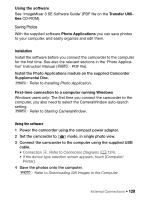
Connection D USB Type: Digital data connection Connect to a computer to save your recordings, to the optional DW-100 DVD Burner to create DVD discs from them, or to a printer to print out photos. USB Cable (supplied) NOTES • To be able to write back scenes and to transfer music files from the computer to the camcorder, power the camcorder using the compact power adapter and only then connect it to the computer using the supplied USB cable. Playback on a TV Screen Connect the camcorder to a TV to enjoy your recordings with family and friends. Playback on an HDTV using one of the high-definition connections will ensure the best playback quality. Operating modes: 1 Turn off the camcorder and the TV. 2 Connect the camcorder to the TV. Refer to Connection Diagrams (0 122) and select the most appropriate connection for your TV. 3 Turn on the connected TV. On the TV, select as the video input the same terminal to which you connected the camcorder. Refer to the instruction manual of the connected TV. 4 Turn on the camcorder and set it to or mode. Play back the movies or photos. 124 Š External Connections
-
 1
1 -
2
-
3
-
4
-
5
-
6
-
7
-
8
-
9
-
10
-
11
-
12
-
13
-
14
-
15
-
16
-
17
-
18
-
19
-
20
-
21
-
22
-
23
-
24
-
25
-
26
-
27
-
28
-
29
-
30
-
31
-
32
-
33
-
34
-
35
-
36
-
37
-
38
-
39
-
40
-
41
-
42
-
43
-
44
-
45
-
46
-
47
-
48
-
49
-
50
-
51
-
52
-
53
-
54
-
55
-
56
-
57
-
58
-
59
-
60
-
61
-
62
-
63
-
64
-
65
-
66
-
67
-
68
-
69
-
70
-
71
-
72
-
73
-
74
-
75
-
76
-
77
-
78
-
79
-
80
-
81
-
82
-
83
-
84
-
85
-
86
-
87
-
88
-
89
-
90
-
91
-
92
-
93
-
94
-
95
-
96
-
97
-
98
-
99
-
100
-
101
-
102
-
103
-
104
-
105
-
106
-
107
-
108
-
109
-
110
-
111
-
112
-
113
-
114
-
115
-
116
-
117
-
118
-
 119
119 -
 120
120 -
 121
121 -
 122
122 -
 123
123 -
 124
124 -
 125
125 -
 126
126 -
 127
127 -
 128
128 -
 129
129 -
130
-
131
-
132
-
133
-
134
-
135
-
136
-
137
-
138
-
139
-
140
-
141
-
142
-
143
-
144
-
145
-
146
-
147
-
148
-
149
-
150
-
151
-
152
-
153
-
154
-
155
-
156
-
157
-
158
-
159
-
160
-
161
-
162
-
163
-
164
-
165
-
166
-
167
-
168
-
169
-
170
-
171
-
172
-
173
-
174
-
175
-
176
-
177
-
178
-
179
-
180
-
181
-
182
-
183
-
184
-
185
-
186
-
187
-
188
-
189
-
190
-
191
-
192
-
193
-
194
-
195
-
196
-
197
-
198
-
199
-
200
-
201
-
202
-
203
-
204
-
205
-
206
-
207
-
208
-
209
-
210
 |
 |