Denon AVR-5805MK2 Owners Manual - Page 159
System setup for multi-zone, Adjustment steps that need to be performed prior to surround sound
 |
UPC - 081757507400
View all Denon AVR-5805MK2 manuals
Add to My Manuals
Save this manual to your list of manuals |
Page 159 highlights
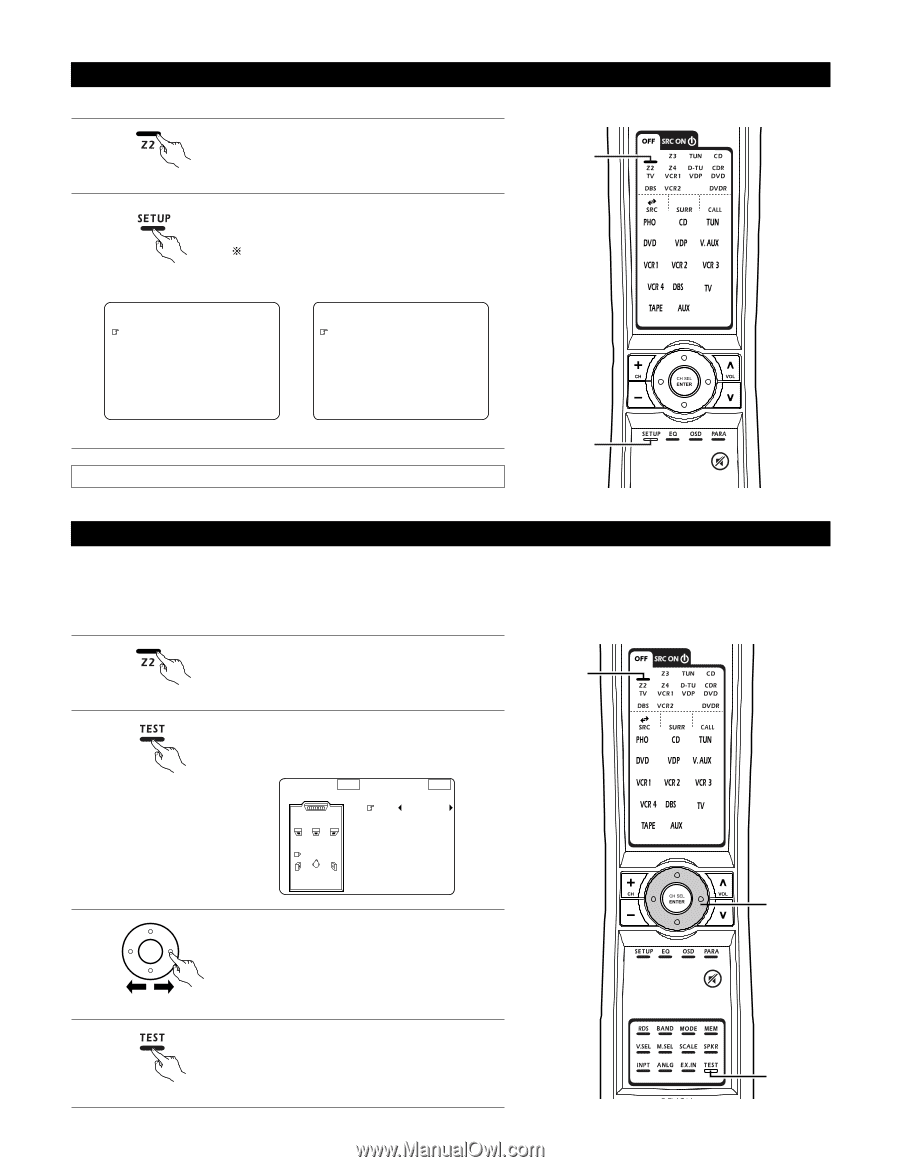
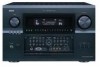
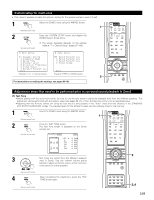
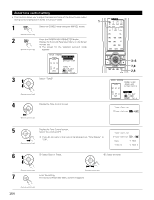
System setup for multi-zone • This makes it possible to make the optimum setting for the speaker systems used in Zone2. 1 Select the ZONE2 mode using the AMP/Z2 button. 1 (Remote control unit) 2 Press the SYSTEM SETUP button and display the ZONE2 System Setup Menu. (Remote control unit) The screen displayed depends on the settings made at "7-1. Channel Setup" (pages 97~100). Example: 5.1 or 7.1-channel system Example: STEREO or MONO system 2 For instructions on making the settings, see pages 85~96. Adjustment steps that need to be performed prior to surround sound playback in Zone2 [1] Test Tone • Before playing with the surround function, be sure to use the test tones to adjust the playback level from the different speakers. This adjustment can be performed with the system setup (see pages 90, 91) or from the Remote control unit, as described below. • Adjusting with the Remote control unit using the test tones is only possible in the "Auto" mode and only effective in the STANDARD (DOLBY/DTS SURROUND) modes. The adjusted levels for the different modes are automatically stored in the memory. 1 Select the ZONE2 mode using the AMP/Z2 button. 1 (Remote control unit) 2 Press the TEST TONE button. The Test Tone screen is displayed on the Zone2 monitor out. (Remote control unit) Auto Zone-2 3 3 Test tones are output from the different speakers used in Zone2. Use the channel volume adjust CH SEL ENTER buttons to adjust so that the volume of the test tones is the same for all the speakers. (Remote control unit) 4 After completing the adjustment, press the TEST TONE button again. (Remote control unit) 2,4 159
-
 1
1 -
2
-
3
-
4
-
5
-
6
-
7
-
8
-
9
-
10
-
11
-
12
-
13
-
14
-
15
-
16
-
17
-
18
-
19
-
20
-
21
-
22
-
23
-
24
-
25
-
26
-
27
-
28
-
29
-
30
-
31
-
32
-
33
-
34
-
35
-
36
-
37
-
38
-
39
-
40
-
41
-
42
-
43
-
44
-
45
-
46
-
47
-
48
-
49
-
50
-
51
-
52
-
53
-
54
-
55
-
56
-
57
-
58
-
59
-
60
-
61
-
62
-
63
-
64
-
65
-
66
-
67
-
68
-
69
-
70
-
71
-
72
-
73
-
74
-
75
-
76
-
77
-
78
-
79
-
80
-
81
-
82
-
83
-
84
-
85
-
86
-
87
-
88
-
89
-
90
-
91
-
92
-
93
-
94
-
95
-
96
-
97
-
98
-
99
-
100
-
101
-
102
-
103
-
104
-
105
-
106
-
107
-
108
-
109
-
110
-
111
-
112
-
113
-
114
-
115
-
116
-
117
-
118
-
119
-
120
-
121
-
122
-
123
-
124
-
125
-
126
-
127
-
128
-
129
-
130
-
131
-
132
-
133
-
134
-
135
-
136
-
137
-
138
-
139
-
140
-
141
-
142
-
143
-
144
-
145
-
146
-
147
-
148
-
149
-
150
-
151
-
152
-
153
-
 154
154 -
 155
155 -
 156
156 -
 157
157 -
 158
158 -
 159
159 -
 160
160 -
 161
161 -
 162
162 -
 163
163 -
 164
164 -
165
-
166
-
167
-
168
-
169
-
170
-
171
-
172
-
173
-
174
-
175
-
176
-
177
-
178
-
179
-
180
-
181
-
182
-
183
-
184
-
185
-
186
-
187
-
188
-
189
-
190
-
191
-
192
 |
 |