HP Deskjet 940c HP DeskJet 948C, 940C, and 920C Series - (English) Quick Help - Page 55
custom paper sizes, preparing to print, defining a custom paper size
 |
View all HP Deskjet 940c manuals
Add to My Manuals
Save this manual to your list of manuals |
Page 55 highlights
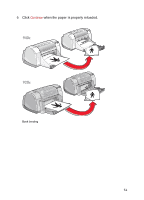
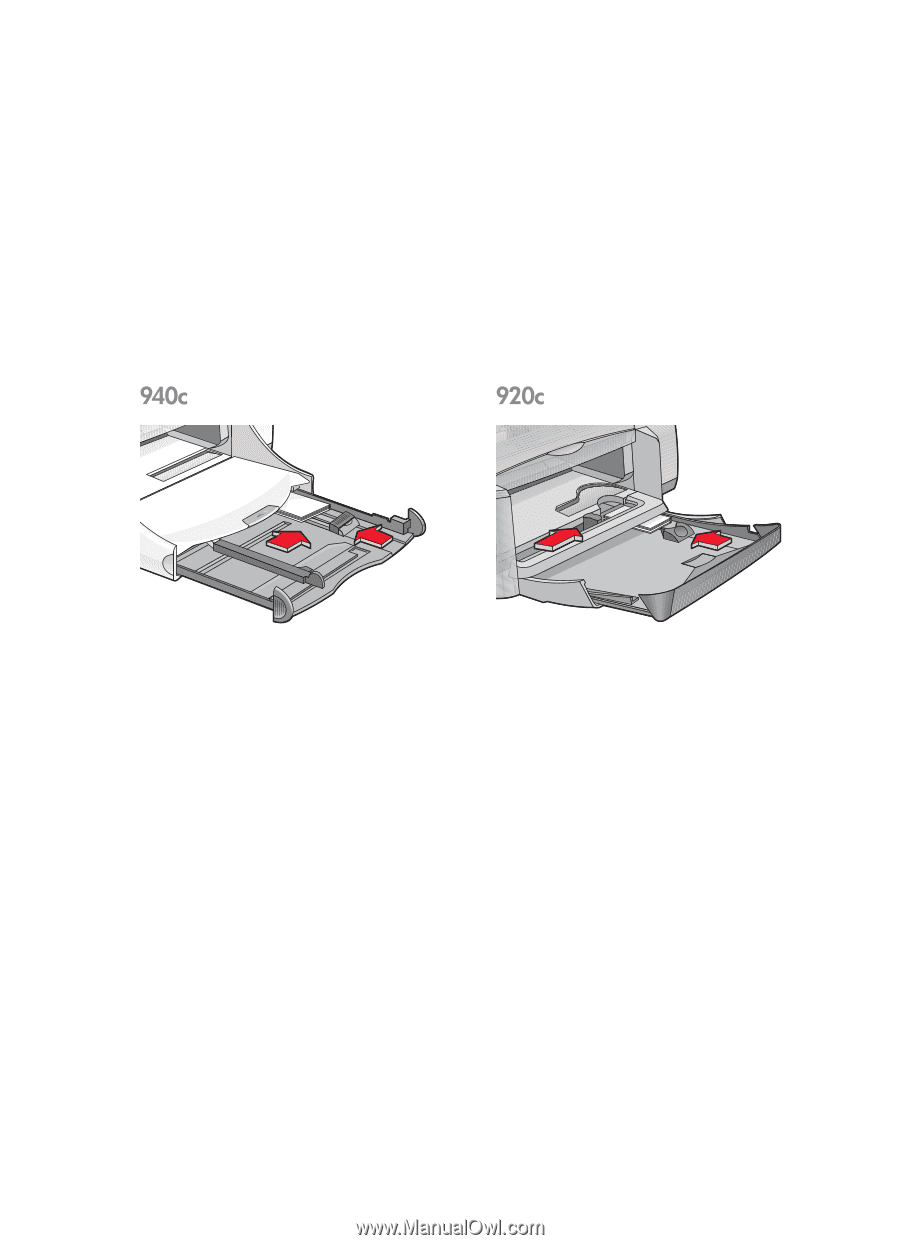
custom paper sizes preparing to print 1. Raise the Out tray to the up position. 2. Put the paper or other media you want to print into the In tray, with the printable side down. 3. Push the paper forward until it stops. 4. Slide the paper guides snugly against the edges of the media and push in the In tray. 5. Lower the Out tray. defining a custom paper size 1. Open the file you want to print. 53
-
 1
1 -
2
-
3
-
4
-
5
-
6
-
7
-
8
-
9
-
10
-
11
-
12
-
13
-
14
-
15
-
16
-
17
-
18
-
19
-
20
-
21
-
22
-
23
-
24
-
25
-
26
-
27
-
28
-
29
-
30
-
31
-
32
-
33
-
34
-
35
-
36
-
37
-
38
-
39
-
40
-
41
-
42
-
43
-
44
-
45
-
46
-
47
-
48
-
49
-
 50
50 -
 51
51 -
 52
52 -
 53
53 -
 54
54 -
 55
55 -
 56
56 -
 57
57 -
 58
58 -
 59
59 -
 60
60 -
61
-
62
-
63
-
64
-
65
-
66
-
67
-
68
-
69
-
70
-
71
-
72
-
73
-
74
-
75
-
76
-
77
-
78
-
79
-
80
-
81
-
82
-
83
-
84
-
85
-
86
-
87
-
88
-
89
-
90
-
91
-
92
-
93
-
94
-
95
-
96
-
97
-
98
-
99
-
100
-
101
-
102
-
103
-
104
-
105
-
106
-
107
-
108
-
109
-
110
-
111
-
112
-
113
-
114
-
115
-
116
 |
 |
53
custom paper sizes
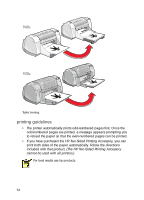
preparing to print
1.
Raise the Out tray to the up position.
2.
Put the paper or other media you want to print into the In tray, with the
printable side down.
3.
Push the paper forward until it stops.
4.
Slide the paper guides snugly against the edges of the media and push
in the In tray.
5.
Lower the Out tray.
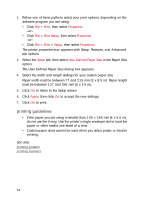
defining a custom paper size
1.
Open the file you want to print.