Lexmark Optra C710 Setup Guide - Page 95
Hint: Do a custom install to add, network support, and select TCP/IP., Start, Settings, Printers
 |
View all Lexmark Optra C710 manuals
Add to My Manuals
Save this manual to your list of manuals |
Page 95 highlights
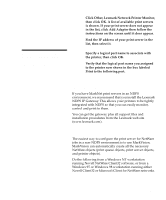
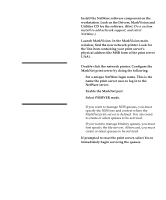
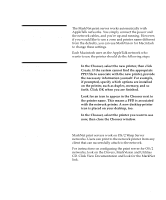
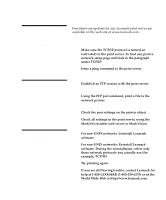
Set up to print There are many ways to send a print job including FTP, TFTP, LPR/LPD, point-to-point (LexIP), and various queue-based methods. Instructions for two of the methods follow. Note: If you are using Windows NT Server 4.0 or later and running TCP/IP, you can use Network Plug and Print to automate your printer setup process. Print to a queue on a Windows NT server This section explains the setup for queue-based printing where network users print to a queue defined on a Windows NT server. The print server services this queue. To use this method, you must have at least one server running Windows NT Server software and TCP/IP. The following instructions apply to Windows NT Server Versions 4.0 and later. Note: For details on installing the necessary software, look on the Drivers, MarkVision, and Utilities CD. Click View Documents and look for the MarkNet link. 1 Install the TCP/IP software component on the server that contains the print queue. This software is necessary to establish the link between the MarkNet print server and the queue. Look on the Drivers, MarkVision and Utilities CD for the software. (Hint: Do a custom install to add network support, and select TCP/IP.) 2 Set up a print queue on the server. Do this by creating a printer object in the usual way. (Hint: Start, Settings, Printers, Add Printer.) a When prompted, select My Computer (not Network printer server). b Click Add Port. c Select Lexmark Network Port, and then click New Port. Follow the instructions on the screen. d Share the queue. 3 Set up your Windows 95, Windows 98, or Windows NT clients in the usual way. (Hint: Start, Settings, Printers, Add Printer.) Configuring and printing 91
-
 1
1 -
2
-
3
-
4
-
5
-
6
-
7
-
8
-
9
-
10
-
11
-
12
-
13
-
14
-
15
-
16
-
17
-
18
-
19
-
20
-
21
-
22
-
23
-
24
-
25
-
26
-
27
-
28
-
29
-
30
-
31
-
32
-
33
-
34
-
35
-
36
-
37
-
38
-
39
-
40
-
41
-
42
-
43
-
44
-
45
-
46
-
47
-
48
-
49
-
50
-
51
-
52
-
53
-
54
-
55
-
56
-
57
-
58
-
59
-
60
-
61
-
62
-
63
-
64
-
65
-
66
-
67
-
68
-
69
-
70
-
71
-
72
-
73
-
74
-
75
-
76
-
77
-
78
-
79
-
80
-
81
-
82
-
83
-
84
-
85
-
86
-
87
-
88
-
89
-
 90
90 -
 91
91 -
 92
92 -
 93
93 -
 94
94 -
 95
95 -
 96
96 -
 97
97 -
 98
98 -
 99
99 -
 100
100 -
101
-
102
-
103
-
104
-
105
-
106
-
107
-
108
-
109
-
110
-
111
 |
 |