Lexmark Optra C710 Setup Guide - Page 99
AppleTalk, OS/2 Warp Server, if prompted, specify which options are installed
 |
View all Lexmark Optra C710 manuals
Add to My Manuals
Save this manual to your list of manuals |
Page 99 highlights
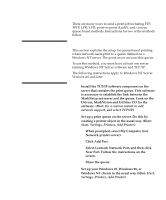
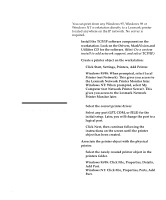
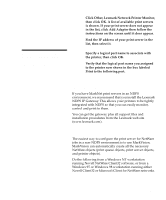
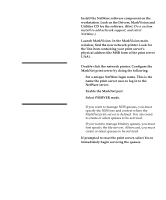
AppleTalk Note: MarkVision for Macintosh resides on the Drivers, MarkVision, and Utilities CD. The MarkNet print server works automatically with AppleTalk networks. You simply connect the power and the network cables, and you're up and running. However, if you would like to use a zone and printer name different from the defaults, you can use MarkVision for Macintosh to change these settings. Each Macintosh user on the AppleTalk network who wants to use the printer should do the following steps. Note: A PPD file customizes the LaserWriter driver for your particular printer model. 1 In the Chooser, select the new printer, then click Create. If the system cannot find the appropriate PPD file to associate with the new printer, provide the necessary information yourself. For example, if prompted, specify which options are installed on the printer, such as duplex, memory, and so forth. Click OK when you are finished. 2 Look for an icon to appear in the Chooser next to the printer name. This means a PPD is associated with the network printer. A new desktop printer icon is placed on your desktop, too. 3 In the Chooser, select the printer you want to use now, then close the Chooser window. OS/2 Warp Server MarkNet print servers work on OS/2 Warp Server networks. Users can print to the network printer from any client that can successfully attach to the network. For instructions on configuring the print server for OS/2 networks, look on the Drivers, MarkVision and Utilities CD. Click View Documentation and look for the MarkNet link. AppleTalk 95
-
 1
1 -
2
-
3
-
4
-
5
-
6
-
7
-
8
-
9
-
10
-
11
-
12
-
13
-
14
-
15
-
16
-
17
-
18
-
19
-
20
-
21
-
22
-
23
-
24
-
25
-
26
-
27
-
28
-
29
-
30
-
31
-
32
-
33
-
34
-
35
-
36
-
37
-
38
-
39
-
40
-
41
-
42
-
43
-
44
-
45
-
46
-
47
-
48
-
49
-
50
-
51
-
52
-
53
-
54
-
55
-
56
-
57
-
58
-
59
-
60
-
61
-
62
-
63
-
64
-
65
-
66
-
67
-
68
-
69
-
70
-
71
-
72
-
73
-
74
-
75
-
76
-
77
-
78
-
79
-
80
-
81
-
82
-
83
-
84
-
85
-
86
-
87
-
88
-
89
-
90
-
91
-
92
-
93
-
 94
94 -
 95
95 -
 96
96 -
 97
97 -
 98
98 -
 99
99 -
 100
100 -
 101
101 -
 102
102 -
 103
103 -
 104
104 -
105
-
106
-
107
-
108
-
109
-
110
-
111
 |
 |
