Panasonic HVX200A Operating Instructions - Page 126
System resetting, Cleaning
 |
UPC - 791871303351
View all Panasonic HVX200A manuals
Add to My Manuals
Save this manual to your list of manuals |
Page 126 highlights
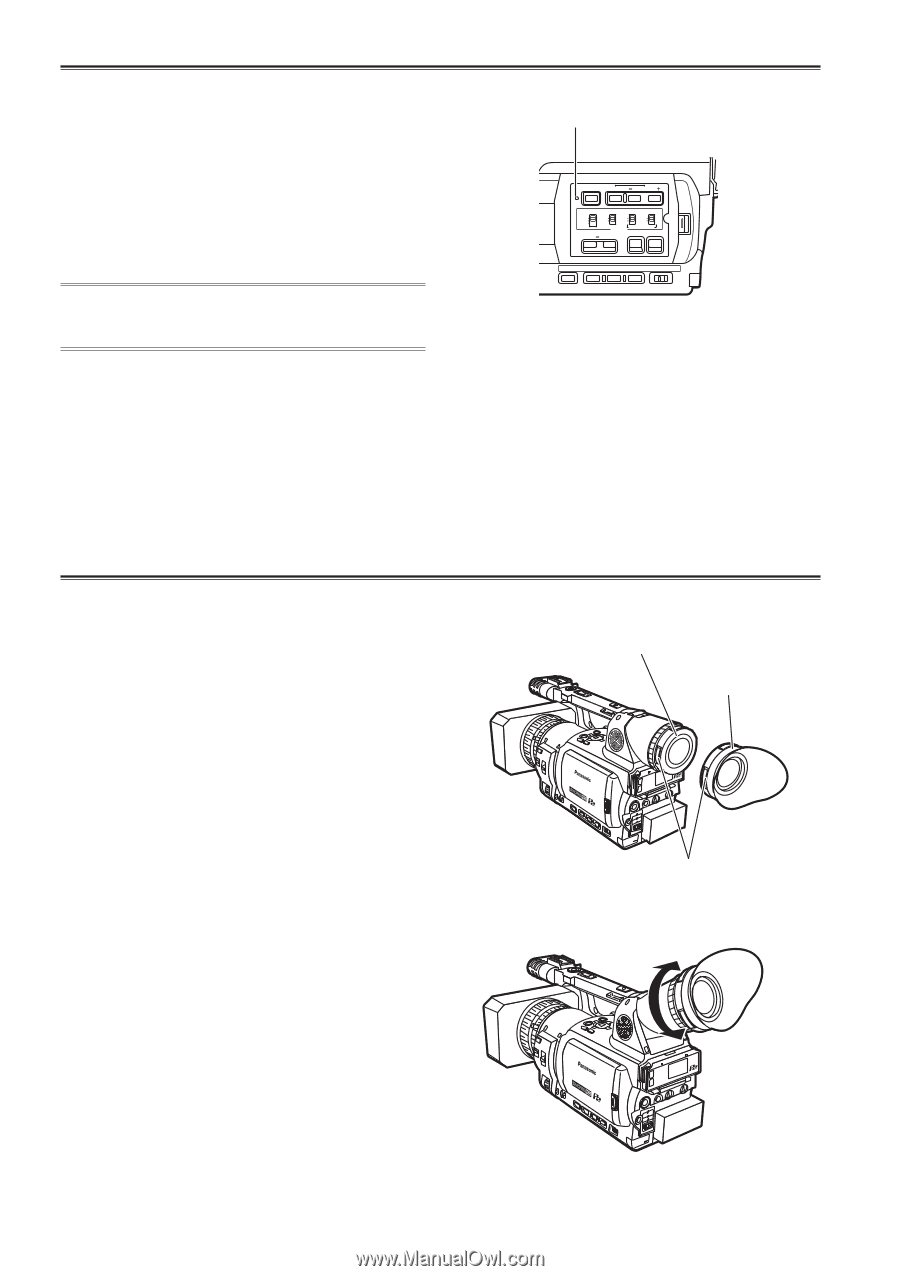
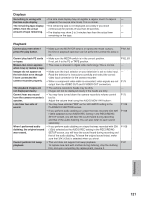
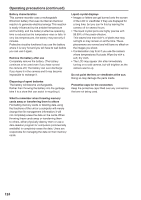
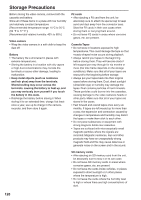
System resetting Reset the system microcomputer if you can no longer operate the camera-recorder even though its power is on or a similar kind of a problem has occurred. Use a pointed object to press the RESET button on the camera-recorder. The menu setting entered and memory contents will not be cleared even when the system is reset. Do not press the RESET button when the camerarecorder is operating normally. RESET button BARS RESET SHUTTER SPEED SEL CH 1 SELECT CH 2 SELECT INPUT 1 INPUT 2 INT(L) INPUT 1 INPUT 2 INT(R) INPUT 2 ON ON OFF OFF AUDIO MIC POWER +48V COUNTER RESET/TC SET ZEBRA OIS Cleaning When cleaning, do not use benzene or thinner. • Using benzine or paint thinners may deform the camera-recorder and/or cause the surface finish to peel off. • Before proceeding with maintenance, remove the battery or disconnect the AC cord from the power outlet. • Use a soft, clean cloth to wipe the camerarecorder. To remove stubborn dirt, wipe the camera-recorder with a cloth moistened with kitchen detergent that has been diluted with water and then use a dry cloth to take up the remaining moisture. Cleaning the Viewfinder If there is dust inside the view finder, remove the eye cup holder and get rid of the dust. • The interior of the eye cup holder is specially finished, so do not ever wipe it. If there is dust on it, blow it off with an air blower. • Remove the eye cup holder with the eye cup attached by rotating it counterclockwise. (It will be tightly screwed on.) When you do this, tilt the view finder slightly upward. • To amount the eye cup holder, align the ridges and grooves of the eye cup holder and camerarecorder, and turn clockwise until the holder clicks into place. 126 Eye cup holder Eye cup Projection
-
 1
1 -
2
-
3
-
4
-
5
-
6
-
7
-
8
-
9
-
10
-
11
-
12
-
13
-
14
-
15
-
16
-
17
-
18
-
19
-
20
-
21
-
22
-
23
-
24
-
25
-
26
-
27
-
28
-
29
-
30
-
31
-
32
-
33
-
34
-
35
-
36
-
37
-
38
-
39
-
40
-
41
-
42
-
43
-
44
-
45
-
46
-
47
-
48
-
49
-
50
-
51
-
52
-
53
-
54
-
55
-
56
-
57
-
58
-
59
-
60
-
61
-
62
-
63
-
64
-
65
-
66
-
67
-
68
-
69
-
70
-
71
-
72
-
73
-
74
-
75
-
76
-
77
-
78
-
79
-
80
-
81
-
82
-
83
-
84
-
85
-
86
-
87
-
88
-
89
-
90
-
91
-
92
-
93
-
94
-
95
-
96
-
97
-
98
-
99
-
100
-
101
-
102
-
103
-
104
-
105
-
106
-
107
-
108
-
109
-
110
-
111
-
112
-
113
-
114
-
115
-
116
-
117
-
118
-
119
-
120
-
 121
121 -
 122
122 -
 123
123 -
 124
124 -
 125
125 -
 126
126 -
 127
127 -
 128
128 -
 129
129 -
 130
130 -
 131
131 -
132
-
133
-
134
 |
 |