Panasonic HVX200A Operating Instructions - Page 40
Shooting in manual mode continued
 |
UPC - 791871303351
View all Panasonic HVX200A manuals
Add to My Manuals
Save this manual to your list of manuals |
Page 40 highlights
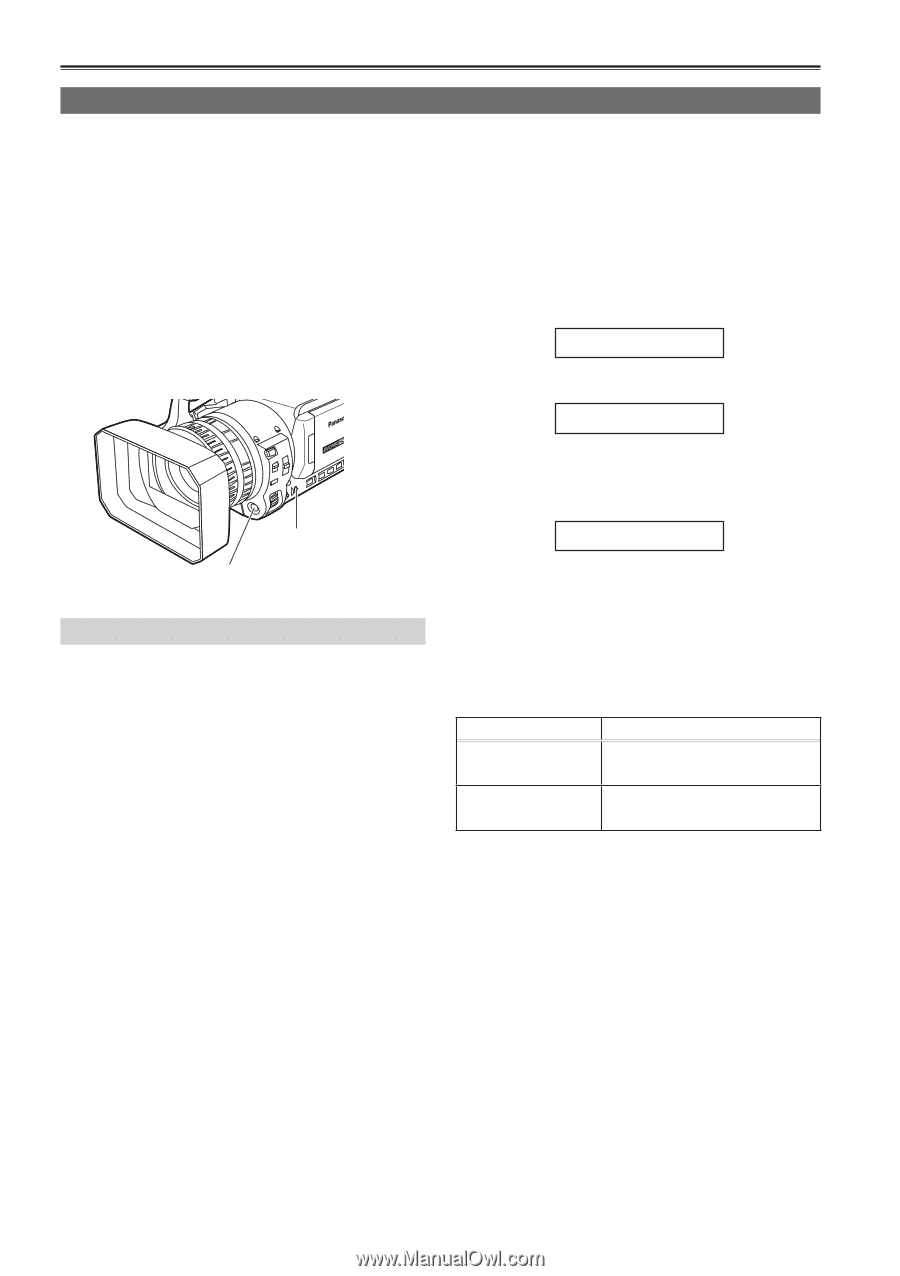
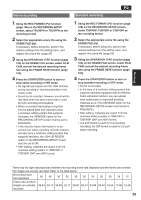
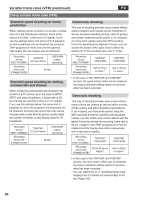
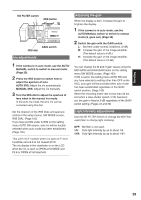
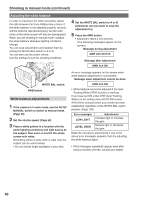
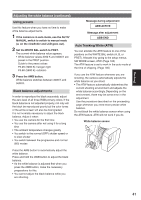
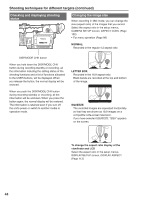
Shooting in manual mode (continued) Adjusting the white balance In order to reproduce the white accurately, adjust the ratio between the three RGB primary colors. If the white balance is not adjusted properly, not only will the white be reproduced poorly but the color tones of the entire screen will also be downgraded. When you are shooting in manual mode, readjust the white balance whenever lighting conditions change. You can save adjustments and reselect them by setting the WHITE BAL switch to A or B. You can also use the preset values. Use the settings to suit the shooting conditions. 4 Set the WHITE BAL switch to A or B (whichever one you want to save the adjustment in). 5 Press the AWB button. • Adjustment takes a few seconds. (The following messages appear on the screen.) Message during adjustment AWB Ach ACTIVE Message after adjustment AWB Ach OK WHITE BAL switch AWB button White balance adjustments 1 If the camera is in auto mode, use the AUTO/ MANUAL switch to switch to manual mode. (Page 38) 2 Set the shutter speed. (Page 50) 3 Place a white pattern in a location with the same lighting conditions and light source as the subject, then zoom in and fill the whole screen with white. Something white (a white cloth or wall) near the subject can be used instead. • Do not include bright spotlights in your shot. An error message appears on the screen when white balance adjustment is not possible. Message when adjustment cannot be done AWB Ach NG • White balance cannot be adjusted if the Auto Tracking White (ATW) function is working. If you have set ON under ATW (Auto Tracking White) on the setting menu AUTO SW screen, ATW will be selected when auto mode has been established regardless of the WHITE BAL switch position. (Page 105) Error messages LOW LIGHT LEVEL OVER Adjustments Increase light or increase the gain. Reduce light or decrease the gain. Make the necessary adjustments if one of the above error messages appears, then try adjusting the white balance again. • If the messages repeatedly appear even after trying a number of times, consult your dealer. 40
-
 1
1 -
2
-
3
-
4
-
5
-
6
-
7
-
8
-
9
-
10
-
11
-
12
-
13
-
14
-
15
-
16
-
17
-
18
-
19
-
20
-
21
-
22
-
23
-
24
-
25
-
26
-
27
-
28
-
29
-
30
-
31
-
32
-
33
-
34
-
 35
35 -
 36
36 -
 37
37 -
 38
38 -
 39
39 -
 40
40 -
 41
41 -
 42
42 -
 43
43 -
 44
44 -
 45
45 -
46
-
47
-
48
-
49
-
50
-
51
-
52
-
53
-
54
-
55
-
56
-
57
-
58
-
59
-
60
-
61
-
62
-
63
-
64
-
65
-
66
-
67
-
68
-
69
-
70
-
71
-
72
-
73
-
74
-
75
-
76
-
77
-
78
-
79
-
80
-
81
-
82
-
83
-
84
-
85
-
86
-
87
-
88
-
89
-
90
-
91
-
92
-
93
-
94
-
95
-
96
-
97
-
98
-
99
-
100
-
101
-
102
-
103
-
104
-
105
-
106
-
107
-
108
-
109
-
110
-
111
-
112
-
113
-
114
-
115
-
116
-
117
-
118
-
119
-
120
-
121
-
122
-
123
-
124
-
125
-
126
-
127
-
128
-
129
-
130
-
131
-
132
-
133
-
134
 |
 |