Panasonic HVX200A Operating Instructions - Page 54
Using scene files
 |
UPC - 791871303351
View all Panasonic HVX200A manuals
Add to My Manuals
Save this manual to your list of manuals |
Page 54 highlights
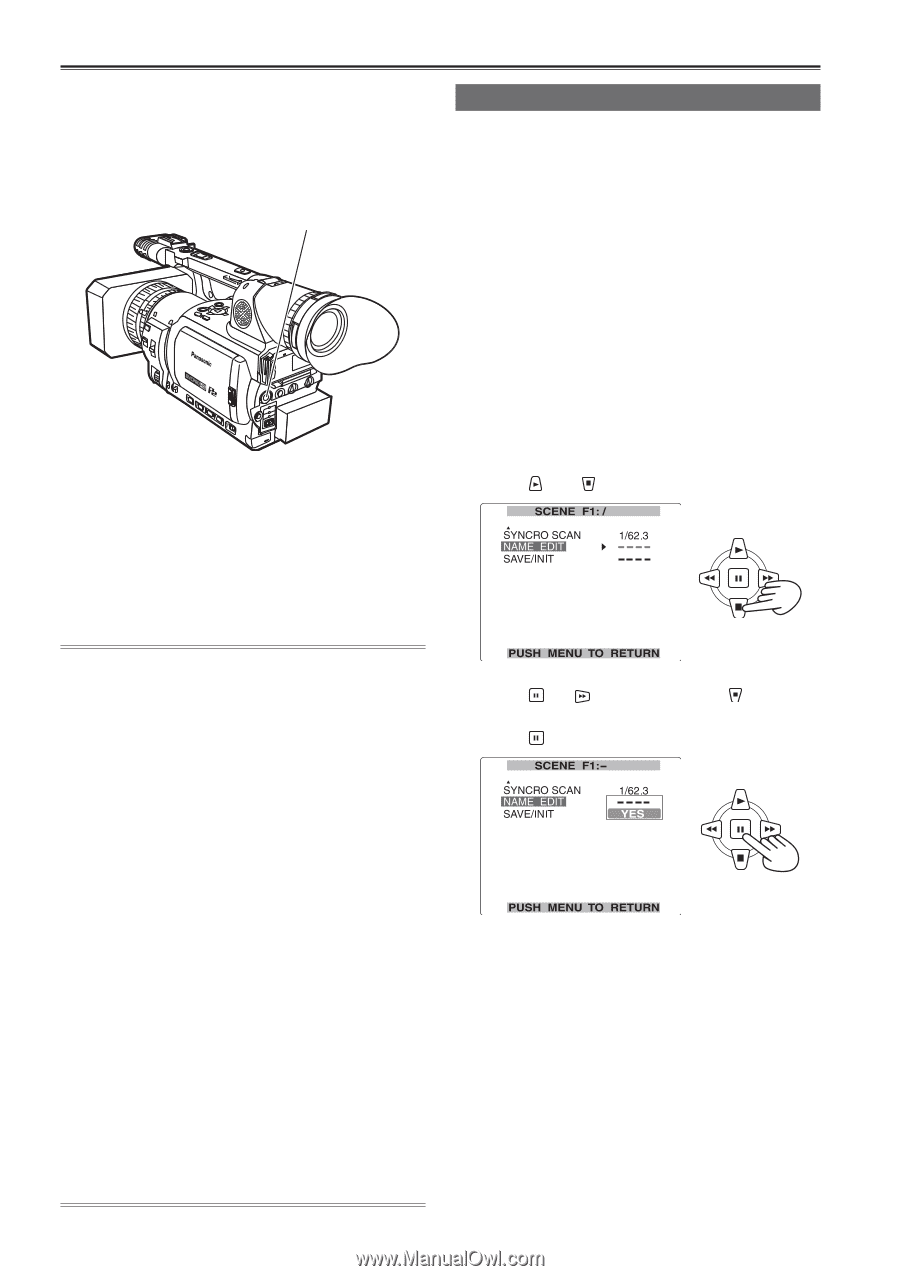
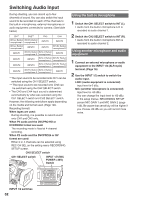
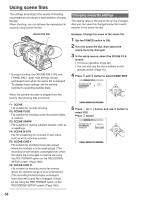
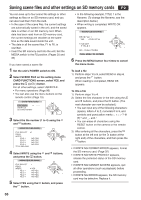
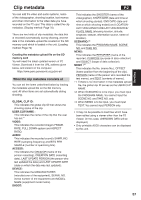
Using scene files The settings according to the variety of shooting circumstances are stored in each position of scene file dial. When shooting, you can retrieve the necessary file instantly using scene file dial. Changing scene file settings The setting value of the scene file can be changed. Also you can save the changed scene file to each position of the scene file dial. Scene file dial • During recording, the OPERATION TYPE and FRAME RATE (page 100) settings remain unchanged even when the scene file is changed. To change these settings, set the camerarecorder to recording standby state. Example: Change the name of the scene file. 1 Set the POWER switch to ON. 2 Turn the scene file dial, then select the scene file to be changed. 3 In the setup menus, select the SCENE FILE screen. • For menu operation (Page 96) • You can also use the menu buttons on the remote control. (Page 15) 4 Press and button to select NAME EDIT. When the camera-recorder is shipped from the factory, the following files are stored. F1: SCENE File suitable for normal shooting. F2: SCENE FLUO. File suitable for shooting under fluorescent lights, ie. indoors. F3: SCENE SPARK File suitable for making subjects sharper, such as at weddings. F4: SCENE B-STR File for broadening the contrast of dark parts, such as when shooting sunsets. F5: SCENE CINE V File suitable for shooting movie-like scenes where the contrast is to be emphasized. (The recording format remains unchanged even when the scene file is changed. It must be set using the REC FORMAT option on the RECORDING SETUP screen. (Page 106)) F6: SCENE CINE D File suitable for shooting movie-like scenes where the dynamic range is to be emphasized. (The recording format remains unchanged even when the scene file is changed. It must be set using the REC FORMAT option on the RECORDING SETUP screen. (Page 106)) 5 Press (or ) button, and use select YES. Press button. button to 54
-
 1
1 -
2
-
3
-
4
-
5
-
6
-
7
-
8
-
9
-
10
-
11
-
12
-
13
-
14
-
15
-
16
-
17
-
18
-
19
-
20
-
21
-
22
-
23
-
24
-
25
-
26
-
27
-
28
-
29
-
30
-
31
-
32
-
33
-
34
-
35
-
36
-
37
-
38
-
39
-
40
-
41
-
42
-
43
-
44
-
45
-
46
-
47
-
48
-
 49
49 -
 50
50 -
 51
51 -
 52
52 -
 53
53 -
 54
54 -
 55
55 -
 56
56 -
 57
57 -
 58
58 -
 59
59 -
60
-
61
-
62
-
63
-
64
-
65
-
66
-
67
-
68
-
69
-
70
-
71
-
72
-
73
-
74
-
75
-
76
-
77
-
78
-
79
-
80
-
81
-
82
-
83
-
84
-
85
-
86
-
87
-
88
-
89
-
90
-
91
-
92
-
93
-
94
-
95
-
96
-
97
-
98
-
99
-
100
-
101
-
102
-
103
-
104
-
105
-
106
-
107
-
108
-
109
-
110
-
111
-
112
-
113
-
114
-
115
-
116
-
117
-
118
-
119
-
120
-
121
-
122
-
123
-
124
-
125
-
126
-
127
-
128
-
129
-
130
-
131
-
132
-
133
-
134
 |
 |