Panasonic HVX200A Operating Instructions - Page 82
Nonlinear editing with P2 card PC mode - drivers
 |
UPC - 791871303351
View all Panasonic HVX200A manuals
Add to My Manuals
Save this manual to your list of manuals |
Page 82 highlights
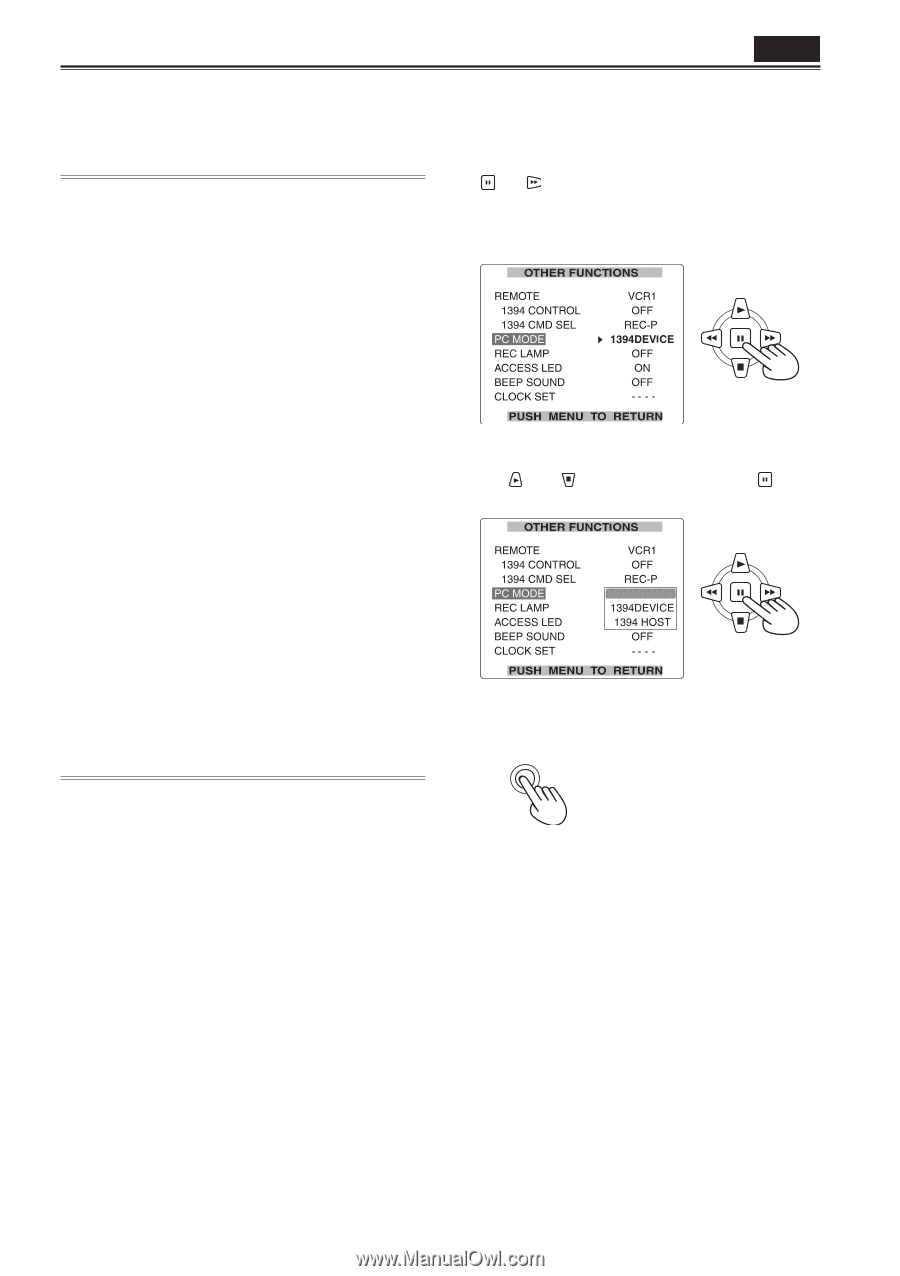
Nonlinear editing with P2 card (PC mode) P2 You can edit the video data on P2 cards nonlinearly by connecting the unit to a computer used for editing by means of a USB cable (Windows) or 1394 cable (Apple Macintosh). (Connections : Page 77) The following conditions must be met if the USB cable is to be used to make the connection. • Your computer must run Windows 2000 or Windows XP. • USB dedicated driver (provided on the CD-ROM supplied) must be installed in your computer. • Your computer must support USB2.0 (High Speed, Mass Storage Class). (USB 1.1 is not supported.) • Only one computer can be connected. • No operations can be performed if a hub or other unit is connected between the unit and your computer. Do not use a USB cable longer than 3 meters. Otherwise, malfunctions may occur. • Operation is not guaranteed in Macintosh operating systems. The following conditions must be met if the 1394 cable is to be used to make the connection. • Your computer must run Apple MacOSX 10.3 or later. • Your computer must support 1394.a (SBP2 protocol). • Operation is not guaranteed in Windows operating systems. 1 Set the unit's POWER switch to ON. 2 Select PC MODE on the setting menu OTHER FUNCTIONS screen, and press the (or ) button. • For menu operations (Page 96) • You can also use the menu buttons on the remote control. (Page 15) 3 Select USB DEVICE or 1394 DEVICE using the and buttons, and press the button. USB DEVICE 4 Press the MENU button twice to release menu mode. MENU • Insert the P2 card into the unit, and set the MEDIA switch to the P2 position. (Page 25) 82
-
 1
1 -
2
-
3
-
4
-
5
-
6
-
7
-
8
-
9
-
10
-
11
-
12
-
13
-
14
-
15
-
16
-
17
-
18
-
19
-
20
-
21
-
22
-
23
-
24
-
25
-
26
-
27
-
28
-
29
-
30
-
31
-
32
-
33
-
34
-
35
-
36
-
37
-
38
-
39
-
40
-
41
-
42
-
43
-
44
-
45
-
46
-
47
-
48
-
49
-
50
-
51
-
52
-
53
-
54
-
55
-
56
-
57
-
58
-
59
-
60
-
61
-
62
-
63
-
64
-
65
-
66
-
67
-
68
-
69
-
70
-
71
-
72
-
73
-
74
-
75
-
76
-
 77
77 -
 78
78 -
 79
79 -
 80
80 -
 81
81 -
 82
82 -
 83
83 -
 84
84 -
 85
85 -
 86
86 -
 87
87 -
88
-
89
-
90
-
91
-
92
-
93
-
94
-
95
-
96
-
97
-
98
-
99
-
100
-
101
-
102
-
103
-
104
-
105
-
106
-
107
-
108
-
109
-
110
-
111
-
112
-
113
-
114
-
115
-
116
-
117
-
118
-
119
-
120
-
121
-
122
-
123
-
124
-
125
-
126
-
127
-
128
-
129
-
130
-
131
-
132
-
133
-
134
 |
 |