Panasonic HVX200A Operating Instructions - Page 44
Shooting techniques for different targets continued - box
 |
UPC - 791871303351
View all Panasonic HVX200A manuals
Add to My Manuals
Save this manual to your list of manuals |
Page 44 highlights
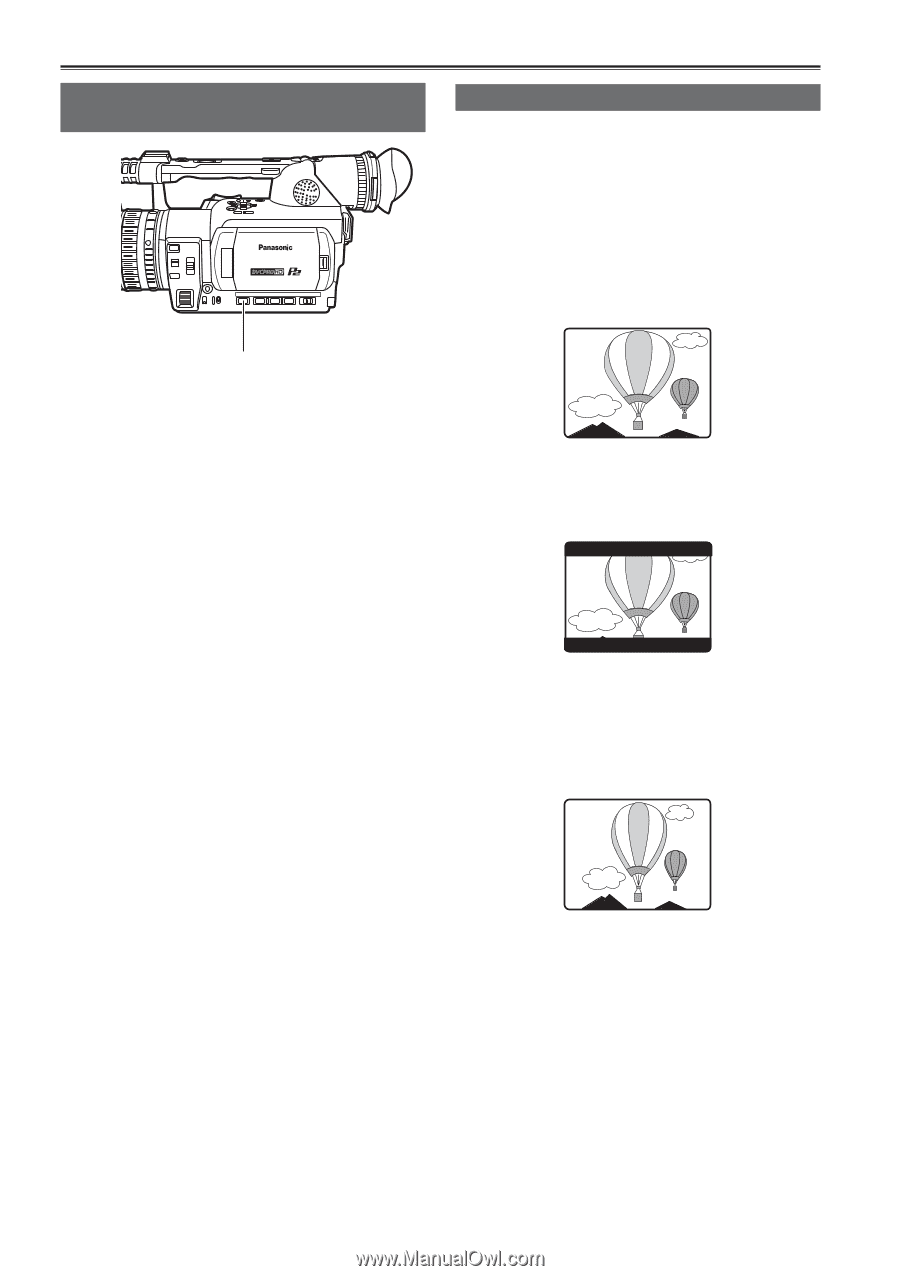
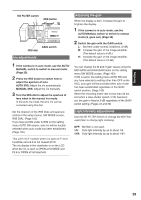
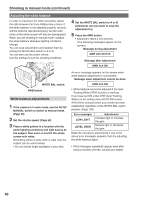
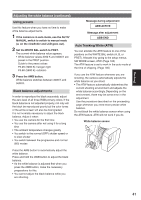
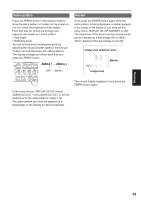
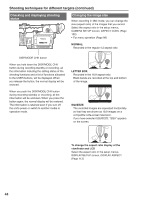
Shooting techniques for different targets (continued) Checking and displaying shooting status Changing the image size When recording in 480i mode, you can change the size (aspect ratio) of the images that you record. Select the aspect ratio in the setup menus, CAMERA SETUP screen, ASPECT CONV. (Page 102) • For menu operation (Page 96) NORMAL: Recorded in the regular 4:3 aspect ratio DISP/MODE CHK button When you hold down the DISP/MODE CHK button during recording standby or recording, all the information including the setting status of the shooting functions and a list of functions allocated to the USER buttons, will be displayed. When you release the button, the normal display will be restored. When you push the DISP/MODE CHK button during recording standby or recording, all the information will be unshown. When you press the button again, the normal display will be restored. The information is retained even if you turn off the unit's power or switch to another media or operation mode. LETTER BOX: Recorded in the 16:9 aspect ratio. Black bands are recorded at the top and bottom of the image. SQUEEZE: The recorded images are squeezed horizontally so that they are shown as 16:9 images on a compatible wide-screen television. If you have selected SQUEEZE, "SQU" appears on the screen. To change the aspect ratio display of the viewfinder and LCD Select the aspect ratio in the setup menus, DISPLAY/SETUP screen, DISPLAY ASPECT. (Page 113) 44
-
 1
1 -
2
-
3
-
4
-
5
-
6
-
7
-
8
-
9
-
10
-
11
-
12
-
13
-
14
-
15
-
16
-
17
-
18
-
19
-
20
-
21
-
22
-
23
-
24
-
25
-
26
-
27
-
28
-
29
-
30
-
31
-
32
-
33
-
34
-
35
-
36
-
37
-
38
-
 39
39 -
 40
40 -
 41
41 -
 42
42 -
 43
43 -
 44
44 -
 45
45 -
 46
46 -
 47
47 -
 48
48 -
 49
49 -
50
-
51
-
52
-
53
-
54
-
55
-
56
-
57
-
58
-
59
-
60
-
61
-
62
-
63
-
64
-
65
-
66
-
67
-
68
-
69
-
70
-
71
-
72
-
73
-
74
-
75
-
76
-
77
-
78
-
79
-
80
-
81
-
82
-
83
-
84
-
85
-
86
-
87
-
88
-
89
-
90
-
91
-
92
-
93
-
94
-
95
-
96
-
97
-
98
-
99
-
100
-
101
-
102
-
103
-
104
-
105
-
106
-
107
-
108
-
109
-
110
-
111
-
112
-
113
-
114
-
115
-
116
-
117
-
118
-
119
-
120
-
121
-
122
-
123
-
124
-
125
-
126
-
127
-
128
-
129
-
130
-
131
-
132
-
133
-
134
 |
 |