Pioneer PDP-6010FD Owner's Manual - Page 66
Image position adjustment, AV source only, Automatic image position and clock, adjustments PC source
 |
View all Pioneer PDP-6010FD manuals
Add to My Manuals
Save this manual to your list of manuals |
Page 66 highlights
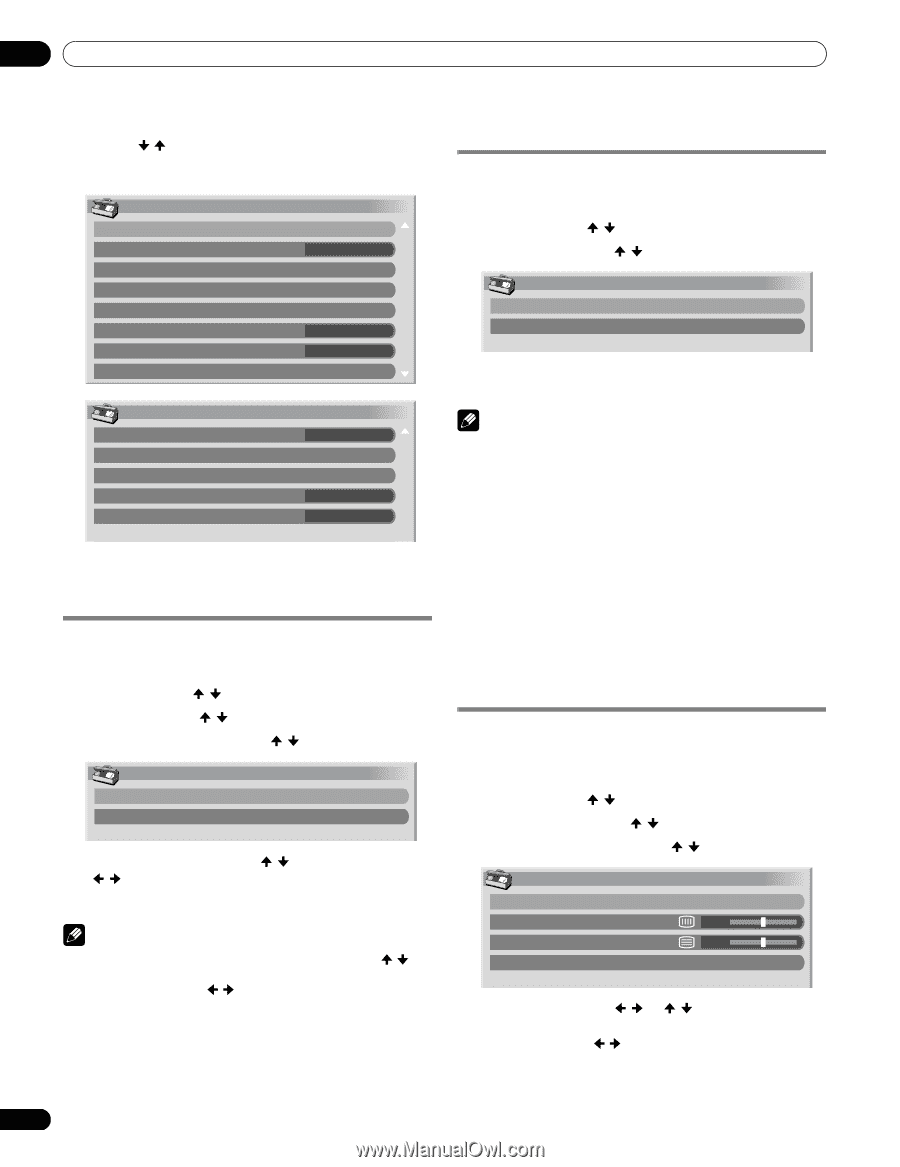
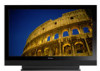
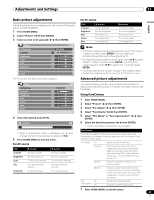
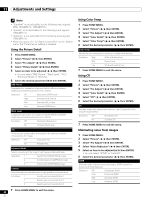
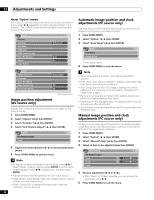
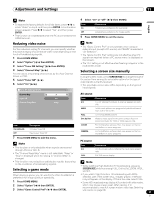
11 Adjustments and Settings About "Option" menus The "Option" menu consists of two screens. To select the desired menu, press / repeatedly to switch between Screen 1 and Screen 2. The current screen number appears at the top right corner on the screen. Option Position Auto Size Side Mask HDMI Input HDMI Control Setting Blue LED Dimmer Orbiter Video Pattern 1/2 Wide-Zoom Auto On Automatic image position and clock adjustments (PC source only) Use Auto Setup to automatically adjust positions and clock of images coming from a personal computer. 1 Press HOME MENU. 2 Select "Option" ( / then ENTER). 3 Select "Auto Setup" ( / then ENTER). Option Auto Setup Manual Setup • Auto Setup starts. 4 Press HOME MENU to exit the menu. Option Digital Audio Out Language Tuner NR Setting Game Control Pref Room Light Sensor 2/2 Dolby Digital Off On (For AV source) Image position adjustment (AV source only) Adjusts the horizontal and vertical positions of images on the plasma display. 1 Press HOME MENU. 2 Select "Option" ( / then ENTER). 3 Select "Position" ( / then ENTER). 4 Select "H/V Position Adjust" ( / then ENTER). Position H/V Position Adjust Reset 5 Adjust the vertical position ( / ) or horizontal position ( / ). 6 Press HOME MENU to exit the menu. Note • To restore the factory defaults for all the items, press / to select "Reset" in step 4, and then press ENTER. A confirmation screen appears. Press / to select "Yes", and then press ENTER. • Adjustments are stored separately for each input source. • Depending on the displayed video, the image position may not change even after adjustment. • When "Dot by Dot" is selected for the screen mode, the "Position" menu is dimmed. Note • When Auto Setup is finished, "Auto Setup completed." appears. • Even when "Auto Setup completed." appears, Auto Setup may have failed, depending on conditions. • Auto Setup may fail with a PC image composed of similar patterns or monochrome. If not successful, change the PC image and try again. • Be sure to connect the computer to the plasma display and switch it on before starting Auto Setup. • Depending on the displayed video, the image position may not change even after adjustment. • This function is not selectable when the PC is connected to the HDMI terminal. Manual image position and clock adjustments (PC source only) Usually you can easily adjust the positions and clock of images using Auto Setup. Use Manual Setup to optimize the positions and clock of images when necessary. 1 Press HOME MENU. 2 Select "Option" ( / then ENTER). 3 Select "Manual Setup" ( / then ENTER). 4 Select an item to be adjusted ( / then ENTER). Manual Setup H/V Position Adjust Clock 0 Phase 0 Reset 5 Perform adjustment ( / or / ). • With "Clock" or "Phase" selected, you can change the parameter using / . 6 Press HOME MENU to exit the menu. 66 En
-
 1
1 -
2
-
3
-
4
-
5
-
6
-
7
-
8
-
9
-
10
-
11
-
12
-
13
-
14
-
15
-
16
-
17
-
18
-
19
-
20
-
21
-
22
-
23
-
24
-
25
-
26
-
27
-
28
-
29
-
30
-
31
-
32
-
33
-
34
-
35
-
36
-
37
-
38
-
39
-
40
-
41
-
42
-
43
-
44
-
45
-
46
-
47
-
48
-
49
-
50
-
51
-
52
-
53
-
54
-
55
-
56
-
57
-
58
-
59
-
60
-
 61
61 -
 62
62 -
 63
63 -
 64
64 -
 65
65 -
 66
66 -
 67
67 -
 68
68 -
 69
69 -
 70
70 -
 71
71 -
72
-
73
-
74
-
75
-
76
-
77
-
78
-
79
-
80
-
81
-
82
-
83
-
84
-
85
-
86
-
87
-
88
-
89
-
90
-
91
-
92
-
93
-
94
-
95
-
96
-
97
-
98
-
99
-
100
-
101
-
102
-
103
-
104
-
105
-
106
-
107
-
108
-
109
-
110
-
111
-
112
-
113
-
114
-
115
-
116
-
117
-
118
-
119
-
120
-
121
-
122
-
123
-
124
-
125
-
126
-
127
-
128
-
129
-
130
-
131
-
132
-
133
-
134
-
135
-
136
-
137
-
138
-
139
-
140
-
141
-
142
-
143
-
144
-
145
-
146
-
147
-
148
-
149
-
150
-
151
-
152
-
153
-
154
-
155
-
156
-
157
-
158
-
159
-
160
-
161
-
162
-
163
-
164
-
165
-
166
-
167
-
168
-
169
-
170
-
171
-
172
-
173
-
174
-
175
-
176
-
177
-
178
-
179
-
180
-
181
-
182
-
183
-
184
-
185
-
186
-
187
-
188
-
189
-
190
-
191
-
192
-
193
-
194
-
195
-
196
-
197
-
198
-
199
-
200
-
201
-
202
-
203
-
204
-
205
-
206
-
207
-
208
-
209
-
210
-
211
-
212
-
213
-
214
-
215
-
216
-
217
-
218
-
219
-
220
-
221
-
222
-
223
-
224
-
225
-
226
-
227
-
228
-
229
-
230
-
231
-
232
-
233
-
234
-
235
-
236
-
237
-
238
-
239
-
240
-
241
-
242
-
243
-
244
-
245
-
246
-
247
-
248
-
249
-
250
-
251
-
252
-
253
-
254
-
255
-
256
-
257
-
258
-
259
-
260
-
261
-
262
-
263
-
264
-
265
-
266
-
267
-
268
-
269
-
270
-
271
-
272
-
273
-
274
-
275
-
276
-
277
-
278
-
279
-
280
-
281
-
282
-
283
-
284
-
285
-
286
-
287
-
288
-
289
-
290
-
291
-
292
-
293
-
294
-
295
-
296
-
297
-
298
 |
 |