Samsung SPH-M340 User Manual (user Manual) (ver.f4) (English) - Page 51
Pictures, Options, Details, Number/Emai, Subject, Contact list, Right Option Button, select
 |
View all Samsung SPH-M340 manuals
Add to My Manuals
Save this manual to your list of manuals |
Page 51 highlights
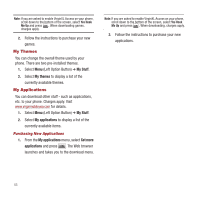
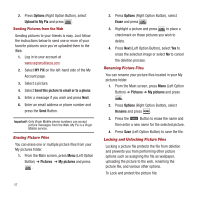
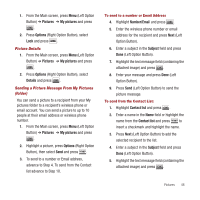
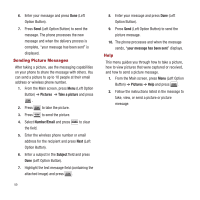
1. From the Main screen, press Menu (Left Option Button) ➔ Pictures ➔ My pictures and press . 2. Press Options (Right Option Button), select Lock and press . Picture Details 1. From the Main screen, press Menu (Left Option Button) ➔ Pictures ➔ My pictures and press . 2. Press Options (Right Option Button), select Details and press . Sending a Picture Message From My Pictures (folder) You can send a picture to a recipient from your My pictures folder to a recipient's wireless phone or email account. You can send a picture to up to 10 people at their email address or wireless phone number. 1. From the Main screen, press Menu (Left Option Button) ➔ Pictures ➔ My pictures and press . 2. Highlight a picture, press Options (Right Option Button), then select Send and press . 3. To send to a number or Email address, advance to Step 4. To send from the Contact list advance to Step 10. To send to a number or Email Address 4. Highlight Number/Email and press . 5. Enter the wireless phone number or email address for the recipient and press Next (Left Option Button). 6. Enter a subject in the Subject field and press Done (Left Option Button). 7. Highlight the text message field (containing the attached image) and press . 8. Enter your message and press Done (Left Option Button). 9. Press Send (Left Option Button) to send the picture message. To send from the Contact List: 1. Highlight Contact list and press . 2. Enter a name in the Name field or highlight the name from the Contact list and press to insert a checkmark and highlight the name. 3. Press Next (Left Option Button) to add the selected recipient to the list. 4. Enter a subject in the Subject field and press Done (Left Option Button). 5. Highlight the text message field (containing the attached image) and press . Pictures 48
-
 1
1 -
2
-
3
-
4
-
5
-
6
-
7
-
8
-
9
-
10
-
11
-
12
-
13
-
14
-
15
-
16
-
17
-
18
-
19
-
20
-
21
-
22
-
23
-
24
-
25
-
26
-
27
-
28
-
29
-
30
-
31
-
32
-
33
-
34
-
35
-
36
-
37
-
38
-
39
-
40
-
41
-
42
-
43
-
44
-
45
-
 46
46 -
 47
47 -
 48
48 -
 49
49 -
 50
50 -
 51
51 -
 52
52 -
 53
53 -
 54
54 -
 55
55 -
 56
56 -
57
-
58
-
59
-
60
-
61
-
62
-
63
-
64
-
65
-
66
-
67
-
68
-
69
-
70
-
71
-
72
-
73
-
74
-
75
-
76
-
77
-
78
-
79
-
80
-
81
-
82
-
83
-
84
-
85
-
86
-
87
-
88
-
89
-
90
-
91
-
92
-
93
-
94
-
95
-
96
-
97
-
98
-
99
-
100
 |
 |