Yamaha CLP-480 Owner's Manual - Page 12
Getting Started — Playing the Clavinova as a Piano, Turning the power
 |
View all Yamaha CLP-480 manuals
Add to My Manuals
Save this manual to your list of manuals |
Page 12 highlights
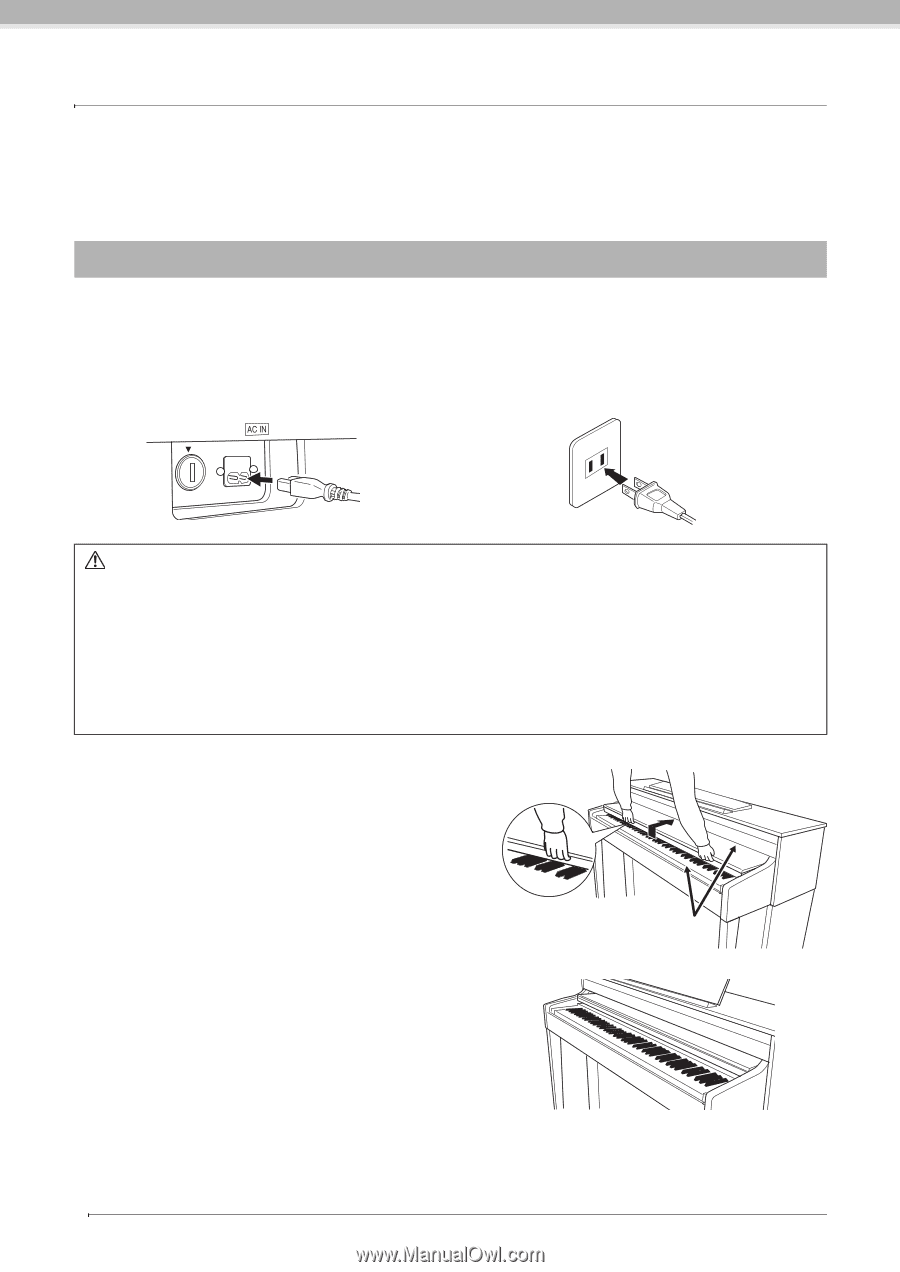
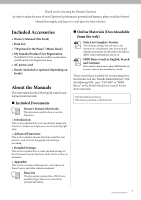
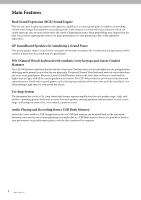
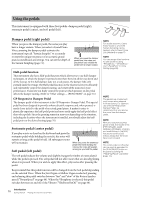
Getting Started - Playing the Clavinova as a Piano With the full set of pedals and expressive keyboard, this instrument can be played just like a real acoustic piano. This section shows you how to simply set up the instrument and play it. It also shows you how to use the built-in metronome, convenient for practice purposes. We've also included for your piano-playing pleasure "50 greats for the Piano" (Music Book) to help you master the instrument. Turning the power on 1. Connect the power cable. First insert the plug of the power cable into the AC connector on this instrument, then plug the other end of the cable into the proper AC outlet on the wall. For an illustration of the location of the [AC IN] connector, see "Panel Controls and Terminals" (page 11). In some areas a plug adaptor may be provided to match the pin configuration of the AC wall outlets in your area. 1-1 1-2 (The shape of plug differs depending on locale.) WARNING • Make sure your instrument is rated for the AC voltage supplied in the area in which it is to be used (voltage rating appears on the name plate on the bottom panel). In some areas, a voltage selector may be provided on the bottom panel of the main keyboard unit near the AC IN. Make sure that the voltage selector is set for the voltage in your area. Connecting the unit to the wrong AC supply can cause serious damage to the internal circuitry and may even pose a shock hazard! • Use only the AC power cord supplied with your instrument. If the supplied cord is lost or damaged and needs to be replaced, contact your Yamaha dealer. The use of an inappropriate replacement can pose a fire and shock hazard! • The type of AC power cord provided with your instrument may be different depending on the country in which it is purchased. (In some areas a plug adaptor may be provided to match the pin configuration of the AC wall outlets in your area.) Do NOT modify the plug provided with your instrument. If the plug will not fit the outlet, have a proper outlet installed by a qualified electrician. 2. Open the key cover. Lift the cover slightly, then push and slide it to end completely so that both the panel buttons and keyboard are visible. In this condition, you can make various panel operations such as Voice selection and Song recording/ playback as well as playing the keyboard. Be careful to avoid catching your fingers when opening/closing the cover. You can open the key cover so that only the keyboard appears. This hides the "electronic" panel controls and lets you feel as if you're playing an actual acoustic piano. 12 Introduction Getting Started - Playing the Clavinova as a Piano
-
 1
1 -
2
-
3
-
4
-
5
-
6
-
 7
7 -
 8
8 -
 9
9 -
 10
10 -
 11
11 -
 12
12 -
 13
13 -
 14
14 -
 15
15 -
 16
16 -
 17
17 -
18
-
19
-
20
-
21
-
22
-
23
-
24
-
25
-
26
-
27
-
28
-
29
-
30
-
31
-
32
-
33
-
34
-
35
-
36
-
37
-
38
-
39
-
40
-
41
-
42
-
43
-
44
-
45
-
46
-
47
-
48
-
49
-
50
-
51
-
52
-
53
-
54
-
55
-
56
-
57
-
58
-
59
-
60
-
61
-
62
-
63
-
64
-
65
-
66
-
67
-
68
-
69
-
70
-
71
-
72
-
73
-
74
-
75
-
76
-
77
-
78
-
79
-
80
-
81
-
82
-
83
-
84
-
85
-
86
-
87
-
88
-
89
-
90
-
91
-
92
-
93
-
94
-
95
-
96
 |
 |