Yamaha CLP-480 Owner's Manual - Page 43
Deleting files — “Delete”, Assign the name to the Song.
 |
View all Yamaha CLP-480 manuals
Add to My Manuals
Save this manual to your list of manuals |
Page 43 highlights
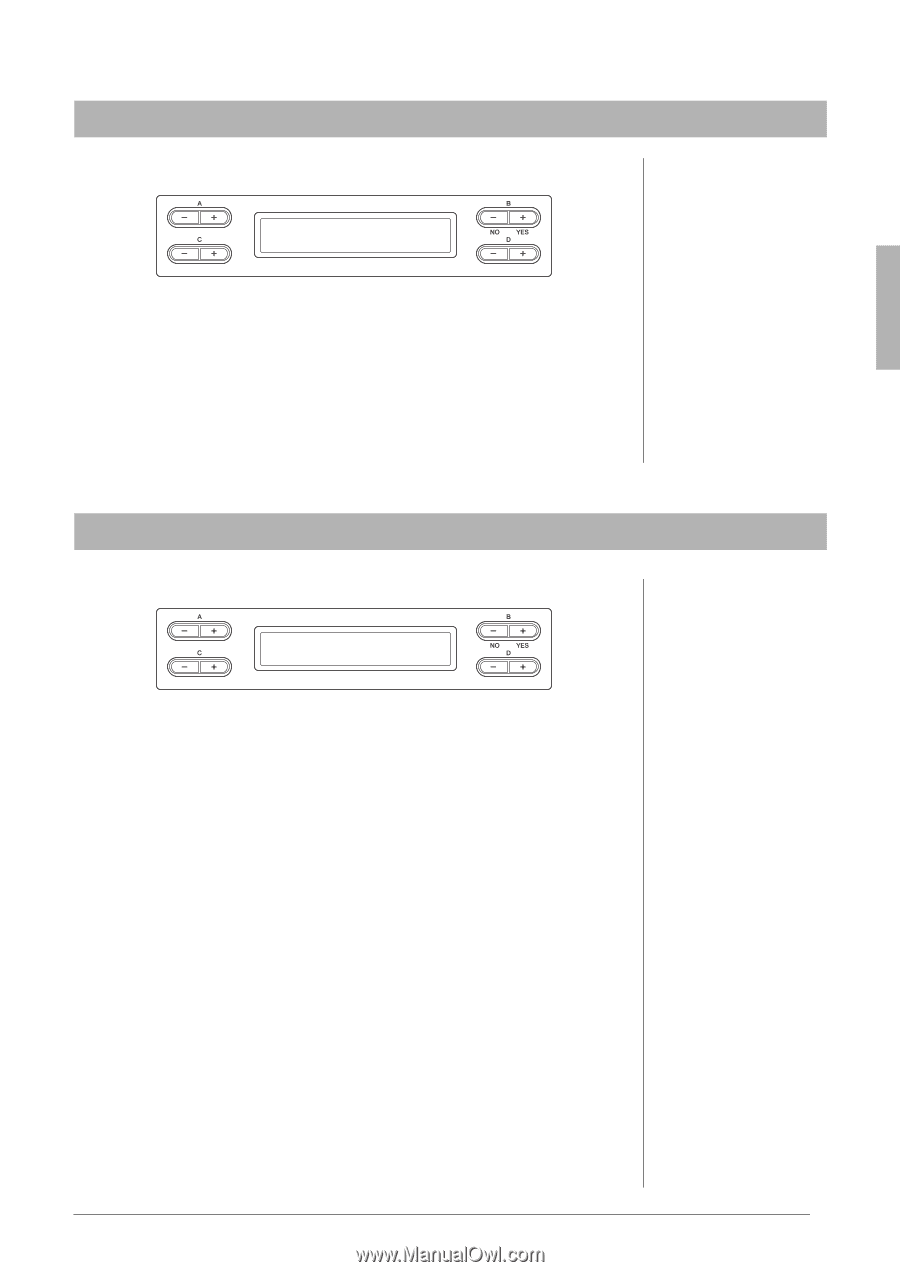
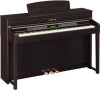
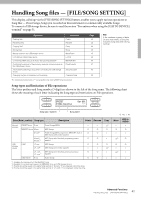
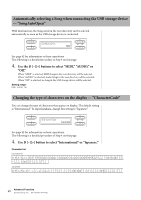
Deleting files - "Delete" For details about Song types which can be deleted, refer to page 41. DMe_0le0t1e: NewSong001 Start?_> See page 42 for information on basic operations. The following is a detailed procedure of Step 4 on that page. Press the B [+ (YES)] button located next to "Start?->" then follow the on-screen instructions. NOTICE Do not turn off the power or eject the USB storage device while "Executing" is shown in the display. NOTE Only empty folders containing no files can be deleted; folders containing a file or files cannot be deleted. NOTE The Song numbers following the deleted Song will be moved forward by one (to smaller numbers). Renaming files - "Rename" For details about Song types which can be renamed, refer to page 41. RMe_0n0a1me: NewSong001 Start?_> NOTE To rename a folder, select the desired folder in step 1 on page 42. The folder name can contain up to 50 characters. See page 42 for information on basic operations. The following is a detailed procedure of Step 4 on that page. 4-1 Press the B [+ (YES)] button located next to "Start?->." 4-2 Assign the name to the Song. Use the C [-]/[+] buttons to move the cursor (underline). Pressing both the buttons simultaneously will insert the space. Use the D [-]/[+] buttons to change the character at the current cursor position. Pressing both the buttons simultaneously will delete the character at the current cursor position. The Song name can contain up to 46 characters. The characters which exceed the display capacity and invisible can be called up by moving the cursor via the C [-]/[+] buttons. 4-3 Press the B [+ (YES)] button located next to "Name?->" then follow the on-screen instructions. After you rename a Song, this instrument sorts Songs alphabetically and renumbers them. NOTICE Do not turn off the power or disconnect the USB storage device while "Executing" is shown in the display. NOTE For information about the character type available for the Song name, refer to "Changing the type of characters in display - CharacterCode" on page 48. 43 Advanced Functions Handling Song files - [FILE/SONG SETTING]
-
 1
1 -
2
-
3
-
4
-
5
-
6
-
7
-
8
-
9
-
10
-
11
-
12
-
13
-
14
-
15
-
16
-
17
-
18
-
19
-
20
-
21
-
22
-
23
-
24
-
25
-
26
-
27
-
28
-
29
-
30
-
31
-
32
-
33
-
34
-
35
-
36
-
37
-
 38
38 -
 39
39 -
 40
40 -
 41
41 -
 42
42 -
 43
43 -
 44
44 -
 45
45 -
 46
46 -
 47
47 -
 48
48 -
49
-
50
-
51
-
52
-
53
-
54
-
55
-
56
-
57
-
58
-
59
-
60
-
61
-
62
-
63
-
64
-
65
-
66
-
67
-
68
-
69
-
70
-
71
-
72
-
73
-
74
-
75
-
76
-
77
-
78
-
79
-
80
-
81
-
82
-
83
-
84
-
85
-
86
-
87
-
88
-
89
-
90
-
91
-
92
-
93
-
94
-
95
-
96
 |
 |