Yamaha CLP-480 Owner's Manual - Page 38
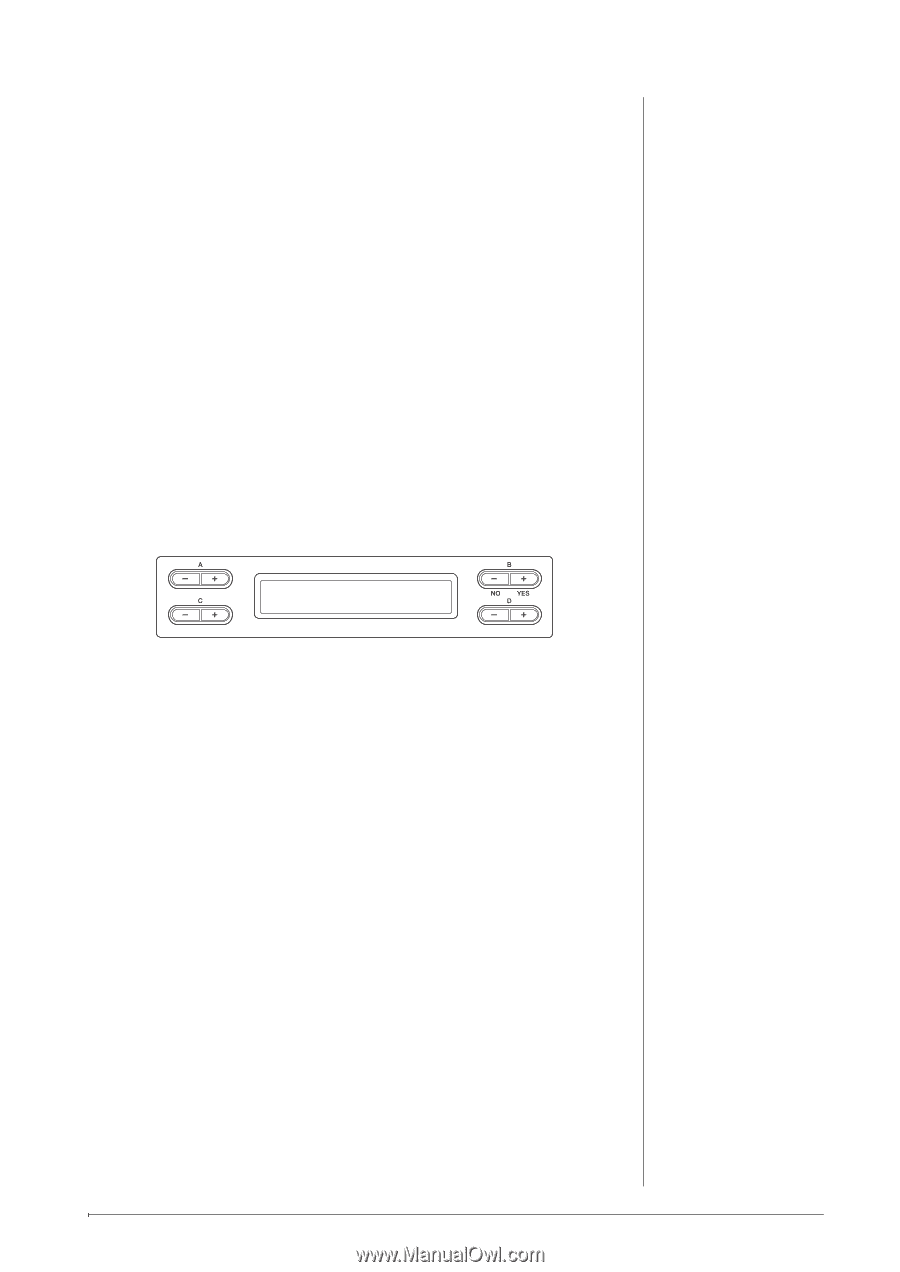
Call up the Record mode., Play the keyboard or press the [PLAY/PAUSE] button
 |
View all Yamaha CLP-480 manuals
Add to My Manuals
Save this manual to your list of manuals |
Page 38 highlights
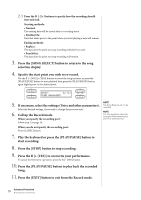
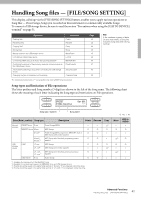
2-3 Press the D [-][+] buttons to specify how the recording should start and end. Starting methods: • Normal: The existing data will be erased after re-recording starts. • FirstKeyOn: Data that exists prior to the point where you start playing a note will remain. Ending methods: • Replace: The data after the point you stop recording will also be erased. • PunchOut: The data after the point you stop recording will remain. 3. Press the [SONG SELECT] button to return to the song selection display. 4. Specify the start point you wish to re-record. Use the B [- (NO)][+ (YES)] buttons to move the Song measure, or press the [PLAY/PAUSE] button to start playback then press the [PLAY/PAUSE] button again slightly prior to the desired point. MEMORY Bar 012 M_001 : NewSong001 5. If necessary, select the settings (Voice and other parameters). Select the desired settings, if you wish to change the previous ones. 6. Call up the Record mode. When you specify the recording part: Follow step 2 on page 36. When you do not specify the recording part: Press the [REC] button. 7. Play the keyboard or press the [PLAY/PAUSE] button to start recording. 8. Press the [STOP] button to stop recording. 9. Press the B [+ (YES)] to overwrite your performance. To cancel the Overwrite operation, press the B [- (NO)] button. 10. Press the [PLAY/PAUSE] button to play back the recorded Song. 11. Press the [EXIT] button to exit from the Record mode. NOTE The Song Balance will not be recorded. NOTE The time signature cannot be changed when replacing the part of an existing Song. 38 Advanced Functions Recording your performance
-
 1
1 -
2
-
3
-
4
-
5
-
6
-
7
-
8
-
9
-
10
-
11
-
12
-
13
-
14
-
15
-
16
-
17
-
18
-
19
-
20
-
21
-
22
-
23
-
24
-
25
-
26
-
27
-
28
-
29
-
30
-
31
-
32
-
 33
33 -
 34
34 -
 35
35 -
 36
36 -
 37
37 -
 38
38 -
 39
39 -
 40
40 -
 41
41 -
 42
42 -
 43
43 -
44
-
45
-
46
-
47
-
48
-
49
-
50
-
51
-
52
-
53
-
54
-
55
-
56
-
57
-
58
-
59
-
60
-
61
-
62
-
63
-
64
-
65
-
66
-
67
-
68
-
69
-
70
-
71
-
72
-
73
-
74
-
75
-
76
-
77
-
78
-
79
-
80
-
81
-
82
-
83
-
84
-
85
-
86
-
87
-
88
-
89
-
90
-
91
-
92
-
93
-
94
-
95
-
96
 |
 |