Yamaha CLP-480 Owner's Manual - Page 46
Formatting a USB storage device — “Format”
 |
View all Yamaha CLP-480 manuals
Add to My Manuals
Save this manual to your list of manuals |
Page 46 highlights
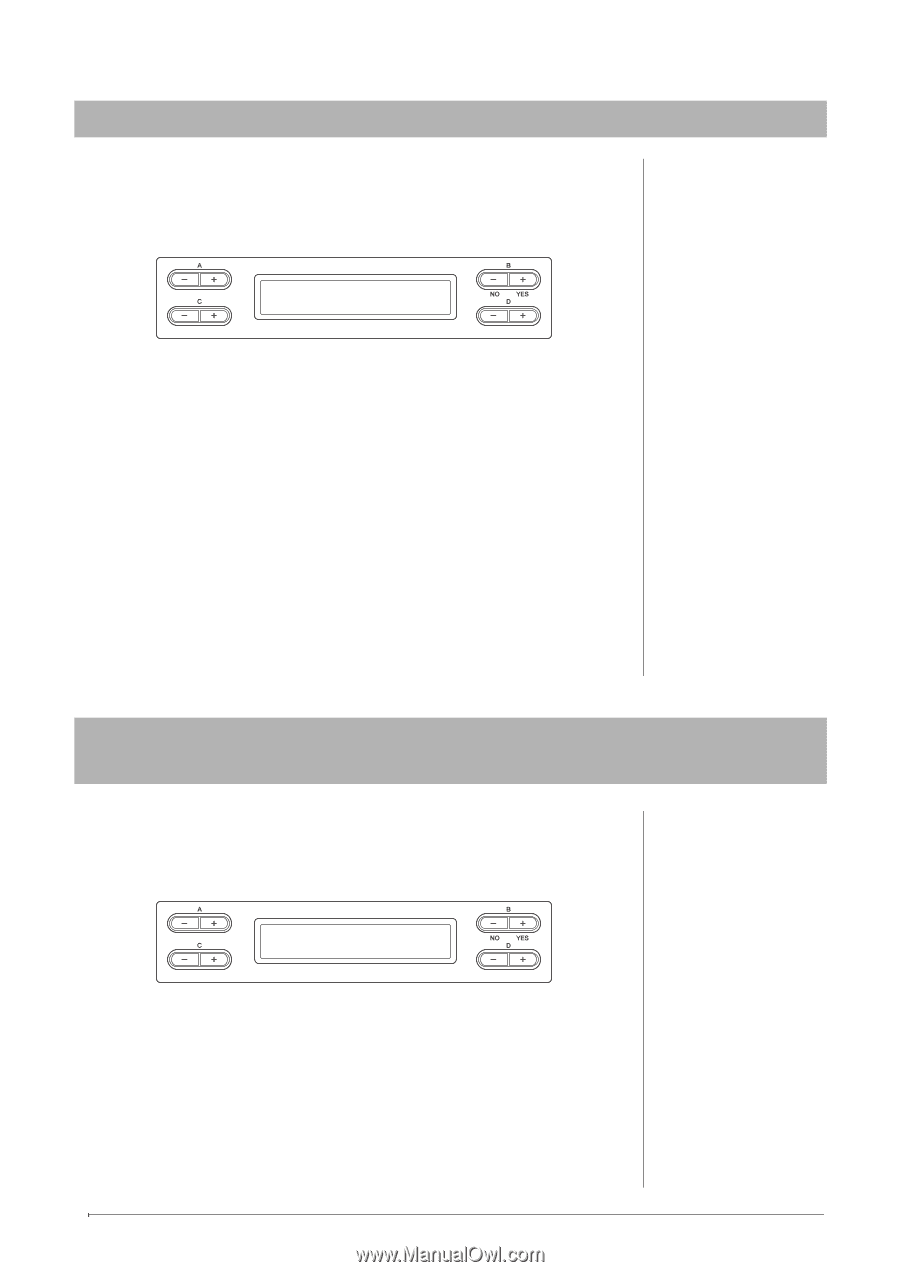
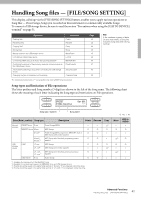
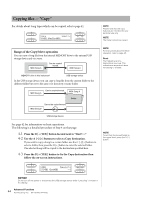
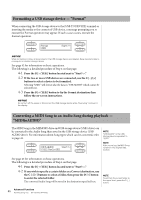
Formatting a USB storage device - "Format" When connecting the USB storage device to the [USB TO DEVICE] terminal or inserting the media to the connected USB device, a message prompting you to execute the Format operation may appear. If such a case occurs, execute the Format operation. Format USB1 Start?_> NOTICE When formatting is done, all data stored in the USB storage device are deleted. Save important data to a computer or another storage device. See page 42 for information on basic operations. The following is a detailed procedure of Step 4 on that page. 4-1 Press the B [+ (YES)] button located next to "Start?->." 4-2 If the two or more USB devices are connected, use the C [-]/[+] buttons to select a device to be formatted. Selecting "USB1" will format also the data in "USB AUDIO" which cannot be selected here. 4-3 Press the B [+ (YES)] button to fix the Format destination then follow the on-screen instructions. NOTICE Do not turn off the power or disconnect the USB storage device while "Executing" is shown in the display. Converting a MIDI Song to an Audio Song during playback - "MIDItoAUDIO" The MIDI Song in the MEMORY drive and USB storage device (USB1 drive) can be converted to the Audio Song then saved in the USB storage device (USB AUDIO drive). For information about Song types which can be converted, refer to page 41. MIDItoAUDIO Start?_> M-001 : NewSong001 NOTE "USB AUDIO" is the USB storage device equivalent to "USB1." NOTE After converting, the MIDI Song remains in the original data location. See page 42 for information on basic operations. The following is a detailed procedure of Step 4 on that page. 4-1 Press the B [+ (YES)] button located next to "Start?->." 4-2 If you wish to specify a certain folder as a Convert destination, use the C [-][+] buttons to select a folder, then press the D [+] button to enter the selected folder. The converted Audio Song will be saved in the destination specified here. NOTE To exit from the current folder to the upper level, press the D [-] button. 46 Advanced Functions Handling Song files - [FILE/SONG SETTING]
-
 1
1 -
2
-
3
-
4
-
5
-
6
-
7
-
8
-
9
-
10
-
11
-
12
-
13
-
14
-
15
-
16
-
17
-
18
-
19
-
20
-
21
-
22
-
23
-
24
-
25
-
26
-
27
-
28
-
29
-
30
-
31
-
32
-
33
-
34
-
35
-
36
-
37
-
38
-
39
-
40
-
 41
41 -
 42
42 -
 43
43 -
 44
44 -
 45
45 -
 46
46 -
 47
47 -
 48
48 -
 49
49 -
 50
50 -
 51
51 -
52
-
53
-
54
-
55
-
56
-
57
-
58
-
59
-
60
-
61
-
62
-
63
-
64
-
65
-
66
-
67
-
68
-
69
-
70
-
71
-
72
-
73
-
74
-
75
-
76
-
77
-
78
-
79
-
80
-
81
-
82
-
83
-
84
-
85
-
86
-
87
-
88
-
89
-
90
-
91
-
92
-
93
-
94
-
95
-
96
 |
 |