Yamaha CLP-480 Owner's Manual - Page 47
Yamaha CLP-480 Manual
 |
View all Yamaha CLP-480 manuals
Add to My Manuals
Save this manual to your list of manuals |
Page 47 highlights
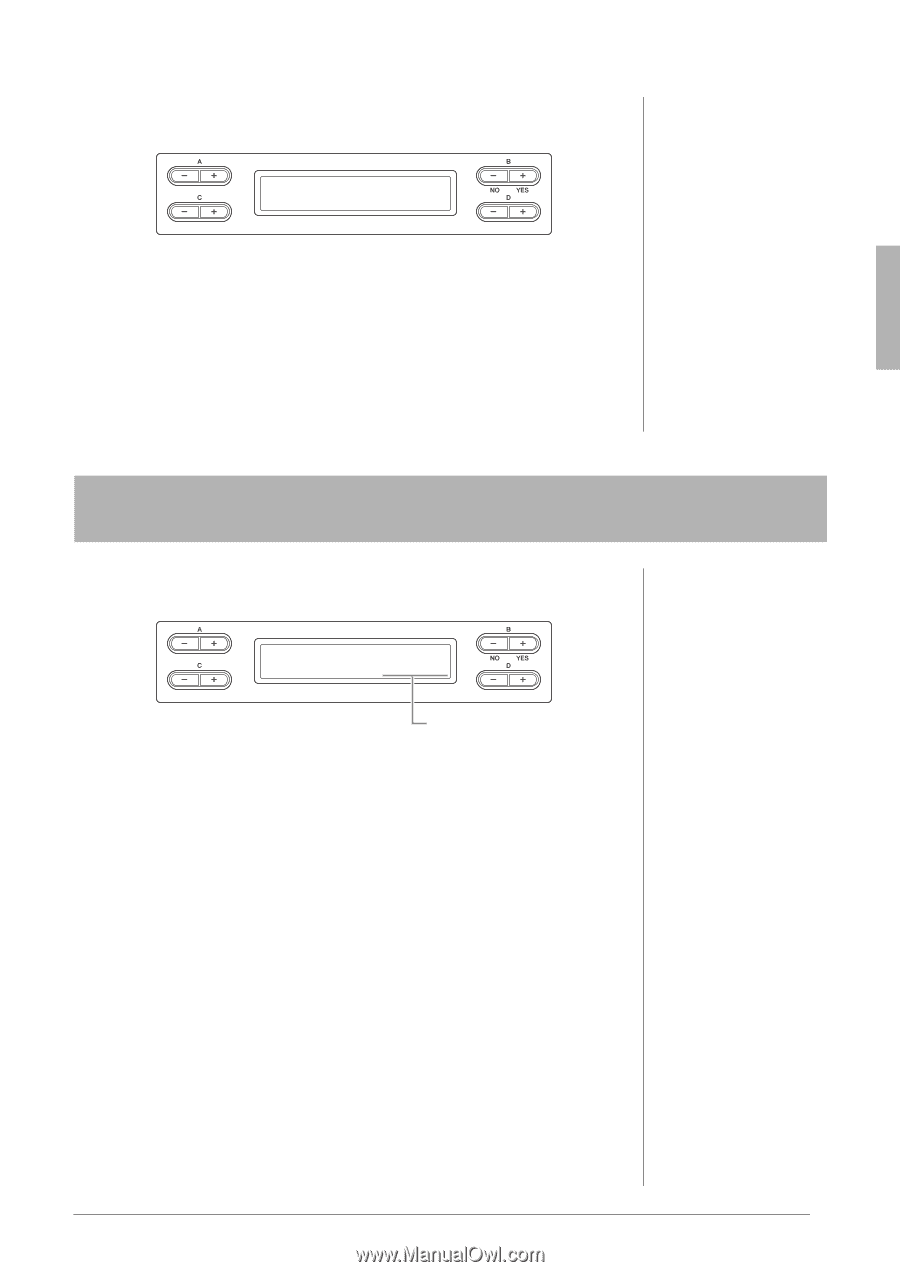
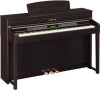
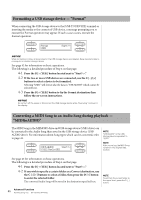
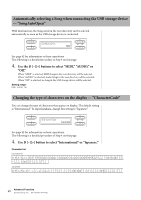
4-3 Press the B [+ (YES)] button to fix the Convert destination then follow the on-screen instructions. UAS_0B0A1U:DSIOong001Convert to_?/_>_ 4-4 Press the B [+ (YES)] button located next to "Sure?->" to execute the MIDI to AUDIO operation. This operation starts playback and conversion from MIDI to Audio. After starting playback (conversion), wait until playback ends. This is necessary because the MIDI Song is re-recorded in real time during playback to an Audio Song. This status is equivalent to that of Audio Song Recording, allowing you to record your keyboard performance and audio signals via the AUX IN jack (such as the microphone sound). When the conversion is completed, "Completed" will appear in the display. Confirming the amount of free memory area and all memory area on the USB storage device - "DriveProperty" This function shows the amount of remaining memory and entire memory in the USB storage device. DriveProperty USB1 FreeArea 1532Mbyte Capacity See page 42 for information on basic operations. The following is a detailed procedure of Step 4 on that page. 4-1 If two or more USB devices are connected, use the B [-]/[+] buttons to select the device whose memory capacity you wish to check. The same amount of memory capacity will be shown when selecting either "USB1" or "USB AUDIO." 4-2 Use the C [-][+] buttons to select "FreeArea" or "AllArea." FreeArea: Amount of the remaining memory capacity. AllArea: Amount of the entire memory capacity. 47 Advanced Functions Handling Song files - [FILE/SONG SETTING]
-
 1
1 -
2
-
3
-
4
-
5
-
6
-
7
-
8
-
9
-
10
-
11
-
12
-
13
-
14
-
15
-
16
-
17
-
18
-
19
-
20
-
21
-
22
-
23
-
24
-
25
-
26
-
27
-
28
-
29
-
30
-
31
-
32
-
33
-
34
-
35
-
36
-
37
-
38
-
39
-
40
-
41
-
 42
42 -
 43
43 -
 44
44 -
 45
45 -
 46
46 -
 47
47 -
 48
48 -
 49
49 -
 50
50 -
 51
51 -
 52
52 -
53
-
54
-
55
-
56
-
57
-
58
-
59
-
60
-
61
-
62
-
63
-
64
-
65
-
66
-
67
-
68
-
69
-
70
-
71
-
72
-
73
-
74
-
75
-
76
-
77
-
78
-
79
-
80
-
81
-
82
-
83
-
84
-
85
-
86
-
87
-
88
-
89
-
90
-
91
-
92
-
93
-
94
-
95
-
96
 |
 |