Epson R340 Printer Basics - Page 53
Adjusting the LCD Brightness - print head
 |
UPC - 010343855632
View all Epson R340 manuals
Add to My Manuals
Save this manual to your list of manuals |
Page 53 highlights
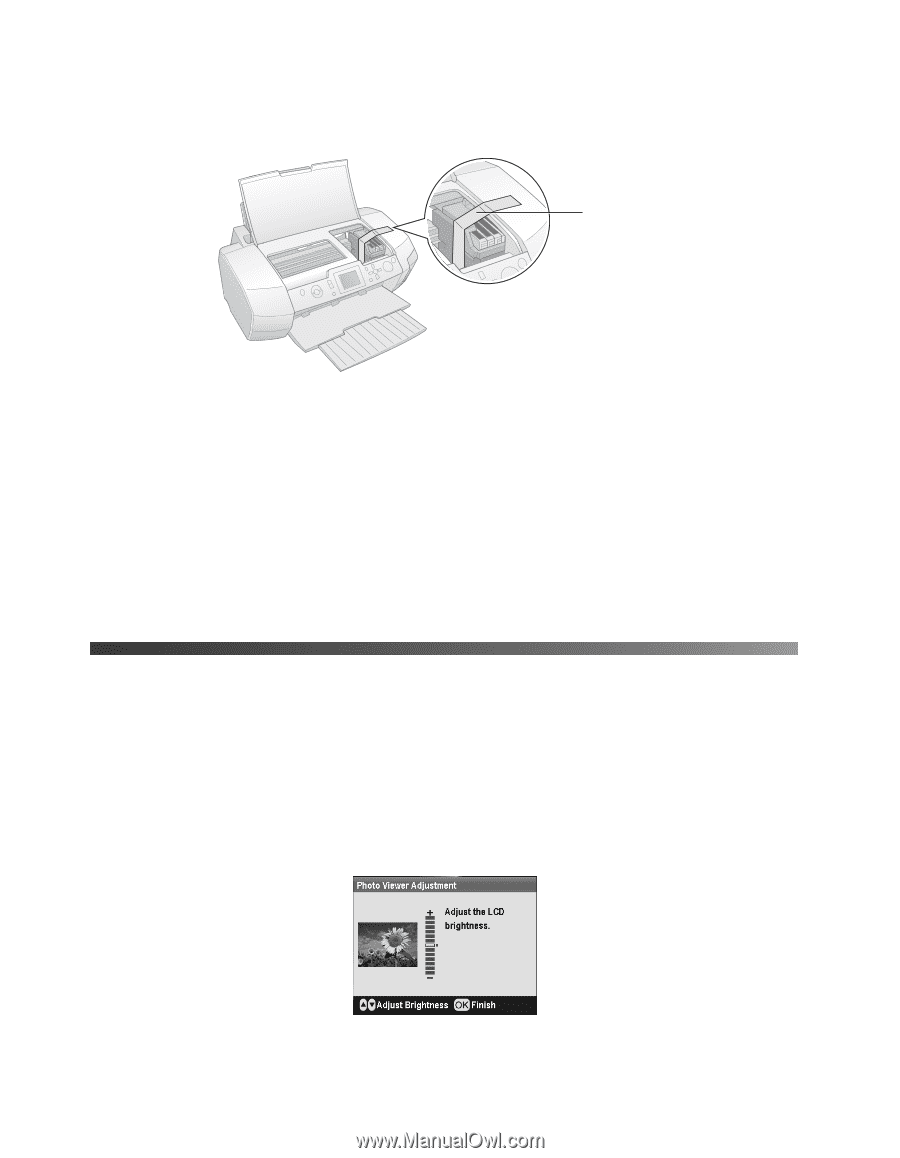
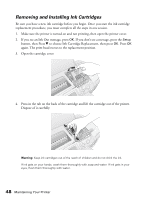
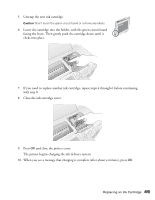
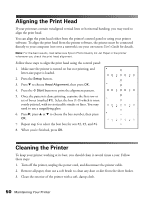
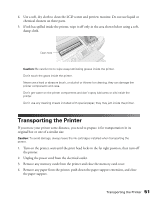
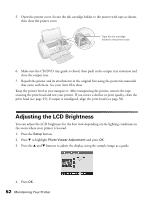
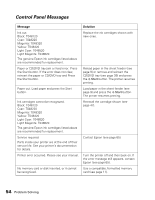
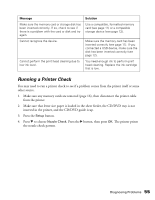
5. Open the printer cover. Secure the ink cartridge holder to the printer with tape as shown, then close the printer cover. Tape the ink cartridge holder to the printer case 6. Make sure the CD/DVD tray guide is closed, then push in the output tray extension and close the output tray. 7. Repack the printer and its attachments in the original box using the protective materials that came with them. See your Start Here sheet. Keep the printer level as you transport it. After transporting the printer, remove the tape securing the print head and test your printer. If you notice a decline in print quality, clean the print head (see page 45); if output is misaligned, align the print head (see page 50). Adjusting the LCD Brightness You can adjust the LCD brightness for the best view depending on the lighting conditions in the room where your printer is located. 1. Press the Setup button. 2. Press d to highlight Photo Viewer Adjustment and press OK. 3. Press the u and d buttons to adjust the display, using the sample image as a guide. 4. Press OK. 52 Maintaining Your Printer
-
 1
1 -
2
-
3
-
4
-
5
-
6
-
7
-
8
-
9
-
10
-
11
-
12
-
13
-
14
-
15
-
16
-
17
-
18
-
19
-
20
-
21
-
22
-
23
-
24
-
25
-
26
-
27
-
28
-
29
-
30
-
31
-
32
-
33
-
34
-
35
-
36
-
37
-
38
-
39
-
40
-
41
-
42
-
43
-
44
-
45
-
46
-
47
-
 48
48 -
 49
49 -
 50
50 -
 51
51 -
 52
52 -
 53
53 -
 54
54 -
 55
55 -
 56
56 -
 57
57 -
 58
58 -
59
-
60
-
61
-
62
-
63
-
64
-
65
-
66
-
67
-
68
-
69
-
70
-
71
-
72
-
73
-
74
-
75
-
76
-
77
-
78
-
79
-
80
-
81
 |
 |