Samsung SGH-T929 User Manual (user Manual) (ver.f5) (English) - Page 68
Camera, Record voice, Send to, Recent recipients, Online Album, New email, New number, cameo frame
 |
View all Samsung SGH-T929 manuals
Add to My Manuals
Save this manual to your list of manuals |
Page 68 highlights
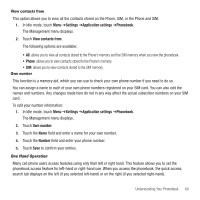
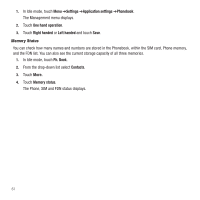
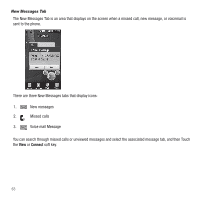
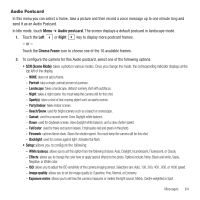
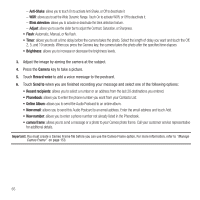
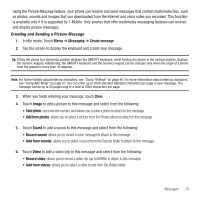
- Anti-Shake: allows you to touch On to activate Anti-Shake, or Off to deactivate it. - WDR: allows you to set the Wide Dynamic Range. Touch On to activate WDR, or Off to deactivate it. - Blink detection: allows you to activate or deactivate the blink detection feature. - Adjust: allows you to use the slider bar to adjust the Contrast, Saturation, or Sharpness. • Flash: Automatic, Manual, or No flash. • Timer: allows you to set a time delay before the camera takes the photo. Select the length of delay you want and touch the Off, 2, 5, and 10 seconds. When you press the Camera key, the camera takes the photo after the specified time elapses. • Brightness: allows you to increase or decrease the brightness levels. 3. Adjust the image by aiming the camera at the subject. 4. Press the Camera key to take a picture. 5. Touch Record voice to add a voice message to the postcard. 6. Touch Send to when you are finished recording your message and select one of the following options: • Recent recipients: allows you to select a number or an address from the last 20 destinations you entered. • Phonebook: allows you to enter the phone number you want from your Contacts List. • Online Album: allows you to send the Audio Postcard to an online album. • New email: allows you to send this Audio Postcard to an email address. Enter the email address and touch Add. • New number: allows you to enter a phone number not already listed in the Phonebook. • cameo frame: allows you to send a message or a photo to your Cameo photo frame. Call your customer service representative for additional details. Important!: You must create a Cameo Frame file before you can use the Cameo Frame option. For more information, refer to "Manage Cameo Frame" on page 153. 65
-
 1
1 -
2
-
3
-
4
-
5
-
6
-
7
-
8
-
9
-
10
-
11
-
12
-
13
-
14
-
15
-
16
-
17
-
18
-
19
-
20
-
21
-
22
-
23
-
24
-
25
-
26
-
27
-
28
-
29
-
30
-
31
-
32
-
33
-
34
-
35
-
36
-
37
-
38
-
39
-
40
-
41
-
42
-
43
-
44
-
45
-
46
-
47
-
48
-
49
-
50
-
51
-
52
-
53
-
54
-
55
-
56
-
57
-
58
-
59
-
60
-
61
-
62
-
 63
63 -
 64
64 -
 65
65 -
 66
66 -
 67
67 -
 68
68 -
 69
69 -
 70
70 -
 71
71 -
 72
72 -
 73
73 -
74
-
75
-
76
-
77
-
78
-
79
-
80
-
81
-
82
-
83
-
84
-
85
-
86
-
87
-
88
-
89
-
90
-
91
-
92
-
93
-
94
-
95
-
96
-
97
-
98
-
99
-
100
-
101
-
102
-
103
-
104
-
105
-
106
-
107
-
108
-
109
-
110
-
111
-
112
-
113
-
114
-
115
-
116
-
117
-
118
-
119
-
120
-
121
-
122
-
123
-
124
-
125
-
126
-
127
-
128
-
129
-
130
-
131
-
132
-
133
-
134
-
135
-
136
-
137
-
138
-
139
-
140
-
141
-
142
-
143
-
144
-
145
-
146
-
147
-
148
-
149
-
150
-
151
-
152
-
153
-
154
-
155
-
156
-
157
-
158
-
159
-
160
-
161
-
162
-
163
-
164
-
165
-
166
-
167
-
168
-
169
-
170
-
171
-
172
-
173
-
174
-
175
-
176
-
177
-
178
-
179
-
180
-
181
-
182
-
183
-
184
-
185
-
186
-
187
-
188
-
189
-
190
-
191
-
192
-
193
-
194
-
195
-
196
-
197
-
198
-
199
-
200
 |
 |