Epson Expression 800 User Setup Information - Page 22
Connect the Scanner to Your Computer
 |
View all Epson Expression 800 manuals
Add to My Manuals
Save this manual to your list of manuals |
Page 22 highlights
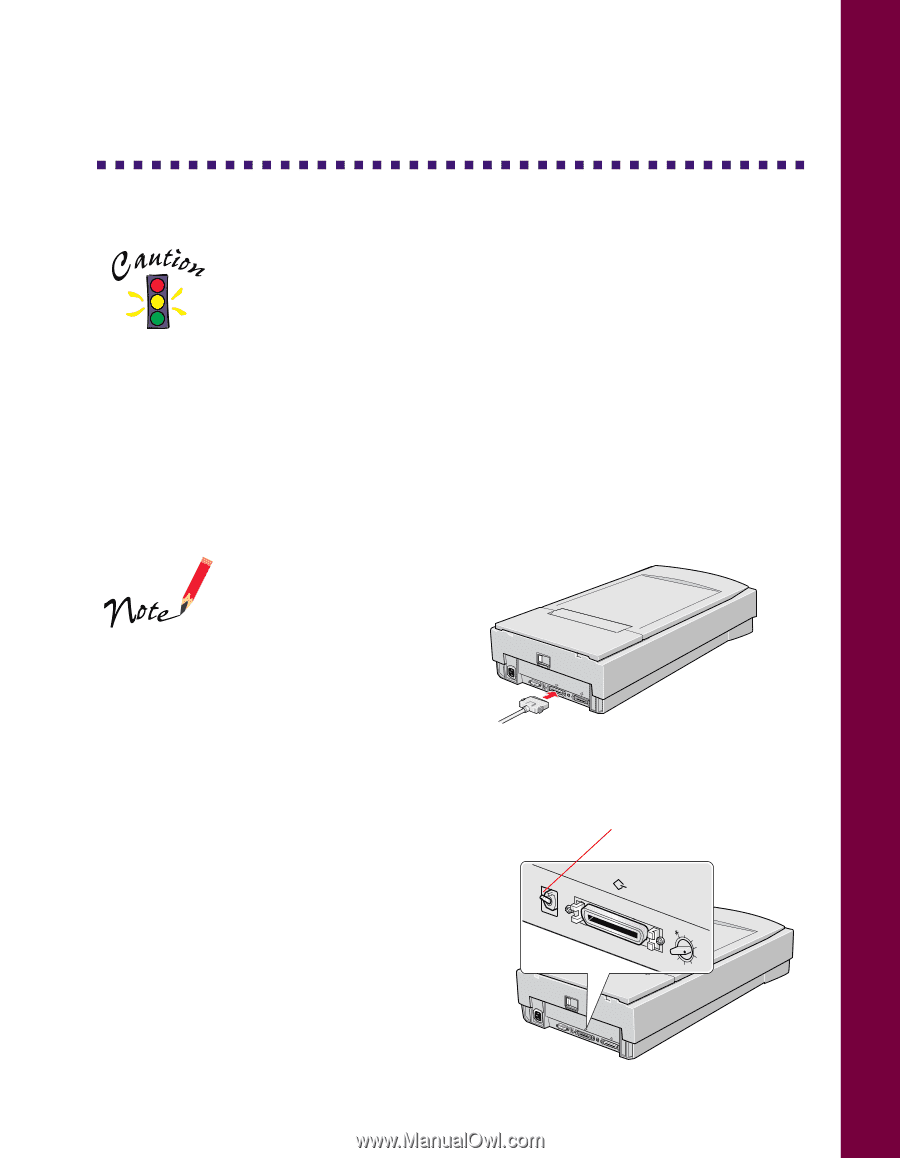
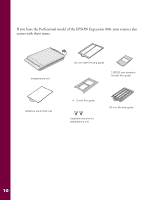
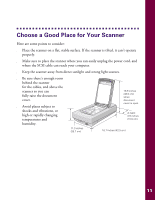
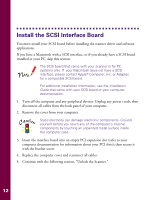
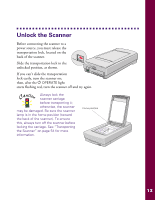
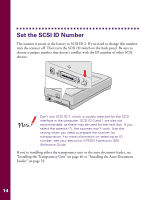
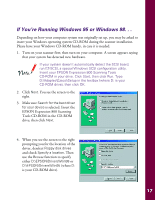
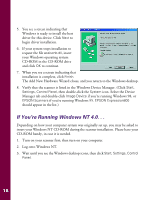
Connect the Scanner to Your Computer Make sure the scanner, computer, and any SCSI devices connected to your computer are turned off. The scanner is off when the P OPERATE button is out (not pushed down below the surface of the front panel). 1. Locate the SCSI cable that came with your scanner. 2. Squeeze the lock releases on the lock connector end of the SCSI cable and plug the cable into either SCSI connector on the back of the scanner. The cable is secure when both connector locks snap in. 3. Connect the pin end of the SCSI cable to the SCSI port on your computer or another SCSI device in the chain and tighten the screws to secure the cable. If you are connecting multiple SCSI devices, the total length of the SCSI bus (cables) must not exceed 19.7 feet (6 meters); otherwise the system may not work properly. UNLOCK LOCK OPTION TOENRMSINWATOR OFF SCSI ID 0 1 7 2 6 5 43 Do not use an external terminator. For more information on SCSI connections, see your electronic EPSON Expression 800 Reference Guide. 4. Locate the SCSI terminator switch at the rear of the scanner. If the scanner is the only SCSI device in the chain or if it's the last device in the chain, leave the terminator turned on. Turn the terminator switch off if you've connected your scanner in the middle of a SCSI chain. 5. Plug in the power cables for your computer, scanner, and other external SCSI devices. terminator switch ON OFF UNLOCK LOCK OPTION TOENRMSINWATOR OFF SCSI ID 0 1 7 2 6 5 43 1 7 2 6 54 15
-
 1
1 -
2
-
3
-
4
-
5
-
6
-
7
-
8
-
9
-
10
-
11
-
12
-
13
-
14
-
15
-
16
-
 17
17 -
 18
18 -
 19
19 -
 20
20 -
 21
21 -
 22
22 -
 23
23 -
 24
24 -
 25
25 -
 26
26 -
 27
27 -
28
-
29
-
30
-
31
-
32
-
33
-
34
-
35
-
36
-
37
-
38
-
39
-
40
-
41
-
42
-
43
-
44
-
45
-
46
-
47
-
48
-
49
-
50
-
51
-
52
-
53
-
54
-
55
-
56
-
57
-
58
-
59
-
60
-
61
-
62
-
63
-
64
-
65
-
66
-
67
-
68
-
69
-
70
-
71
-
72
-
73
-
74
-
75
-
76
-
77
-
78
-
79
-
80
-
81
 |
 |