JVC GY-HM100U Instructions - Page 28
ing the Camcorder in the, Video Shooting Mode, continued - low light
 |
UPC - 046838039522
View all JVC GY-HM100U manuals
Add to My Manuals
Save this manual to your list of manuals |
Page 28 highlights
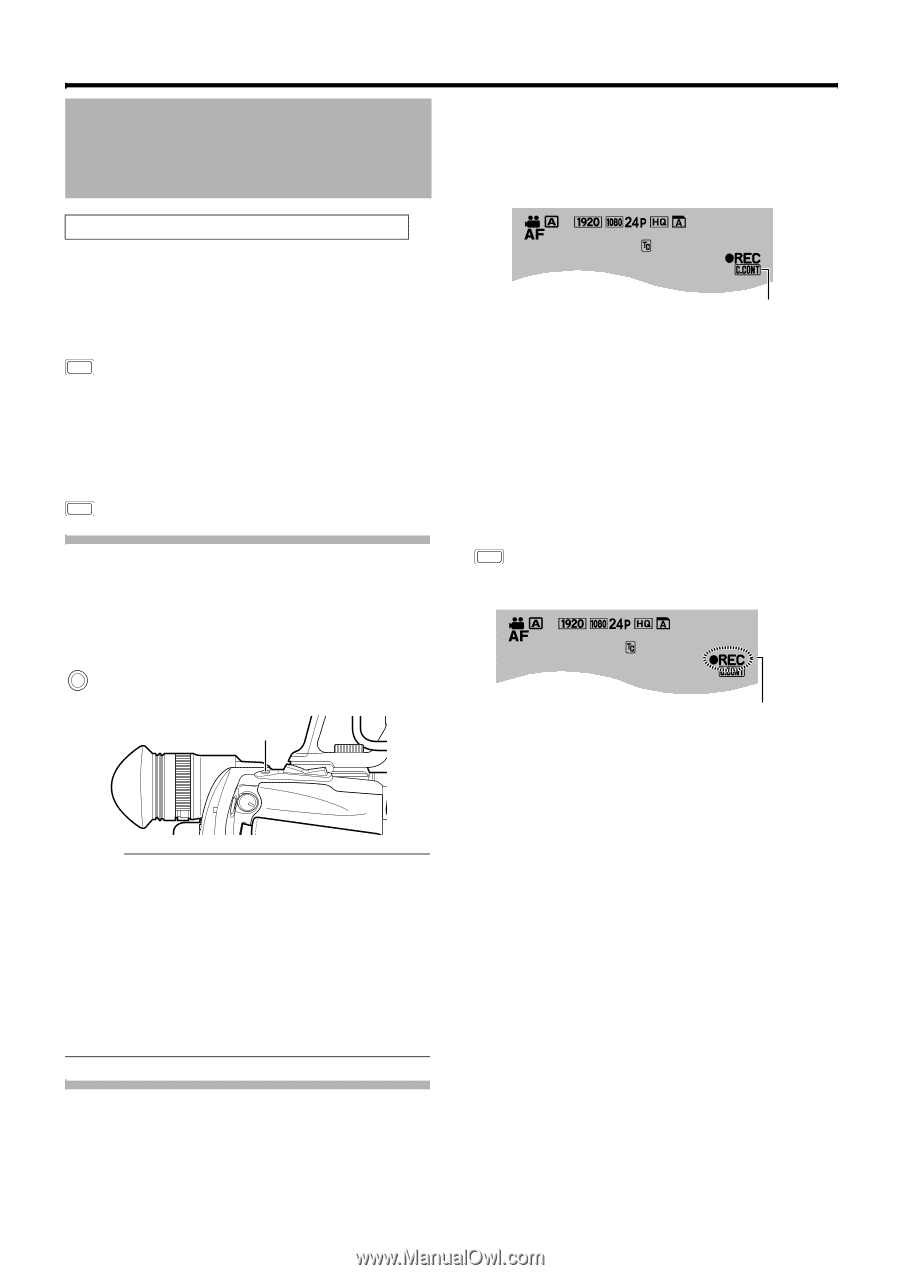
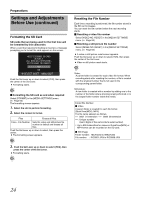
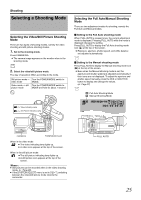
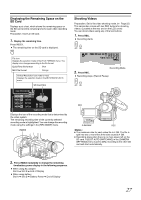
Shooting Using the Camcorder in the Video Shooting Mode (continued) Checking the most recently recorded video 1 . Set to the Record Pause mode. 2 . Press Q.REVIEW. ● The last 5 seconds of the preceding scene is played back. ● After playback ends, the video switches to the Record Pause mode. Q.REVIEW To start recording immediately during quick review, press REC twice. Ⅵ Deleting the preceding scene file During quick review, press the USER button that is set as [DELETE]. Assigning functions to the USER buttons: (A Page 21, 65) USER Capturing Still Pictures in the Video Shooting Mode Press SNAPSHOT all the way down during recording or pause mode. ● When a still picture is captured, APHOTOB appears on the monitor screen. SNAP SHOT SNAPSHOT Memo : ● Up to three still pictures can be captured during each recording. ● When recording is in the pause mode, an unlimited number of still pictures can be captured as long as there is sufficient space on the SD card. However, Automatic Slot Switch is disabled in this case. ● Still pictures are not captured if SNAPSHOT is pressed halfway. ● Still pictures are captured at a size of 1920 x 1080. ● Continuous shooting, bracket shooting, and the self-timer features are invalid. ● When the [SYSTEM SELECT] menu is set to [720-**], still pictures cannot be captured. Recording Multiple Clips as a Continuous File Normally, each recording process is saved as a separate file in the SD card. 28 By using the continuous clip recording feature, however, multiple clips with pauses in between the recordings can be created into a single video file. Ⅵ Set to the continuous clip recording mode Set the [CLIP CONTINUOUS REC] menu to [ON]. ● AC.CONTB appears on the screen. [0h57m] B [5h12m] 00:12:34:01 C.CONT ● While the [CLIP CONTINUOUS REC] menu is set to [ON], the RREC icon lights up in orange during Record Pause mode. Ⅵ Ending the file To end the file during recording: Press REC for 1 second or longer. To end the file during Record Pause mode: Press the USER button that is set as [CLIP CONTINUOUS OFF]. Assigning functions to the USER buttons: (A Page 21, 65) Alternatively, set the [CLIP CONTINUOUS REC] menu to [OFF]. USER ● When you are ending the file, the RREC icon on the screen blinks in orange. [0h57m] B [5h12m] 00:12:34:01 Blinks in orange Ⅵ Precautions during recording ● Do not remove the SD card. To remove the SD card, end the file first. ● When the remaining space on the SD card runs out, recording stops and the file is ended. ● When the [POWER] switch is turned off or when power is low due to low battery power, recording stops and power is cut off after the file is ended. Ⅵ Precautions during Record Pause mode (RREC icon lights up in orange) ● It is not possible to change to the playback or still picture mode. To change the operation mode, end the file first. ● Quick review does not function. To play back using quick review, close the file. ● Do not remove the SD card. To remove the SD card, end the file first. ● When the [POWER] switch is turned off or when power is low due to low battery power, recording stops and power is cut off after the file is ended. ● Do not turn off the power directly by detaching the battery or removing the AC adapter.
-
 1
1 -
2
-
3
-
4
-
5
-
6
-
7
-
8
-
9
-
10
-
11
-
12
-
13
-
14
-
15
-
16
-
17
-
18
-
19
-
20
-
21
-
22
-
 23
23 -
 24
24 -
 25
25 -
 26
26 -
 27
27 -
 28
28 -
 29
29 -
 30
30 -
 31
31 -
 32
32 -
 33
33 -
34
-
35
-
36
-
37
-
38
-
39
-
40
-
41
-
42
-
43
-
44
-
45
-
46
-
47
-
48
-
49
-
50
-
51
-
52
-
53
-
54
-
55
-
56
-
57
-
58
-
59
-
60
-
61
-
62
-
63
-
64
-
65
-
66
-
67
-
68
-
69
-
70
-
71
-
72
-
73
-
74
-
75
-
76
 |
 |