Kyocera C270N Operation Guide - Page 46
Deleting a Quick Copy Job, Using Proof-and-Hold, >Quick Copy, Harold, Arlen, >Arlen, Report
 |
UPC - 632983011935
View all Kyocera C270N manuals
Add to My Manuals
Save this manual to your list of manuals |
Page 46 highlights
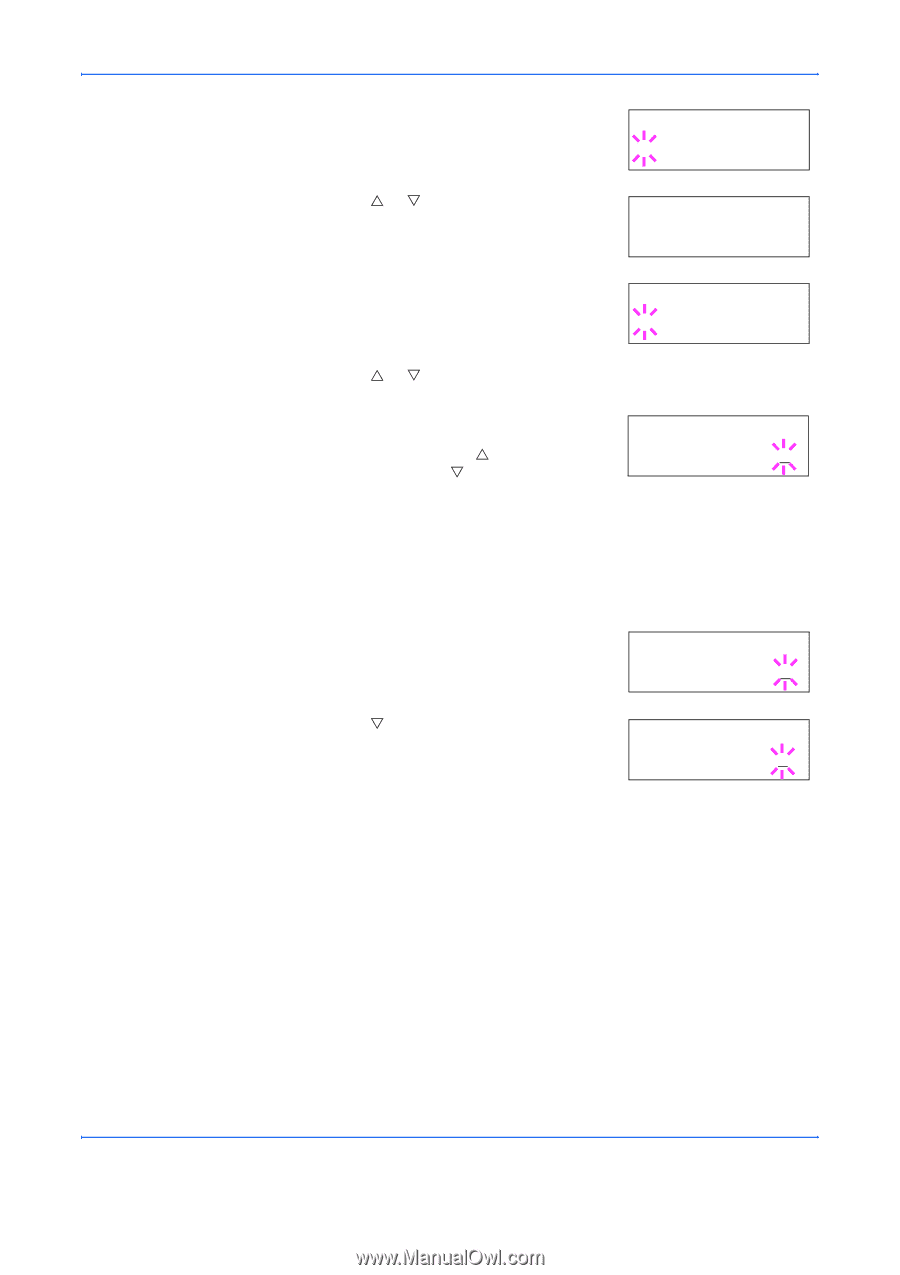
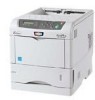
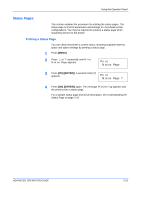
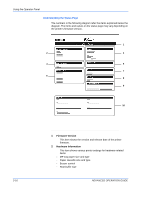
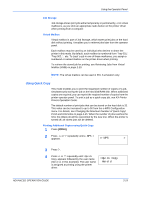
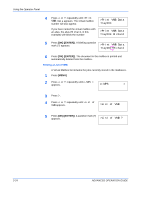
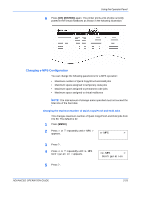
Using the Operator Panel 5 Press [OK] ([ENTER]). A blinking question mark (?) appears before the user name. >Quick Copy ?Harold 6 Press U or V to display the desired user name, Arlen, in this example. >Quick Copy ?Arlen 7 Press [OK] ([ENTER]). The job name entered in the printer driver (Report, in this >Arlen example) appear with a blinking question ?Report mark (?) before the letters. 8 Press U or V to scroll to the desired job title. 9 Press [OK] ([ENTER]). The number of copies to be printed can be set. To increase >Report the copy count, press U; to decrease the Copies copy count, press V. 001 10 Press [OK] ([ENTER]) to finalize the copy count. The printer prints the specified number of copies for the job. Deleting a Quick Copy Job 1 Follow steps 1 through 8 in the above section to let the title of the job to be deleted displayed. 2 When the title of the job to be deleted is displayed, e.g. Report, press [OK] ([ENTER]). The cursor below the copy count starts to blink. >Report Copies 001 3 Press V repeatedly until Delete appears below the title. >Report Delete 4 Press [OK] ([ENTER]). The stored quick copy job is deleted. Using Proof-and-Hold When you print multiple copies, this mode first prints one copy so that you can proof it before continuing to print the remaining copies. Since you can proof the printouts before printing the remaining copies, wastage of paper can be reduced. The printer prints one copy and, at the same time, saves the print job on the hard disk/RAM disk. You can also change the number of copies when resuming printing from the operator panel. When the printer is turned off, all stored jobs will be deleted. 2-20 ADVANCED OPERATION GUIDE
-
 1
1 -
2
-
3
-
4
-
5
-
6
-
7
-
8
-
9
-
10
-
11
-
12
-
13
-
14
-
15
-
16
-
17
-
18
-
19
-
20
-
21
-
22
-
23
-
24
-
25
-
26
-
27
-
28
-
29
-
30
-
31
-
32
-
33
-
34
-
35
-
36
-
37
-
38
-
39
-
40
-
 41
41 -
 42
42 -
 43
43 -
 44
44 -
 45
45 -
 46
46 -
 47
47 -
 48
48 -
 49
49 -
 50
50 -
 51
51 -
52
-
53
-
54
-
55
-
56
-
57
-
58
-
59
-
60
-
61
-
62
-
63
-
64
-
65
-
66
-
67
-
68
-
69
-
70
-
71
-
72
-
73
-
74
-
75
-
76
-
77
-
78
-
79
-
80
-
81
-
82
-
83
-
84
-
85
-
86
-
87
-
88
-
89
-
90
-
91
-
92
-
93
-
94
-
95
-
96
-
97
-
98
-
99
-
100
-
101
-
102
-
103
-
104
-
105
-
106
-
107
-
108
-
109
-
110
-
111
-
112
-
113
-
114
-
115
-
116
-
117
-
118
-
119
-
120
-
121
-
122
-
123
-
124
-
125
-
126
-
127
-
128
-
129
-
130
-
131
-
132
-
133
-
134
-
135
-
136
-
137
-
138
-
139
-
140
-
141
-
142
-
143
-
144
-
145
-
146
-
147
-
148
-
149
-
150
 |
 |