Kyocera C270N Operation Guide - Page 89
Setting the Cassette Paper Size, Custom paper size, Paper Handling >, >Cassette Size >, Custom
 |
UPC - 632983011935
View all Kyocera C270N manuals
Add to My Manuals
Save this manual to your list of manuals |
Page 89 highlights
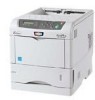
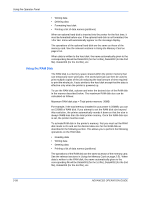
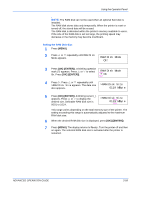
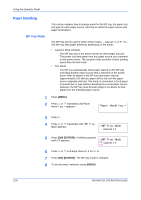
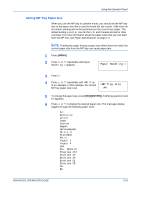
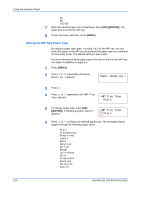
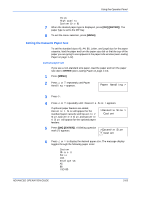
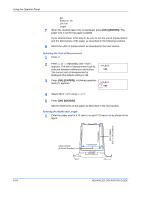
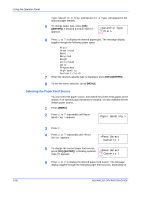
Using the Operator Panel Thick High quality Custom 1(to 8) 7 When the desired paper type is displayed, press [OK] ([ENTER]). The paper type is set to the MP tray. 8 To exit the menu selection, press [MENU]. Setting the Cassette Paper Size To set the standard sizes A5, A4, B5, Letter, and Legal size for the paper cassette, load the paper and turn the paper size dial so that the size of the paper you are going to use appears in the paper size window (see Loading Paper on page 1-13). Custom paper size If you use a non-standard size paper, load the paper and turn the paper size dial to OTHER (see Loading Paper on page 1-13). 1 Press [MENU]. 2 Press U or V repeatedly until Paper Handling > appears. Paper Handling > 3 Press Z. 4 Press U or V repeatedly until >Cassette Size > appears. If optional paper feeders are added, Cassette 1 Size will appear for the standard paper cassette and Cassette 2 Size, Cassette 3 Size, and Cassette 4 Size will appear for the optional paper feeders. >Cassette Size > Custom 5 Press [OK] ([ENTER]). A blinking question mark (?) appears. >Cassette Size ? Custom 6 Press U or V to display the desired paper size. The message display toggles through the following paper sizes: Custom Oficio II Folio 16K Envelope C5 A5 B5 ISO B5 ADVANCED OPERATION GUIDE 2-63
-
 1
1 -
2
-
3
-
4
-
5
-
6
-
7
-
8
-
9
-
10
-
11
-
12
-
13
-
14
-
15
-
16
-
17
-
18
-
19
-
20
-
21
-
22
-
23
-
24
-
25
-
26
-
27
-
28
-
29
-
30
-
31
-
32
-
33
-
34
-
35
-
36
-
37
-
38
-
39
-
40
-
41
-
42
-
43
-
44
-
45
-
46
-
47
-
48
-
49
-
50
-
51
-
52
-
53
-
54
-
55
-
56
-
57
-
58
-
59
-
60
-
61
-
62
-
63
-
64
-
65
-
66
-
67
-
68
-
69
-
70
-
71
-
72
-
73
-
74
-
75
-
76
-
77
-
78
-
79
-
80
-
81
-
82
-
83
-
 84
84 -
 85
85 -
 86
86 -
 87
87 -
 88
88 -
 89
89 -
 90
90 -
 91
91 -
 92
92 -
 93
93 -
 94
94 -
95
-
96
-
97
-
98
-
99
-
100
-
101
-
102
-
103
-
104
-
105
-
106
-
107
-
108
-
109
-
110
-
111
-
112
-
113
-
114
-
115
-
116
-
117
-
118
-
119
-
120
-
121
-
122
-
123
-
124
-
125
-
126
-
127
-
128
-
129
-
130
-
131
-
132
-
133
-
134
-
135
-
136
-
137
-
138
-
139
-
140
-
141
-
142
-
143
-
144
-
145
-
146
-
147
-
148
-
149
-
150
 |
 |