Lexmark E238 Service Manual - Page 216
from the buttons and front access cover.
 |
View all Lexmark E238 manuals
Add to My Manuals
Save this manual to your list of manuals |
Page 216 highlights
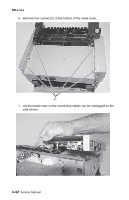
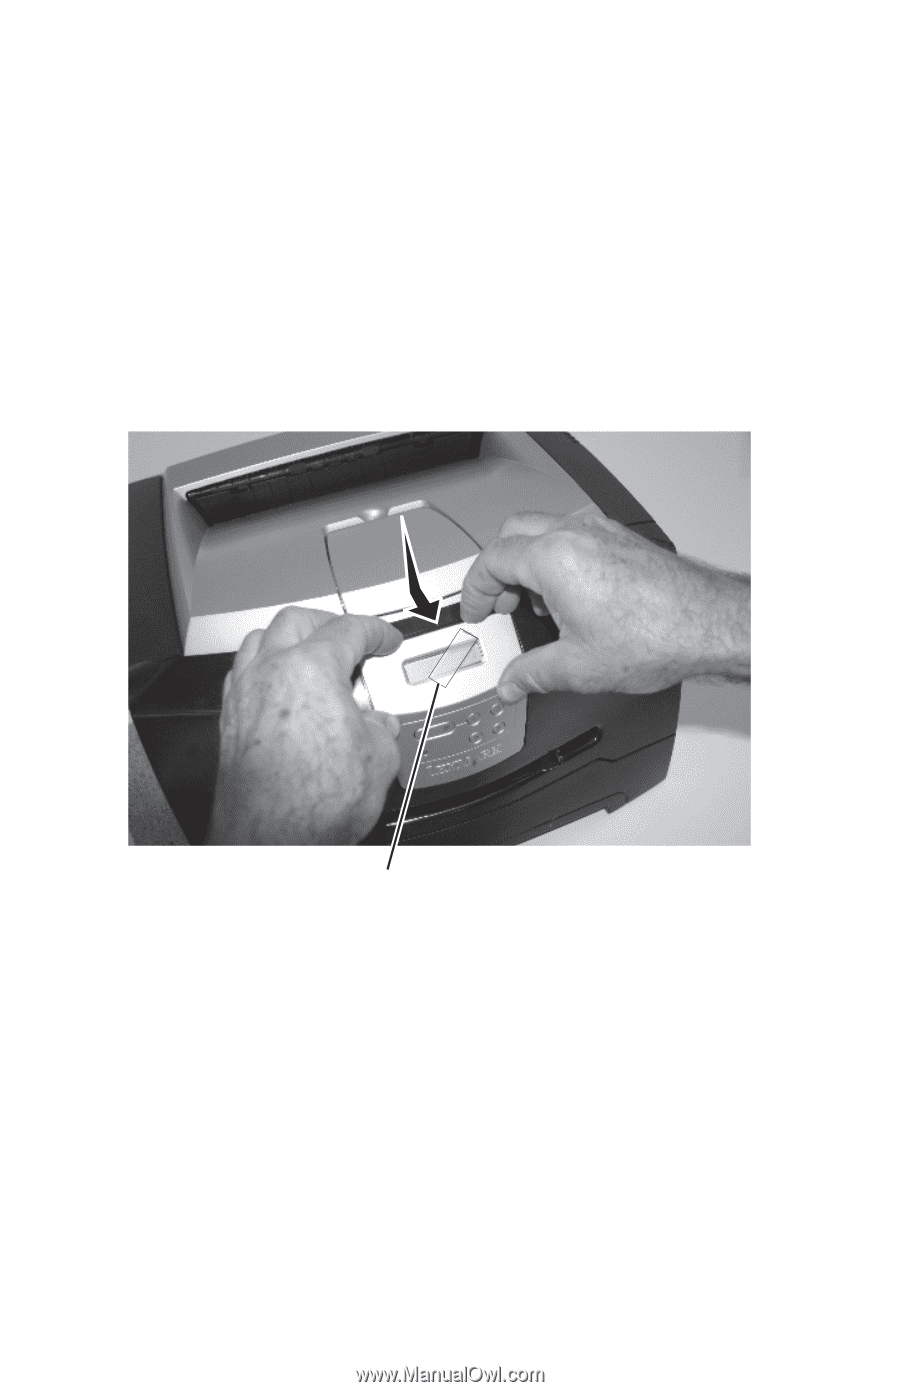
4511-xxx 4. If the bezel will be reused, stick a piece of tape (B) across the LCD lens and bezel. Use about three inches of tape and fold the end under to form a tab to allow easy removal after reinstallation. 5. Using your fingernail or sharp, non-marring object, pull the top of the bezel away from the front access cover. Carefully work the bezel away from the buttons and front access cover. Note: Push down on the top edge of the bezel to deflect it away from the buttons. If the bezel does not easily come out, open the front access cover, remove the three screws holding the shield cover behind the LCD panel, and release the bezel latch. B 4-38 Service Manual
-
 1
1 -
2
-
3
-
4
-
5
-
6
-
7
-
8
-
9
-
10
-
11
-
12
-
13
-
14
-
15
-
16
-
17
-
18
-
19
-
20
-
21
-
22
-
23
-
24
-
25
-
26
-
27
-
28
-
29
-
30
-
31
-
32
-
33
-
34
-
35
-
36
-
37
-
38
-
39
-
40
-
41
-
42
-
43
-
44
-
45
-
46
-
47
-
48
-
49
-
50
-
51
-
52
-
53
-
54
-
55
-
56
-
57
-
58
-
59
-
60
-
61
-
62
-
63
-
64
-
65
-
66
-
67
-
68
-
69
-
70
-
71
-
72
-
73
-
74
-
75
-
76
-
77
-
78
-
79
-
80
-
81
-
82
-
83
-
84
-
85
-
86
-
87
-
88
-
89
-
90
-
91
-
92
-
93
-
94
-
95
-
96
-
97
-
98
-
99
-
100
-
101
-
102
-
103
-
104
-
105
-
106
-
107
-
108
-
109
-
110
-
111
-
112
-
113
-
114
-
115
-
116
-
117
-
118
-
119
-
120
-
121
-
122
-
123
-
124
-
125
-
126
-
127
-
128
-
129
-
130
-
131
-
132
-
133
-
134
-
135
-
136
-
137
-
138
-
139
-
140
-
141
-
142
-
143
-
144
-
145
-
146
-
147
-
148
-
149
-
150
-
151
-
152
-
153
-
154
-
155
-
156
-
157
-
158
-
159
-
160
-
161
-
162
-
163
-
164
-
165
-
166
-
167
-
168
-
169
-
170
-
171
-
172
-
173
-
174
-
175
-
176
-
177
-
178
-
179
-
180
-
181
-
182
-
183
-
184
-
185
-
186
-
187
-
188
-
189
-
190
-
191
-
192
-
193
-
194
-
195
-
196
-
197
-
198
-
199
-
200
-
201
-
202
-
203
-
204
-
205
-
206
-
207
-
208
-
209
-
210
-
 211
211 -
 212
212 -
 213
213 -
 214
214 -
 215
215 -
 216
216 -
 217
217 -
 218
218 -
 219
219 -
 220
220 -
 221
221 -
222
-
223
-
224
-
225
-
226
-
227
-
228
-
229
-
230
-
231
-
232
-
233
-
234
-
235
-
236
-
237
-
238
-
239
-
240
-
241
-
242
-
243
-
244
-
245
-
246
-
247
-
248
-
249
-
250
-
251
-
252
-
253
-
254
-
255
-
256
-
257
-
258
-
259
 |
 |
4511-xxx
4-38
Service Manual
4.
If the bezel will be reused, stick a piece of tape (B) across the LCD lens
and bezel.
Use about three inches of tape and fold the end under to form a tab to
allow easy removal after reinstallation.
5.
Using your fingernail or sharp, non-marring object, pull the top of the
bezel away from the front access cover. Carefully work the bezel away
from the buttons and front access cover.
Note:
Push down on the top edge of the bezel to deflect it away from
the buttons. If the bezel does not easily come out, open the front
access cover, remove the three screws holding the shield cover
behind the LCD panel, and release the bezel latch.
B