Epson ES-300C User Manual - Page 38
Zoom, Brightness, shows only the larger of the two values.
 |
View all Epson ES-300C manuals
Add to My Manuals
Save this manual to your list of manuals |
Page 38 highlights
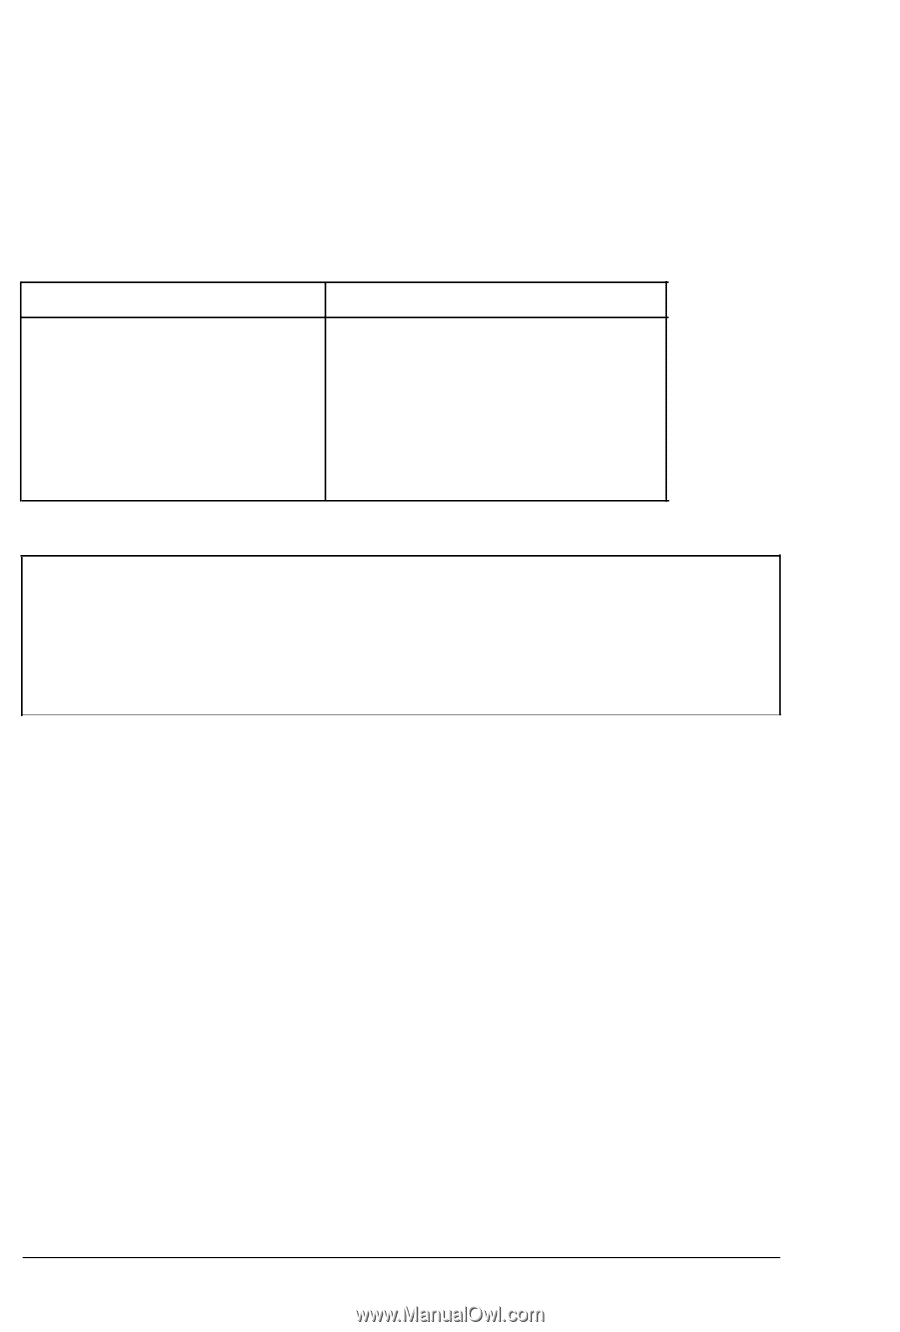
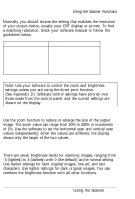
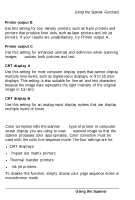
Using the Scanner Functions Normally you should choose the setting that matches the resolution of your output device, usually your CRT display or printer. To find a matching resolution, check your software manual or follow the guidelines below. Dots per Inch 72,75 72, 144 180, 360 75, 150, 300, 600 100, 200, 300, 400 Output Resolution CRT displays 9-pin dot matrix printers 24-pin dot matrix printers Laser printers Facsimile (fax) transmission Note: Use your software to control the zoom and brightness settings unless you are using the direct print function. (See Appendix D). Software control settings have priority over those made from the control panel, and the current settings are shown on the display. Zoom Use the zoom function to reduce or enlarge the size of the output image. The zoom value can range from 50% to 200% in increments of 1%. Use the software to set the horizontal scan and vertical scan values independently; when the values are different, the display shows only the larger of the two values. Brightness There are seven brightness levels for scanning images, ranging from -3 (lightest) to 3 (darkest) with 0 (the default) as the normal setting. Use darker settings for faint original images, line art, and text characters. Use lighter settings for dark original images. You can combine the brightness function with all other functions. Using the Scanner 2-13
-
 1
1 -
2
-
3
-
4
-
5
-
6
-
7
-
8
-
9
-
10
-
11
-
12
-
13
-
14
-
15
-
16
-
17
-
18
-
19
-
20
-
21
-
22
-
23
-
24
-
25
-
26
-
27
-
28
-
29
-
30
-
31
-
32
-
 33
33 -
 34
34 -
 35
35 -
 36
36 -
 37
37 -
 38
38 -
 39
39 -
 40
40 -
 41
41 -
 42
42 -
 43
43 -
44
-
45
-
46
-
47
-
48
-
49
-
50
-
51
-
52
-
53
-
54
-
55
-
56
-
57
-
58
-
59
-
60
-
61
-
62
-
63
-
64
-
65
-
66
-
67
-
68
-
69
-
70
-
71
-
72
-
73
-
74
-
75
-
76
-
77
-
78
-
79
-
80
-
81
-
82
-
83
-
84
-
85
-
86
-
87
-
88
-
89
-
90
-
91
-
92
-
93
-
94
-
95
-
96
-
97
-
98
-
99
-
100
-
101
-
102
-
103
-
104
-
105
-
106
-
107
-
108
-
109
-
110
-
111
-
112
-
113
-
114
-
115
-
116
-
117
-
118
-
119
-
120
-
121
-
122
-
123
 |
 |