Epson ES-300C User Manual - Page 41
Gama Correction
 |
View all Epson ES-300C manuals
Add to My Manuals
Save this manual to your list of manuals |
Page 41 highlights
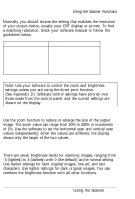
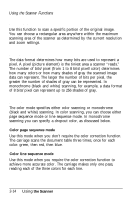
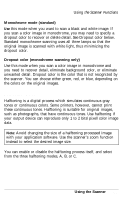
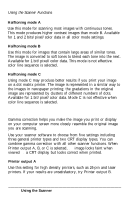
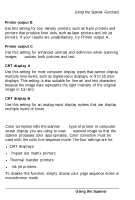
Using the Scanner Functions Halftoning mode A Use this mode for scanning most images with continuous tones. This mode produces higher contrast images than mode B. Available for 1 and 2 bits/pixel/color data in all color mode settings. Halftoning mode B Use this mode for images that contain large areas of similar tones. The image is converted to soft tones to blend each tone into the next. Available for 1 bit/pixel/color data. This mode is not effective when color line sequence is selected. Halftoning mode C Using mode C may produce better results if you print your image on a dot matrix printer. The image is represented in a similar way to the images in newspaper printing; the gradations in the original image are represented by clusters of different numbers of dots. Available for 1 bit/pixel/color data. Mode C is not effective when color line sequence is selected. Gamma Correction Gamma correction helps you make the image you print or display on your computer screen more closely resemble the original image you are scanning. Use your scanner software to choose from five settings including three general printer types and two CRT display types. You can combine gamma correction with all other scanner functions. When Printer output A, B, or C is selected, the image looks faint when viewed on a CRT display but looks correct when printed. Printer output A Use this setting for high density printers, such as 24-pin and laser printers. If your results are unsatisfactory, try Printer output B. 2-16 Using the Scanner
-
 1
1 -
2
-
3
-
4
-
5
-
6
-
7
-
8
-
9
-
10
-
11
-
12
-
13
-
14
-
15
-
16
-
17
-
18
-
19
-
20
-
21
-
22
-
23
-
24
-
25
-
26
-
27
-
28
-
29
-
30
-
31
-
32
-
33
-
34
-
35
-
 36
36 -
 37
37 -
 38
38 -
 39
39 -
 40
40 -
 41
41 -
 42
42 -
 43
43 -
 44
44 -
 45
45 -
 46
46 -
47
-
48
-
49
-
50
-
51
-
52
-
53
-
54
-
55
-
56
-
57
-
58
-
59
-
60
-
61
-
62
-
63
-
64
-
65
-
66
-
67
-
68
-
69
-
70
-
71
-
72
-
73
-
74
-
75
-
76
-
77
-
78
-
79
-
80
-
81
-
82
-
83
-
84
-
85
-
86
-
87
-
88
-
89
-
90
-
91
-
92
-
93
-
94
-
95
-
96
-
97
-
98
-
99
-
100
-
101
-
102
-
103
-
104
-
105
-
106
-
107
-
108
-
109
-
110
-
111
-
112
-
113
-
114
-
115
-
116
-
117
-
118
-
119
-
120
-
121
-
122
-
123
 |
 |