HP Media Center m1200 Getting Started Guide - Page 57
Configuring Audio Output with a Sound Card
 |
View all HP Media Center m1200 manuals
Add to My Manuals
Save this manual to your list of manuals |
Page 57 highlights
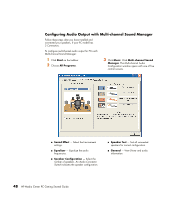
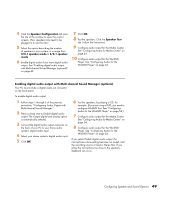
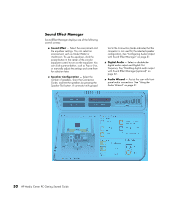
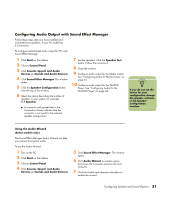
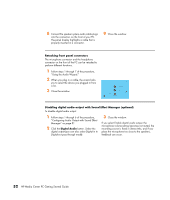
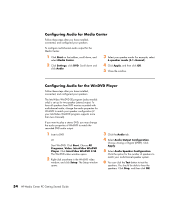
Configuring Audio Output with a Sound Card Follow these steps after you have installed and connected your speakers. To configure multichannel audio output for PCs with the Creative Sound Blaster Audigy sound card: 1 Click Start on the taskbar. 2 Choose All Programs. 3 Choose Creative, SoundBlaster Audigy 2. Click Creative Speaker Settings. The speaker settings window opens. 4 Select a speaker setting from the Speaker/ Headphone Selection drop-down menu. Enter a speaker configuration from 2/2.1 to 2/7.1. 5 Enable digital audio if you want digital audio output. See "Enabling digital audio output with a sound card (optional)" on page 53. 6 Click the Channel button to test the speakers. 7 Adjust the speaker volume settings on the PC. Click the Calibrate button. The wizard starts. Follow the wizard basic instructions. 8 Close the window. 9 Configure audio output for the Media Center. See "Configuring Audio for Media Center" on page 54. 10 Configure audio output for the WinDVD Player. See "Configuring Audio for the WinDVD Player" on page 54. Enabling digital audio output with a sound card (optional) To enable digital audio output: 1 Follow steps 1 through 4 of the previous procedure, "Configuring Audio Output with a Sound Card." 2 Place a check mark in the Digital Output Only check box. 3 Connect the digital audio output connector on the back of your PC to your home audio system's digital audio input. 4 Select your stereo system's digital audio input. 5 Play a DVD to test the speakers. 6 Adjust the speaker volume settings on the PC. Click the Calibrate button. The wizard starts. Follow the wizard basic instructions. 7 Close the window. 8 Configure audio output for the Media Center. See "Configuring Audio for Media Center" on page 54. 9 Configure audio output for the WinDVD Player. See "Configuring Audio for the WinDVD Player" on page 54. Configuring Speaker and Sound Options 53
-
 1
1 -
2
-
3
-
4
-
5
-
6
-
7
-
8
-
9
-
10
-
11
-
12
-
13
-
14
-
15
-
16
-
17
-
18
-
19
-
20
-
21
-
22
-
23
-
24
-
25
-
26
-
27
-
28
-
29
-
30
-
31
-
32
-
33
-
34
-
35
-
36
-
37
-
38
-
39
-
40
-
41
-
42
-
43
-
44
-
45
-
46
-
47
-
48
-
49
-
50
-
51
-
 52
52 -
 53
53 -
 54
54 -
 55
55 -
 56
56 -
 57
57 -
 58
58 -
 59
59 -
 60
60 -
 61
61 -
 62
62 -
63
-
64
-
65
-
66
-
67
-
68
-
69
-
70
-
71
-
72
-
73
-
74
-
75
-
76
-
77
-
78
-
79
-
80
-
81
-
82
-
83
-
84
-
85
-
86
-
87
-
88
-
89
-
90
-
91
-
92
-
93
-
94
-
95
-
96
-
97
-
98
-
99
-
100
 |
 |