Sharp MX-M232D Operation Guide - Page 31
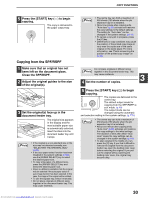
Copying from the SPF/RSPF
 |
View all Sharp MX-M232D manuals
Add to My Manuals
Save this manual to your list of manuals |
Page 31 highlights
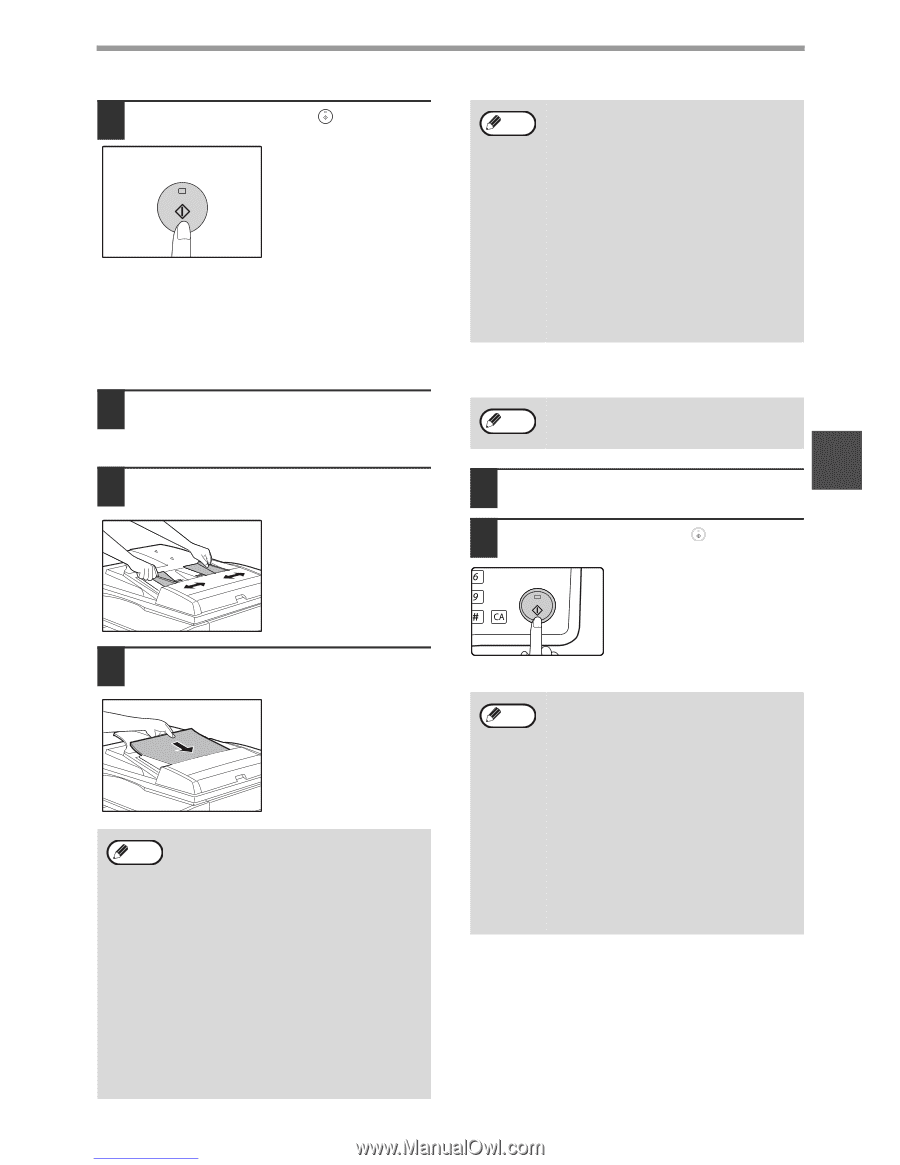
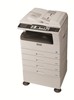
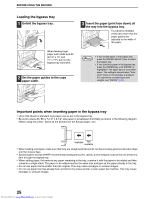
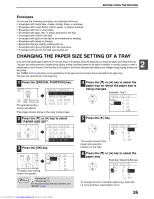
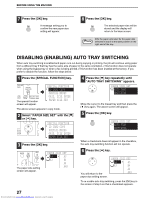
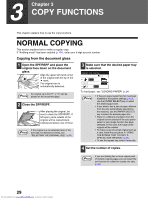
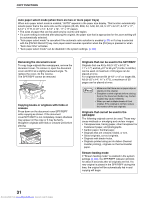
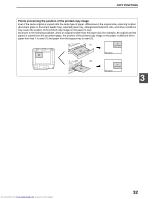
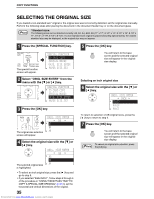
COPY FUNCTIONS 5 Press the [START] key ( ) to begin copying. The copy is delivered to the paper output tray. Copying from the SPF/RSPF 1 Make sure that an original has not been left on the document glass. Close the SPF/RSPF. 2 Adjust the original guides to the size of the original(s). 3 Set the original(s) face up in the document feeder tray. The original size appears in the display and the most suitable paper size is automatically selected. Insert the stack into the document feeder tray until it stops. Note • If the original is a non-standard size or the size was not detected correctly, see "SELECTING THE ORIGINAL SIZE" (p.35). • If the auto paper select function has been disabled in the system settings (p.123), use the [PAPER SELECT] key to select the desired paper size. • To copy onto paper of a different size, press the [PAPER SELECT] key and select the desired paper size. • Paper in a different orientation from the original may be selected if the auto paper select or auto image function has been selected. In this case, the image of the original will be rotated. • To use the bypass tray, select it manually. • Do not place originals of different sizes together in the document feeder tray. This may cause misfeeds. Downloaded from www.Manualslib.com manuals search engine Note • The centre tray can hold a maximum of 250 sheets (150 sheets when the job separator tray kit is installed). • About one minute after copying ends, "Auto clear" (p.22) activates and restores the copy settings to the default settings. The setting for "Auto clear" can be changed in the system settings. (p.118) • To cancel a copy job in progress, press the [C] key. • Differences in copy conditions may cause the position of the printed copy image to vary even the copies are of the same original on the same paper. For more information, see "Points concerning the position of the printed copy image" on (p.32). Note Do not place originals of different sizes together in the document feeder tray. This may cause misfeeds. 4 Set the number of copies. 3 5 Press the [START] key ( ) to begin copying. MNO The copies are delivered to the WXYZ centre tray. @.-_ The default output mode for copying from the SPF/RSPF is AD-END sort mode. (p.49) The output mode can be changed using the automatic sort selection setting in the system settings. (p.123) Note • The centre tray can hold a maximum of 250 sheets (150 sheets when the job separator tray kit is installed). • About one minute after copying ends, "Auto clear" (p.22) activates and restores the copy settings to the initial settings. The duration of time after which "Auto clear" clears the copy settings can be changed in the system settings. (p.118) • To stop copying in the middle of a run, press the [C] key. If you find it difficult to remove the original from the document feeder tray, open the feeding roller cover before removing the original. If you pull out the original without opening the feeding roller cover, the original may become dirty. 30
-
 1
1 -
2
-
3
-
4
-
5
-
6
-
7
-
8
-
9
-
10
-
11
-
12
-
13
-
14
-
15
-
16
-
17
-
18
-
19
-
20
-
21
-
22
-
23
-
24
-
25
-
 26
26 -
 27
27 -
 28
28 -
 29
29 -
 30
30 -
 31
31 -
 32
32 -
 33
33 -
 34
34 -
 35
35 -
 36
36 -
37
-
38
-
39
-
40
-
41
-
42
-
43
-
44
-
45
-
46
-
47
-
48
-
49
-
50
-
51
-
52
-
53
-
54
-
55
-
56
-
57
-
58
-
59
-
60
-
61
-
62
-
63
-
64
-
65
-
66
-
67
-
68
-
69
-
70
-
71
-
72
-
73
-
74
-
75
-
76
-
77
-
78
-
79
-
80
-
81
-
82
-
83
-
84
-
85
-
86
-
87
-
88
-
89
-
90
-
91
-
92
-
93
-
94
-
95
-
96
-
97
-
98
-
99
-
100
-
101
-
102
-
103
-
104
-
105
-
106
-
107
-
108
-
109
-
110
-
111
-
112
-
113
-
114
-
115
-
116
-
117
-
118
-
119
-
120
-
121
-
122
-
123
-
124
-
125
 |
 |