Sharp MX-M232D Operation Guide - Page 90
Threshold setting.
 |
View all Sharp MX-M232D manuals
Add to My Manuals
Save this manual to your list of manuals |
Page 90 highlights
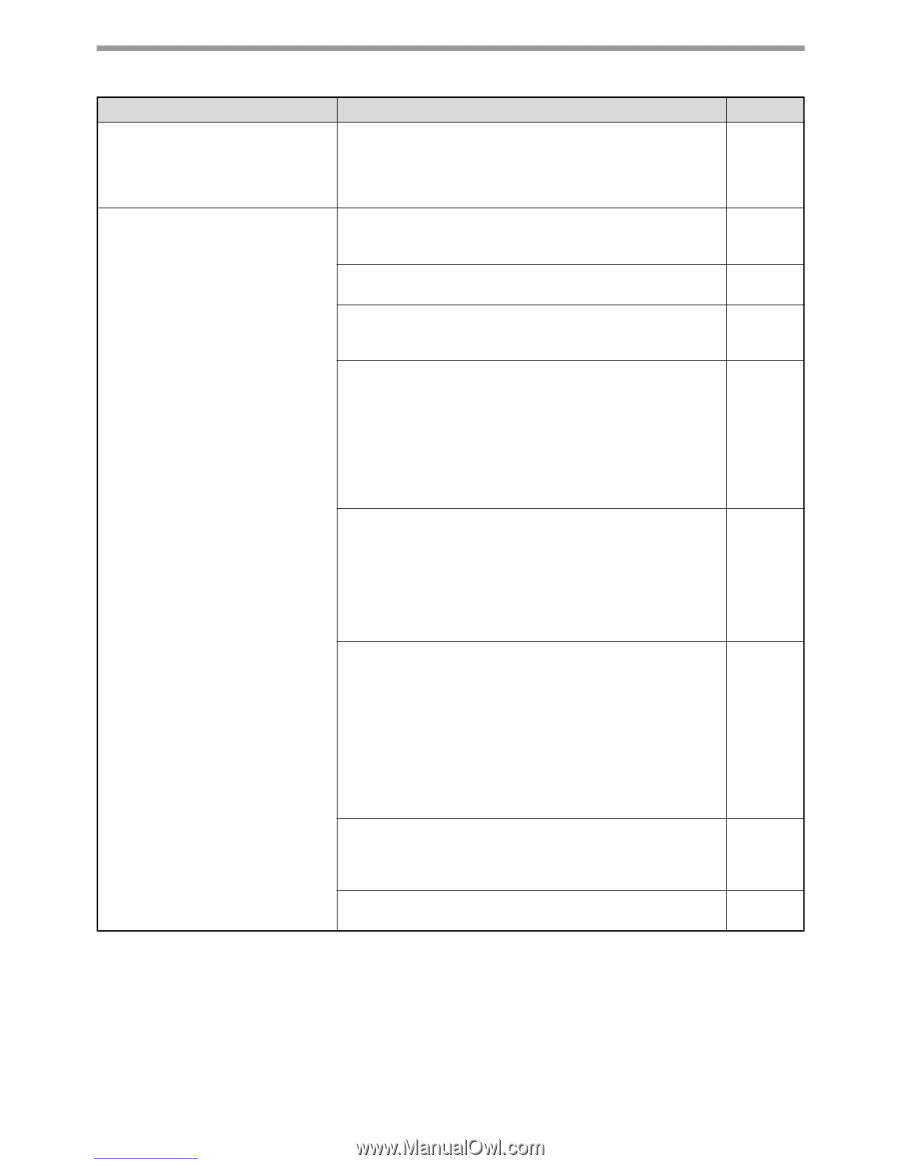
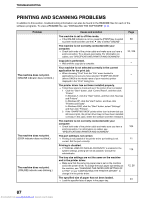
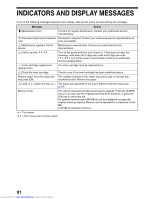
TROUBLESHOOTING Problem The printed image is darker or lighter than expected. Poor scanning quality. Cause and solution The setting for the print density is not appropriate. → You can adjust the print density on the printer driver. Click the "Advanced" tab in the printer driver setup screen, and click the "Compatibility" button. Select the "Print Density Level" from 1 (light) to 5 (dark). The document glass or the underside of the document cover/SPF/RSPF is dirty. → Clean regularly. Original smudged or blotchy. → Use a clean original. You have not specified a suitable resolution. → Make sure that the resolution setting in the scanner driver is appropriate for the original. You are scanning a large area (for example an entire A3 (11" x 17")) at high resolution. → If you attempt to scan a large area at high resolution and there is insufficient memory in the machine to hold the scanned data, scanning will take place at a lower resolution and the scanner driver will enhance the data to make up for the lower resolution. However, the quality of the enhanced image will not be as high as if scanning took place at the higher resolution. Use a lower resolution setting, or scan a smaller area. You have not specified a suitable value for the "B/W Threshold" setting. → If you are scanning with a TWAIN-compliant application, make sure that a suitable value is specified for the "B/W Threshold" setting. A larger threshold value makes your output darker, while a small threshold value makes it lighter. To adjust the threshold automatically, click the "Auto Threshold" button on the "Image" tab of the "Professional" screen. The brightness and contrast settings are not suitable. → If you are scanning with a TWAIN-compliant application and the resulting image has unsuitable brightness or contrast (for example it is too bright), click the "Auto Brightness/Contrast Adjustment" button on the "Colour" tab of the "Professional" screen. Click the "Brightness/Contrast" button to adjust the brightness and the contrast while viewing the scanned output image on the screen. If you are scanning with a WIA-compliant application or the "Scanner and Camera Wizard", click "Adjust the quality of the scanned picture" or the "Custom settings" button, and adjust the brightness and contrast in the screen that appears. The original is not placed face up in the SPF/RSPF or face down on the document glass. → Place the original face up in the SPF/RSPF or face down on the document glass. The original was not placed in the correct position. → Place the original correctly. Page - 101 - - - - - 29, 30 29, 30 89 Downloaded from www.Manualslib.com manuals search engine
-
 1
1 -
2
-
3
-
4
-
5
-
6
-
7
-
8
-
9
-
10
-
11
-
12
-
13
-
14
-
15
-
16
-
17
-
18
-
19
-
20
-
21
-
22
-
23
-
24
-
25
-
26
-
27
-
28
-
29
-
30
-
31
-
32
-
33
-
34
-
35
-
36
-
37
-
38
-
39
-
40
-
41
-
42
-
43
-
44
-
45
-
46
-
47
-
48
-
49
-
50
-
51
-
52
-
53
-
54
-
55
-
56
-
57
-
58
-
59
-
60
-
61
-
62
-
63
-
64
-
65
-
66
-
67
-
68
-
69
-
70
-
71
-
72
-
73
-
74
-
75
-
76
-
77
-
78
-
79
-
80
-
81
-
82
-
83
-
84
-
 85
85 -
 86
86 -
 87
87 -
 88
88 -
 89
89 -
 90
90 -
 91
91 -
 92
92 -
 93
93 -
 94
94 -
 95
95 -
96
-
97
-
98
-
99
-
100
-
101
-
102
-
103
-
104
-
105
-
106
-
107
-
108
-
109
-
110
-
111
-
112
-
113
-
114
-
115
-
116
-
117
-
118
-
119
-
120
-
121
-
122
-
123
-
124
-
125
 |
 |