Sony DCR PC105 Operating Instructions - Page 168
Making the computer recognize your camcorder - usb cable
 |
UPC - 027242629172
View all Sony DCR PC105 manuals
Add to My Manuals
Save this manual to your list of manuals |
Page 168 highlights
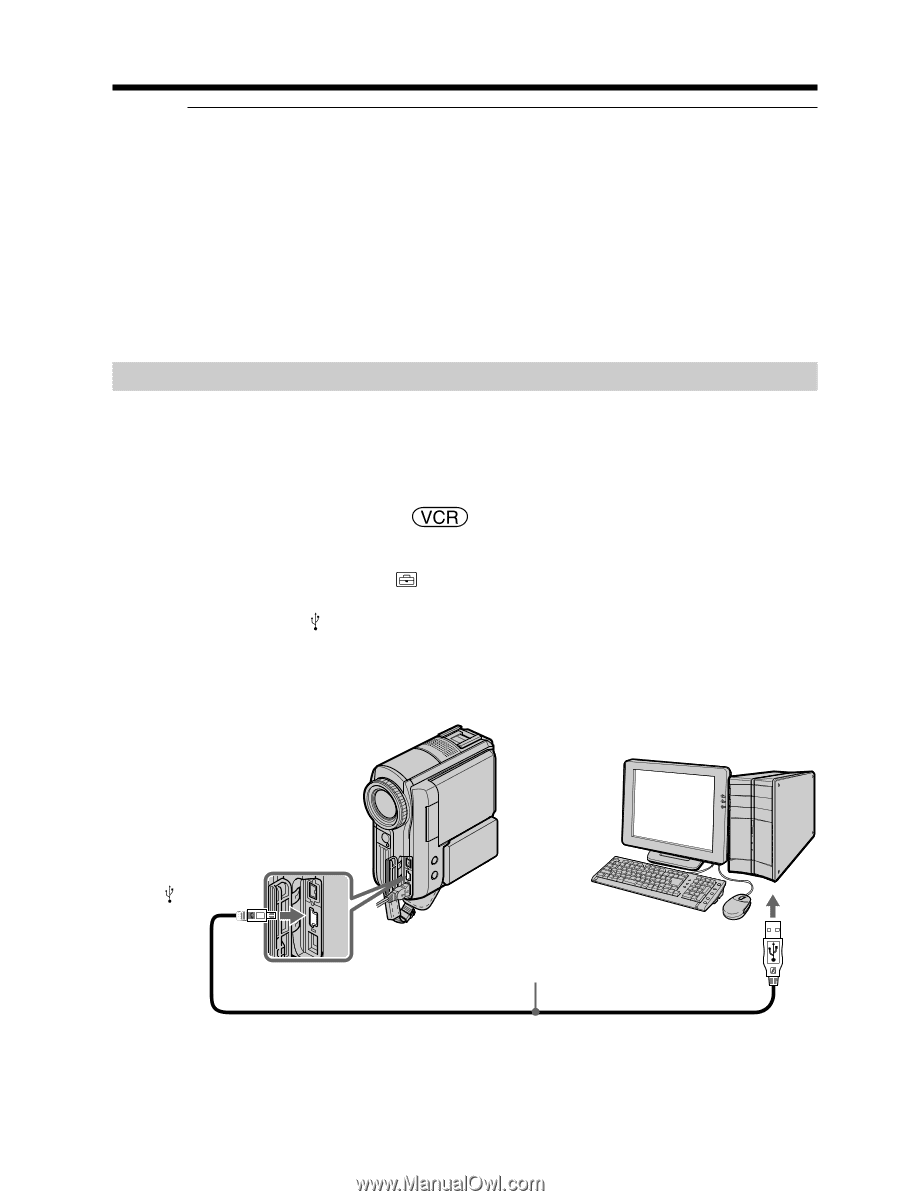
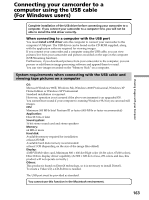
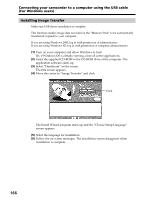
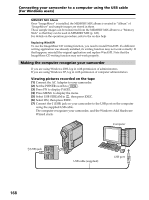
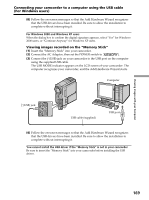
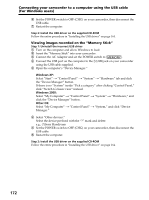
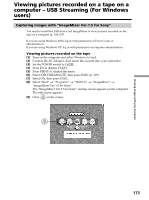
Connecting your camcorder to a computer using the USB cable (For Windows users) MEMORY MIX Album Once "ImageMixer" is installed, the MEMORY MIX album is created in "Album" of "ImageMixer" and sample images are stored in there. Those sample images can be transferred from the MEMORY MIX album to a "Memory Stick" so that they can be used in MEMORY MIX (p. 128). For details on the operation procedure, refer to the on-line help. Replacing WinASPI To use the ImageMixer CD writing function, you need to install WinASPI. If a different writing application was already installed, its writing function may not work correctly. If that happens, reinstall the original application and replace WinASPI. Note that the ImageMixer CD writing function may not work properly. Making the computer recognize your camcorder If you are using Windows 2000, log in with permission of administrators. If you are using Windows XP, log in with permission of computer administrators. Viewing pictures recorded on the tape (1) Connect the AC Adaptor to your camcorder. (2) Set the POWER switch to . (3) Press FN to display PAGE1. (4) Press MENU to display the menu. (5) Select USB STREAM in , then press EXEC. (6) Select ON, then press EXEC. (7) Connect the (USB) jack on your camcorder to the USB port on the computer using the supplied USB cable. The computer recognizes your camcorder, and the Windows Add Hardware Wizard starts. Computer (USB) jack USB cable (supplied) USB port 168
-
 1
1 -
2
-
3
-
4
-
5
-
6
-
7
-
8
-
9
-
10
-
11
-
12
-
13
-
14
-
15
-
16
-
17
-
18
-
19
-
20
-
21
-
22
-
23
-
24
-
25
-
26
-
27
-
28
-
29
-
30
-
31
-
32
-
33
-
34
-
35
-
36
-
37
-
38
-
39
-
40
-
41
-
42
-
43
-
44
-
45
-
46
-
47
-
48
-
49
-
50
-
51
-
52
-
53
-
54
-
55
-
56
-
57
-
58
-
59
-
60
-
61
-
62
-
63
-
64
-
65
-
66
-
67
-
68
-
69
-
70
-
71
-
72
-
73
-
74
-
75
-
76
-
77
-
78
-
79
-
80
-
81
-
82
-
83
-
84
-
85
-
86
-
87
-
88
-
89
-
90
-
91
-
92
-
93
-
94
-
95
-
96
-
97
-
98
-
99
-
100
-
101
-
102
-
103
-
104
-
105
-
106
-
107
-
108
-
109
-
110
-
111
-
112
-
113
-
114
-
115
-
116
-
117
-
118
-
119
-
120
-
121
-
122
-
123
-
124
-
125
-
126
-
127
-
128
-
129
-
130
-
131
-
132
-
133
-
134
-
135
-
136
-
137
-
138
-
139
-
140
-
141
-
142
-
143
-
144
-
145
-
146
-
147
-
148
-
149
-
150
-
151
-
152
-
153
-
154
-
155
-
156
-
157
-
158
-
159
-
160
-
161
-
162
-
 163
163 -
 164
164 -
 165
165 -
 166
166 -
 167
167 -
 168
168 -
 169
169 -
 170
170 -
 171
171 -
 172
172 -
 173
173 -
174
-
175
-
176
-
177
-
178
-
179
-
180
-
181
-
182
-
183
-
184
-
185
-
186
-
187
-
188
-
189
-
190
-
191
-
192
-
193
-
194
-
195
-
196
-
197
-
198
-
199
-
200
-
201
-
202
-
203
-
204
-
205
-
206
-
207
-
208
-
209
-
210
-
211
-
212
-
213
-
214
-
215
-
216
-
217
-
218
-
219
-
220
-
221
-
222
-
223
-
224
-
225
-
226
-
227
-
228
-
229
-
230
-
231
-
232
-
233
-
234
-
235
-
236
-
237
-
238
-
239
-
240
 |
 |