Creative 70EM896106000 Owners Manual - Page 60
User Preset To Bypass ALL, To Select a User Preset, To Create a New User Preset
 |
UPC - 054651126893
View all Creative 70EM896106000 manuals
Add to My Manuals
Save this manual to your list of manuals |
Page 60 highlights
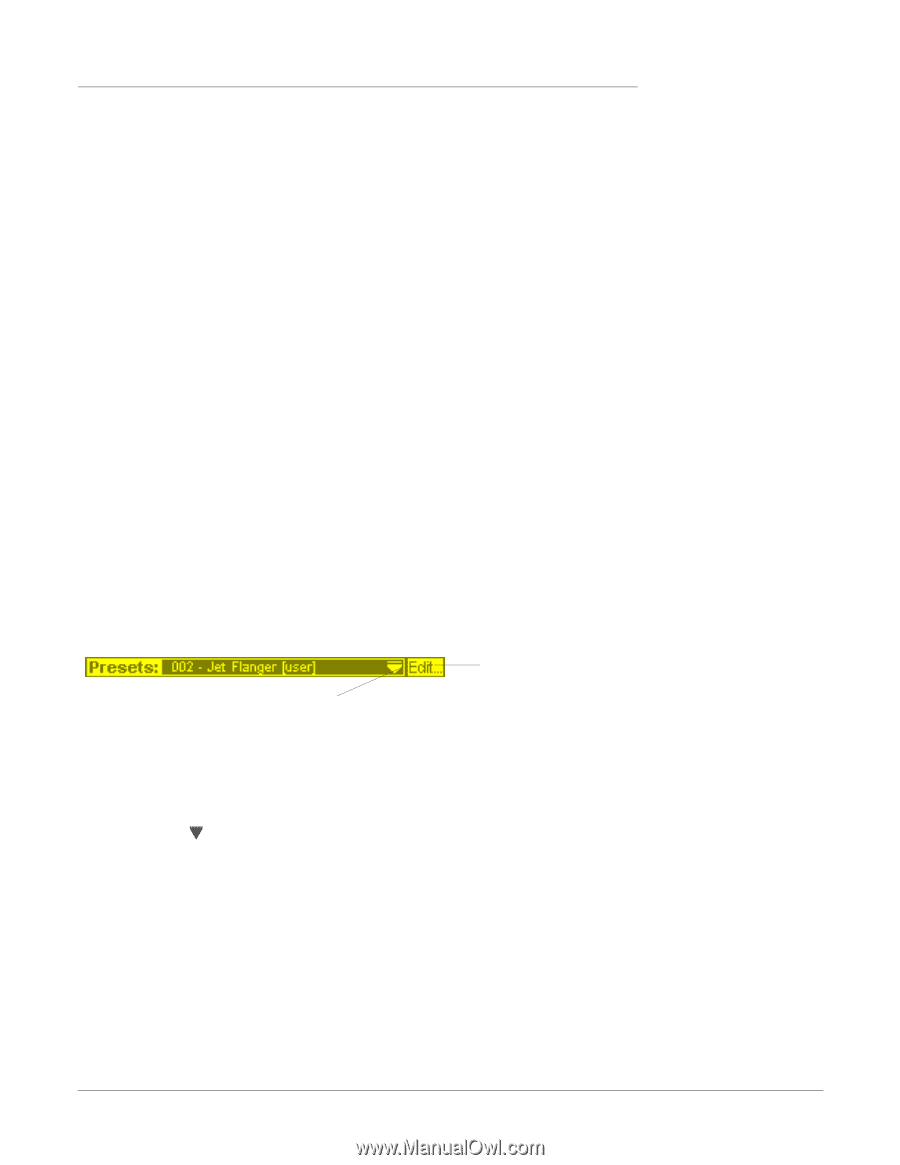
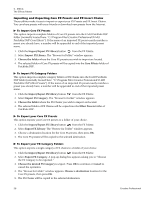
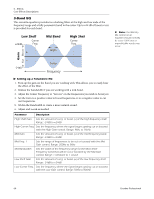
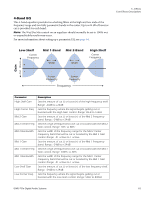
5 - Effects FX Edit Screen Method #2 1. Right-click over the Insert Effect you want to Solo (in the Insert section). A pop-up menu appears. 2. Select "Solo Insert" from the list of options. The other Insert Effect names in the strip will "gray-out" to indicate that they are bypassed. To Bypass ALL All the inserts in a strip can be bypassed with a single command. 1. Right-click over any Effect in the Insert section. A pop-up menu appears. 2. Select "Bypass All Inserts" from the list of options. All the insert names will be "grayed-out" to indicate that they are bypassed. To Un-Bypass ALL All the inserts in a strip can also be un-bypassed with a single command. This command works even if only some of the effects are bypassed. 1. Right-click over any Effect in the Insert section. A pop-up menu appears. 2. Select "Un-Bypass All Inserts" from the list of options. All the insert names will light to indicate that they are active. User Preset Section Each core effect has a set of User Presets, that you can use to store your favorite effect parameter settings. We've included a good collection of user presets to get you started. The user presets are accessed from the bar at the bottom of the TV screen. The user preset edit menu allows you to select stored presets, create new presets, rename or delete existing presets, or overwrite existing presets with your modified settings. User presets stay with the Mixer application regardless of which Session is open. Click here to Select Presets Click here for Edit Menu To copy or share User Presets, you must save them as FX Palette effects. To Select a User Preset 1. Select the FX display in the TV screen. 2. Select the desired insert effect, highlighting it. The effect parameters appear in the TV screen. 3. Click on the icon on the preset menu. A drop-down preset list appears. 4. Select a preset from the list. To Create a New User Preset 1. Select the FX display in the TV screen. 2. Select the desired insert effect, highlighting it. The effect parameters appear in the TV screen. 3. Click on the Edit button. A pop-up menu appears. 4. Select New. A pop-up dialog box appears asking you to name the new preset. 5. Name the preset and click OK. Your new preset is now saved. 60 Creative Professional
-
 1
1 -
2
-
3
-
4
-
5
-
6
-
7
-
8
-
9
-
10
-
11
-
12
-
13
-
14
-
15
-
16
-
17
-
18
-
19
-
20
-
21
-
22
-
23
-
24
-
25
-
26
-
27
-
28
-
29
-
30
-
31
-
32
-
33
-
34
-
35
-
36
-
37
-
38
-
39
-
40
-
41
-
42
-
43
-
44
-
45
-
46
-
47
-
48
-
49
-
50
-
51
-
52
-
53
-
54
-
 55
55 -
 56
56 -
 57
57 -
 58
58 -
 59
59 -
 60
60 -
 61
61 -
 62
62 -
 63
63 -
 64
64 -
 65
65 -
66
-
67
-
68
-
69
-
70
-
71
-
72
-
73
-
74
-
75
-
76
-
77
-
78
-
79
-
80
-
81
-
82
-
83
-
84
-
85
-
86
-
87
-
88
-
89
-
90
-
91
-
92
-
93
-
94
-
95
-
96
-
97
-
98
-
99
-
100
-
101
-
102
-
103
-
104
-
105
-
106
-
107
-
108
-
109
-
110
-
111
-
112
-
113
-
114
-
115
-
116
-
117
-
118
-
119
-
120
-
121
-
122
-
123
-
124
-
125
-
126
-
127
-
128
-
129
-
130
-
131
-
132
 |
 |