HTC Ozone Download the HTC Ozone ROM Update - Version 2.16.605.15 - Page 89
Using Audio Booster, 7 Using MP3 Trimmer
 |
View all HTC Ozone manuals
Add to My Manuals
Save this manual to your list of manuals |
Page 89 highlights
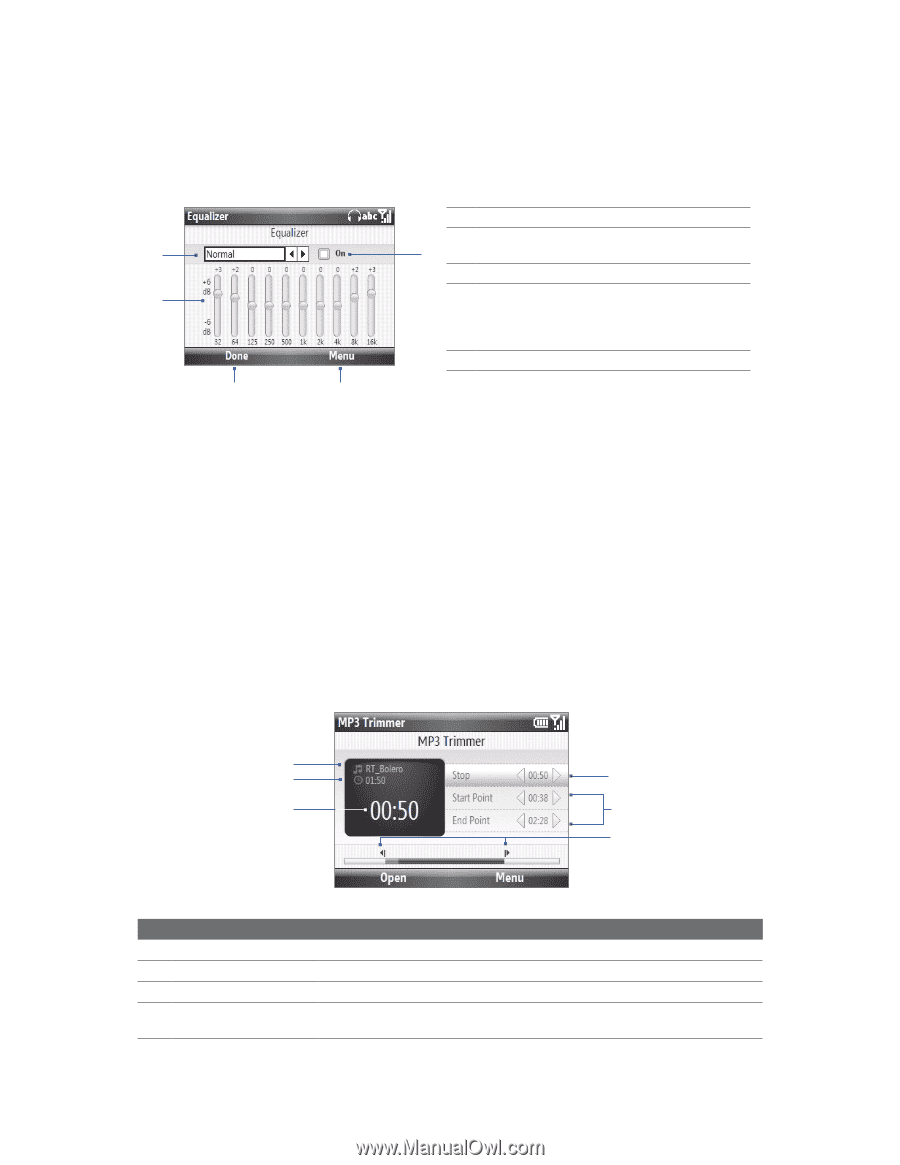
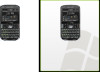
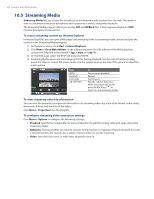
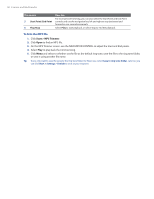
Camera and Multimedia 89 10.6 Using Audio Booster Audio Booster optimizes sound by providing an audio equalizer for a better listening experience. To use Audio Booster, connect the supplied wired headset to your phone. To open Audio Booster Click Start > Audio Booster. 1 2 1 Choose the equalizer preset to use. 2 Select then use the navigation key to adjust 5 the frequency. 3 Click to apply the modified settings. 4 Click Menu > Cancel to exit Audio Booster without applying the modified settings: Click Menu > Save as Preset or Delete Preset to save or delete preset equalizer settings. 5 Enable or disable the equalizer. 3 4 To use an Equalizer preset Select the list box and then select a desired preset. To create a custom equalizer preset 1. Select the frequency band area and press ENTER. Use the NAVIGATION CONTROL left/right to select individual frequency bands and then adjust to your desired values by using the NAVIGATION CONTROL up/down. The selected values are indicated on top of the sliders. Press ENTER to exit adjustment mode. 2. When finished, click Menu > Save as Preset. 3. Enter a preset name and then click Done. The equalizer preset is added to the preset list box. Note To delete a custom equalizer preset, select it on the preset list box and then click Menu > Delete Preset. You cannot delete pre-installed equalizer presets. 10.7 Using MP3 Trimmer Use MP3 Trimmer to trim MP3 files. You can choose to save a trimmed file as a new file or set it as a ring tone. 1 2 6 3 5 4 This control 1 Title 2 Duration 3 Time 4 Start Point/End Point points Does this Shows the title of the MP3 file. Shows the duration of the trimmed portion. Shows the elapsed playback time. Shows the current start and end points of the song. The song will be trimmed based on these points.
-
 1
1 -
2
-
3
-
4
-
5
-
6
-
7
-
8
-
9
-
10
-
11
-
12
-
13
-
14
-
15
-
16
-
17
-
18
-
19
-
20
-
21
-
22
-
23
-
24
-
25
-
26
-
27
-
28
-
29
-
30
-
31
-
32
-
33
-
34
-
35
-
36
-
37
-
38
-
39
-
40
-
41
-
42
-
43
-
44
-
45
-
46
-
47
-
48
-
49
-
50
-
51
-
52
-
53
-
54
-
55
-
56
-
57
-
58
-
59
-
60
-
61
-
62
-
63
-
64
-
65
-
66
-
67
-
68
-
69
-
70
-
71
-
72
-
73
-
74
-
75
-
76
-
77
-
78
-
79
-
80
-
81
-
82
-
83
-
 84
84 -
 85
85 -
 86
86 -
 87
87 -
 88
88 -
 89
89 -
 90
90 -
 91
91 -
 92
92 -
 93
93 -
 94
94 -
95
-
96
-
97
-
98
-
99
-
100
-
101
-
102
 |
 |