HP 4400C HP Scanjet 4400C/5400C Series Scanner Mac - (English) User Manual - Page 21
Back to TOC, Getting started, Print - windows 7
 |
UPC - 725184800566
View all HP 4400C manuals
Add to My Manuals
Save this manual to your list of manuals |
Page 21 highlights
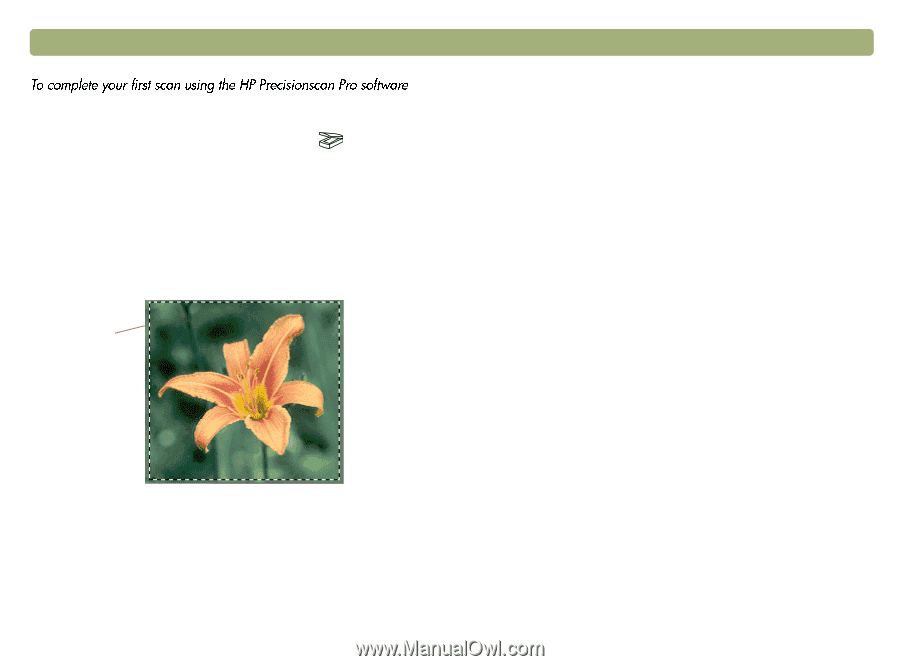
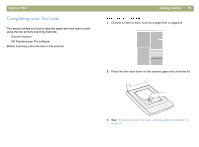
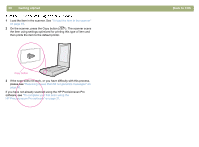
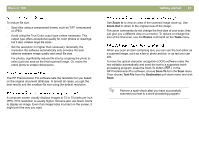
Back to TOC 1 Load the item in the scanner. See "To load the item in the scanner" on page 19. 2 With the item loaded, press the Scan To button ( ) on the scanner. The scanner scans the item to the HP Precisionscan Pro software, choosing the best settings for this type of item. 3 When the scanned image appears in the preview window of the software, draw a selection border around the image or portion of the image you want. To do so, click on one corner of the area you want, and while holding down the mouse button, drag the cursor to the opposite corner. Release the mouse button to complete the border. Selection border Getting started 21 4 Experiment with the image. Change the output type or make other adjustments. 5 When you finish: On the Scan menu, click Print. 6 Select any printer options you want and click OK. The scanner performs a final scan including your changes, and the scanned image prints. 7 If the scan does not work, or you have difficulty with this process, please see "Resolving issues that did not generate messages" on page 90. If you have not already scanned using the scanner buttons, see "To complete your first scan using the scanner buttons" on page 20.
-
 1
1 -
2
-
3
-
4
-
5
-
6
-
7
-
8
-
9
-
10
-
11
-
12
-
13
-
14
-
15
-
 16
16 -
 17
17 -
 18
18 -
 19
19 -
 20
20 -
 21
21 -
 22
22 -
 23
23 -
 24
24 -
 25
25 -
 26
26 -
27
-
28
-
29
-
30
-
31
-
32
-
33
-
34
-
35
-
36
-
37
-
38
-
39
-
40
-
41
-
42
-
43
-
44
-
45
-
46
-
47
-
48
-
49
-
50
-
51
-
52
-
53
-
54
-
55
-
56
-
57
-
58
-
59
-
60
-
61
-
62
-
63
-
64
-
65
-
66
-
67
-
68
-
69
-
70
-
71
-
72
-
73
-
74
-
75
-
76
-
77
-
78
-
79
-
80
-
81
-
82
-
83
-
84
-
85
-
86
-
87
-
88
-
89
-
90
-
91
-
92
-
93
-
94
-
95
-
96
-
97
-
98
-
99
-
100
-
101
-
102
-
103
-
104
-
105
-
106
-
107
-
108
-
109
-
110
-
111
-
112
-
113
-
114
-
115
-
116
-
117
-
118
-
119
-
120
-
121
-
122
-
123
-
124
-
125
-
126
-
127
-
128
-
129
-
130
-
131
-
132
-
133
-
134
-
135
-
136
-
137
-
138
-
139
-
140
-
141
-
142
-
143
-
144
-
145
-
146
 |
 |