HP 4400C HP Scanjet 4400C/5400C Series Scanner Mac - (English) User Manual - Page 69
Tips for best image quality, Saving settings, Settings
 |
UPC - 725184800566
View all HP 4400C manuals
Add to My Manuals
Save this manual to your list of manuals |
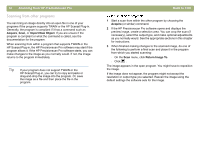
Page 69 highlights
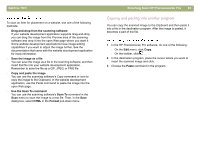
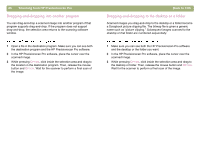
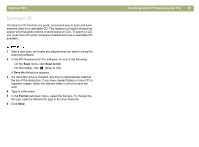
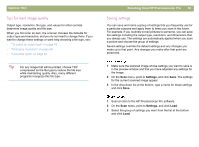
Back to TOC Tips for best image quality Output type, resolution, file type, and values for other controls determine image quality and file size. When you first scan an item, the scanner chooses the defaults for output type and resolution, and you do not need to change them. If you want to change these settings or want help choosing a file type, see: l "To select an output type" on page 43 l "Changing resolution" on page 46 l "List of file types" on page 62 Tip For any image that will be printed, choose TIFF compressed as the file type to reduce the file size while maintaining quality. Also, many different programs recognize this file type. Scanning from HP Precisionscan Pro 69 Saving settings You can save and name a group of settings that you frequently use for a particular purpose and apply them to items you scan in the future. For example, if you routinely e-mail pictures to someone, you can save the settings including the output type, resolution, and dimensions that you always use. The settings are automatically applied when you scan a picture and choose the group of settings. Saved settings override the default settings and any changes you made up to that point. Any changes you make after that point are preserved. 1 Make sure the scanned image whose settings you want to save is in the preview window and that you have adjusted any settings for the image. 2 On the Scan menu, point to Settings, and click Save. The settings for the current scanned image appear. 3 In the drop-down list at the bottom, type a name for these settings and click Save. 1 Scan an item to the HP Precisionscan Pro software. 2 On the Scan menu, point to Settings, and click Load. 3 Select the group of settings you want from the list at the bottom and click Load.
-
 1
1 -
2
-
3
-
4
-
5
-
6
-
7
-
8
-
9
-
10
-
11
-
12
-
13
-
14
-
15
-
16
-
17
-
18
-
19
-
20
-
21
-
22
-
23
-
24
-
25
-
26
-
27
-
28
-
29
-
30
-
31
-
32
-
33
-
34
-
35
-
36
-
37
-
38
-
39
-
40
-
41
-
42
-
43
-
44
-
45
-
46
-
47
-
48
-
49
-
50
-
51
-
52
-
53
-
54
-
55
-
56
-
57
-
58
-
59
-
60
-
61
-
62
-
63
-
 64
64 -
 65
65 -
 66
66 -
 67
67 -
 68
68 -
 69
69 -
 70
70 -
 71
71 -
 72
72 -
 73
73 -
 74
74 -
75
-
76
-
77
-
78
-
79
-
80
-
81
-
82
-
83
-
84
-
85
-
86
-
87
-
88
-
89
-
90
-
91
-
92
-
93
-
94
-
95
-
96
-
97
-
98
-
99
-
100
-
101
-
102
-
103
-
104
-
105
-
106
-
107
-
108
-
109
-
110
-
111
-
112
-
113
-
114
-
115
-
116
-
117
-
118
-
119
-
120
-
121
-
122
-
123
-
124
-
125
-
126
-
127
-
128
-
129
-
130
-
131
-
132
-
133
-
134
-
135
-
136
-
137
-
138
-
139
-
140
-
141
-
142
-
143
-
144
-
145
-
146
 |
 |
