Canon PIXMA MX532 Fax Guide - Page 20
Color, Black
 |
View all Canon PIXMA MX532 manuals
Add to My Manuals
Save this manual to your list of manuals |
Page 20 highlights
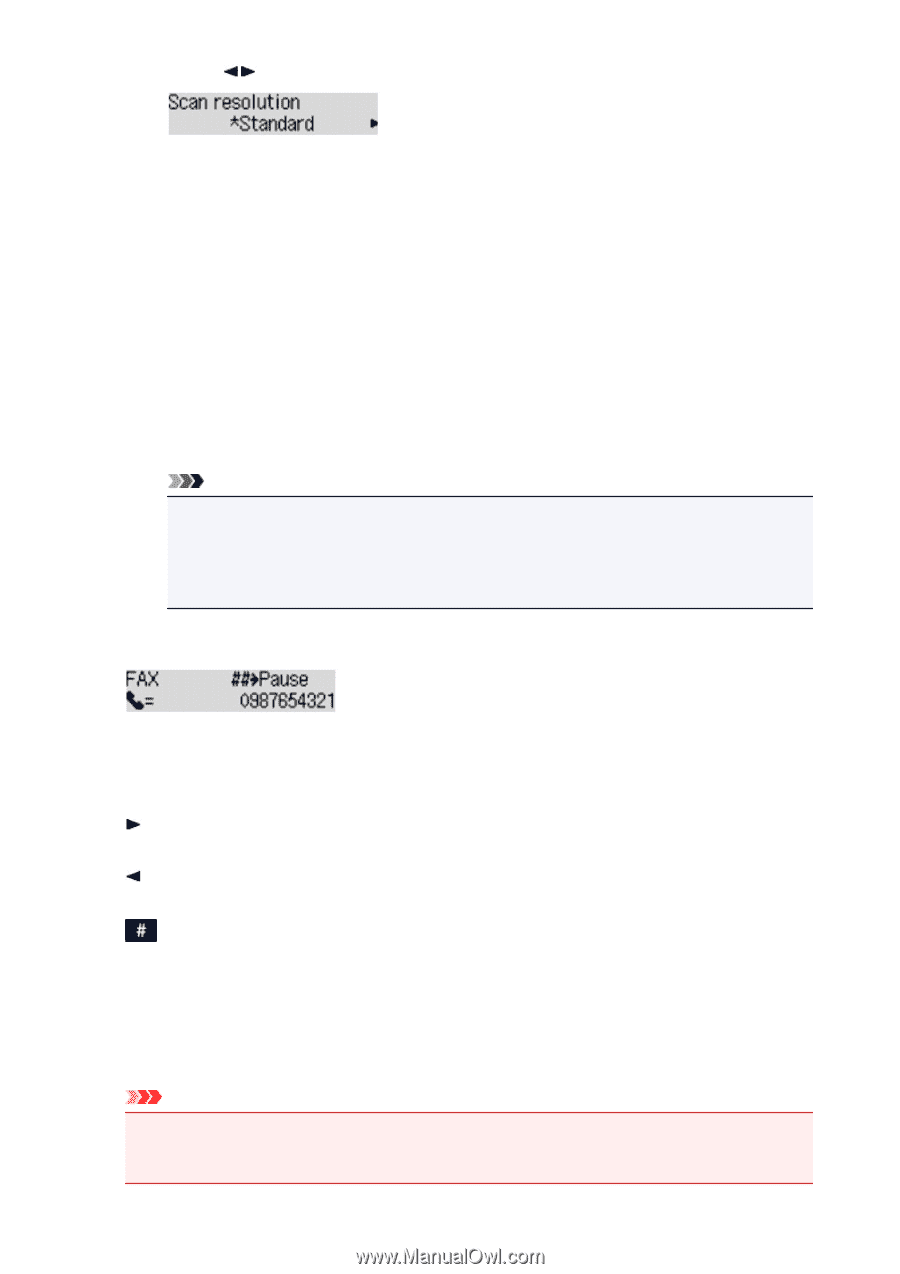
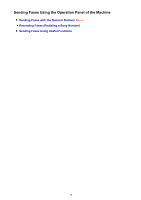
6. Use the button to select the scan resolution, then press the OK button. By pressing the OK button, the LCD returns to the Fax standby screen. The following settings are selectable on Scan resolution. Standard Suitable for text-only documents. Fine Suitable for fine-print documents. Extra fine Suitable for detailed illustration or fine-print quality documents. If the recipient's fax machine is not compatible with Extra fine (300 x 300 dpi), the fax will be sent in the Standard or Fine resolution. Photo Suitable for photographs. Note • The * (asterisk) on the LCD indicates the current setting. • When sending a color fax, documents are always scanned in the same resolution (200 x 200 dpi). The image quality (compression rate) is determined by which scan resolution is selected, except that Extra fine and Photo provide the same image quality. 5. Use the Numeric buttons to dial the recipient's fax/telephone number. Use the following buttons to dial the recipient's fax/telephone number. Numeric buttons: Enters the number. button: Enters a space. button: Deletes the last character you entered. button: By pressing this button once, "#" is entered. By pressing this button one more time, "P" is entered. 6. Press the Color button for color transmission, or the Black button for black & white transmission. The machine starts scanning the document. Important • Color transmission is available only when the recipient's fax machine supports color faxing. • Do not open the document cover until scanning is completed. 20
-
 1
1 -
2
-
3
-
4
-
5
-
6
-
7
-
8
-
9
-
10
-
11
-
12
-
13
-
14
-
 15
15 -
 16
16 -
 17
17 -
 18
18 -
 19
19 -
 20
20 -
 21
21 -
 22
22 -
 23
23 -
 24
24 -
 25
25 -
26
-
27
-
28
-
29
-
30
-
31
-
32
-
33
-
34
-
35
-
36
-
37
-
38
-
39
-
40
-
41
-
42
-
43
-
44
-
45
-
46
-
47
-
48
-
49
-
50
-
51
-
52
-
53
-
54
-
55
-
56
-
57
-
58
-
59
-
60
-
61
-
62
-
63
-
64
-
65
-
66
-
67
-
68
-
69
-
70
-
71
-
72
-
73
-
74
-
75
-
76
-
77
-
78
-
79
-
80
-
81
-
82
-
83
-
84
-
85
-
86
-
87
-
88
-
89
-
90
-
91
-
92
-
93
-
94
-
95
-
96
-
97
-
98
-
99
-
100
-
101
-
102
-
103
-
104
-
105
-
106
-
107
-
108
-
109
-
110
-
111
-
112
-
113
-
114
-
115
 |
 |