Canon PIXMA MX532 Fax Guide - Page 40
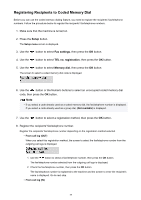
Use the Numeric buttons to enter the recipient's name.
 |
View all Canon PIXMA MX532 manuals
Add to My Manuals
Save this manual to your list of manuals |
Page 40 highlights
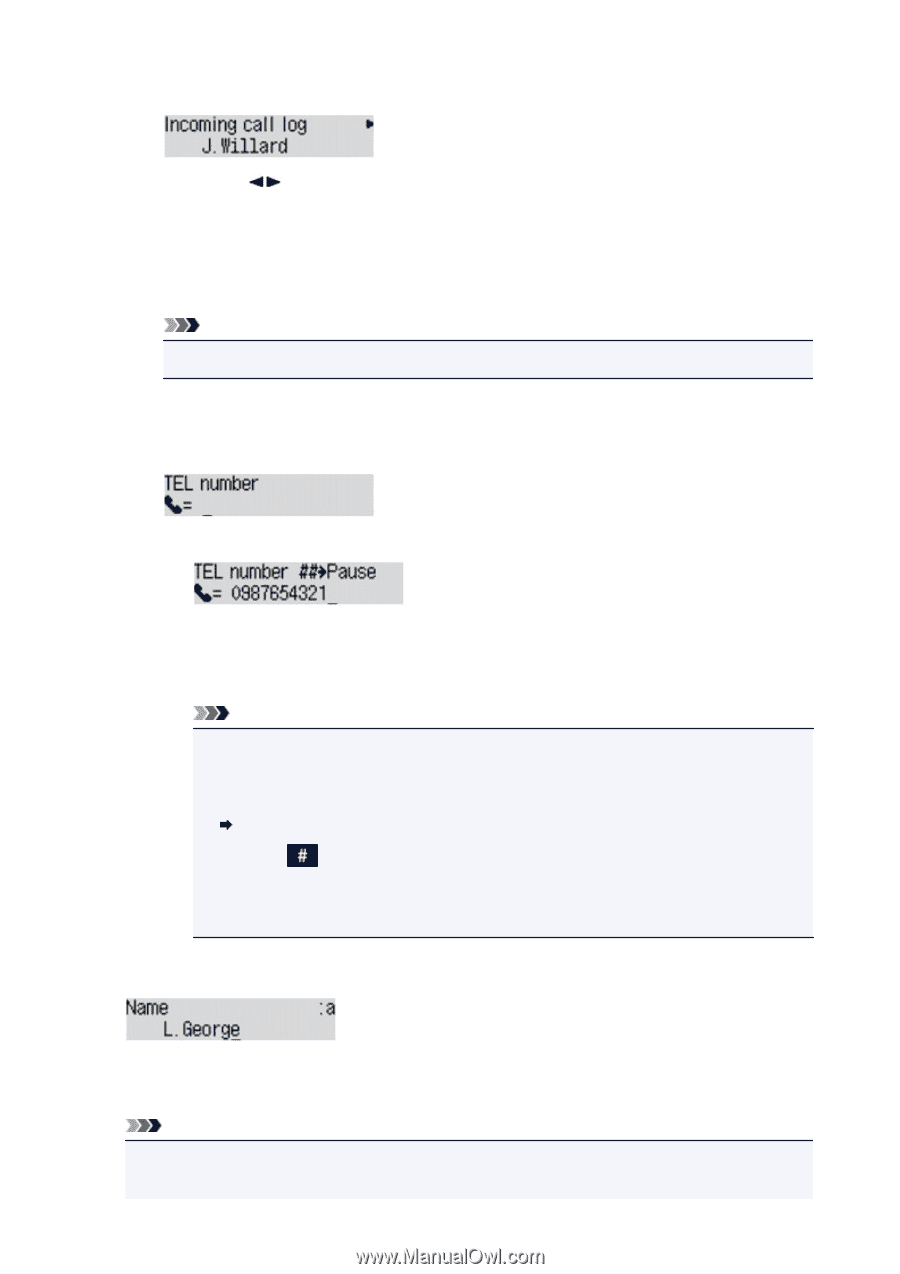
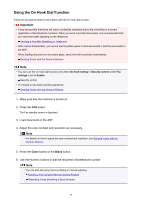
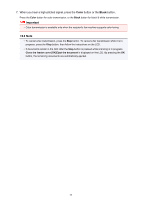
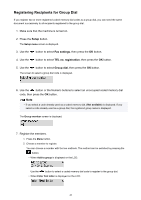
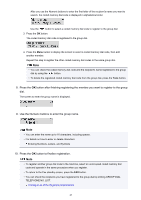
When you select this registration method, the screen to select the fax/telephone number or the name from the incoming call logs is displayed. 1. Use the button to select a fax/telephone number or a name, then press the OK button. The fax/telephone number selected from the incoming call logs is displayed. 2. Check the fax/telephone number, then press the OK button. The fax/telephone number is registered to the machine and the screen to enter the recipient's name is displayed. Go to next step. Note • This registration method may not be available depending on the country or region of purchase. • Direct entry When you select this registration method, the screen to enter the fax/telephone number is displayed. 1. Use the Numeric buttons to enter the fax/telephone number you want to register. 2. Press the OK button. The fax/telephone number is registered to the machine and the screen to enter the recipient's name is displayed. Go to next step. Note • You can enter the fax/telephone number up to 60 digits (40 digits for the US, Canada, Korea and some regions of Latin America), including spaces. • For details on how to enter or delete characters: Entering Numbers, Letters, and Symbols • Press the button twice to enter a pause. • When Telephone line type in FAX user settings under Fax settings is set to Rotary pulse, you can enter a tone ("T") by pressing the Tone button. 9. Use the Numeric buttons to enter the recipient's name. If you select a name on From call log (IN) in step 8, the name may be already entered. If you do not change the name, go to step 10. Note • You can enter the name up to 16 characters, including spaces. • For details on how to enter or delete characters: 40
-
 1
1 -
2
-
3
-
4
-
5
-
6
-
7
-
8
-
9
-
10
-
11
-
12
-
13
-
14
-
15
-
16
-
17
-
18
-
19
-
20
-
21
-
22
-
23
-
24
-
25
-
26
-
27
-
28
-
29
-
30
-
31
-
32
-
33
-
34
-
 35
35 -
 36
36 -
 37
37 -
 38
38 -
 39
39 -
 40
40 -
 41
41 -
 42
42 -
 43
43 -
 44
44 -
 45
45 -
46
-
47
-
48
-
49
-
50
-
51
-
52
-
53
-
54
-
55
-
56
-
57
-
58
-
59
-
60
-
61
-
62
-
63
-
64
-
65
-
66
-
67
-
68
-
69
-
70
-
71
-
72
-
73
-
74
-
75
-
76
-
77
-
78
-
79
-
80
-
81
-
82
-
83
-
84
-
85
-
86
-
87
-
88
-
89
-
90
-
91
-
92
-
93
-
94
-
95
-
96
-
97
-
98
-
99
-
100
-
101
-
102
-
103
-
104
-
105
-
106
-
107
-
108
-
109
-
110
-
111
-
112
-
113
-
114
-
115
 |
 |