Canon PIXMA MX532 Fax Guide - Page 67
Changing the Paper Settings
 |
View all Canon PIXMA MX532 manuals
Add to My Manuals
Save this manual to your list of manuals |
Page 67 highlights
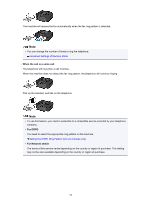
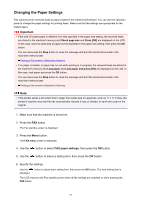
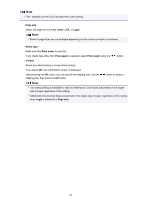
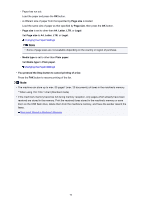
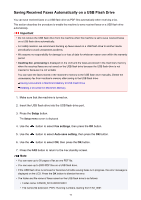
Changing the Paper Settings This machine prints received faxes to paper loaded in the machine beforehand. You can use the operation panel to change the paper settings for printing faxes. Make sure that the settings are appropriate for the loaded paper. Important • If the size of loaded paper is different from that specified in the paper size setting, the received faxes are stored in the machine's memory and Check page size and Press [OK] are displayed on the LCD. In this case, load the same size of paper as that specified in the paper size setting, then press the OK button. You can also press the Stop button to close the message and print the stored documents in the machine's memory later. Printing a Document in Machine's Memory • If no paper is loaded, or paper has run out while printing is in progress, the received faxes are stored in the machine's memory and Load paper and Load paper and press [OK] are displayed on the LCD. In this case, load paper and press the OK button. You can also press the Stop button to close the message and print the stored documents in the machine's memory later. Printing a Document in Machine's Memory Note • If the sender sends a document that is larger than Letter-size or Legal-size, such as 11 x 17 inches, the sender's machine may send the fax automatically reduced in size or divided, or send only a part of the original. 1. Make sure that the machine is turned on. 2. Press the FAX button. The Fax standby screen is displayed. 3. Press the Menu button. The FAX menu screen is displayed. 4. Use the button to select FAX paper settings, then press the OK button. 5. Use the button to select a setting item, then press the OK button. 6. Specify the settings. Use the displayed. button to adjust each setting item, then press the OK button. The next setting item is The LCD returns to the Fax standby screen when all the settings are complete or when pressing the FAX button. 67
-
 1
1 -
2
-
3
-
4
-
5
-
6
-
7
-
8
-
9
-
10
-
11
-
12
-
13
-
14
-
15
-
16
-
17
-
18
-
19
-
20
-
21
-
22
-
23
-
24
-
25
-
26
-
27
-
28
-
29
-
30
-
31
-
32
-
33
-
34
-
35
-
36
-
37
-
38
-
39
-
40
-
41
-
42
-
43
-
44
-
45
-
46
-
47
-
48
-
49
-
50
-
51
-
52
-
53
-
54
-
55
-
56
-
57
-
58
-
59
-
60
-
61
-
 62
62 -
 63
63 -
 64
64 -
 65
65 -
 66
66 -
 67
67 -
 68
68 -
 69
69 -
 70
70 -
 71
71 -
 72
72 -
73
-
74
-
75
-
76
-
77
-
78
-
79
-
80
-
81
-
82
-
83
-
84
-
85
-
86
-
87
-
88
-
89
-
90
-
91
-
92
-
93
-
94
-
95
-
96
-
97
-
98
-
99
-
100
-
101
-
102
-
103
-
104
-
105
-
106
-
107
-
108
-
109
-
110
-
111
-
112
-
113
-
114
-
115
 |
 |