HP Tc2120 HP Server tc2120 Network Operating System - Installation Guide - Page 18
Phase 2 – Attach Clients to Network and Test Ne
 |
UPC - 808736945332
View all HP Tc2120 manuals
Add to My Manuals
Save this manual to your list of manuals |
Page 18 highlights
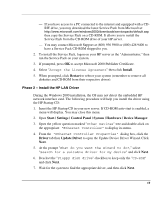
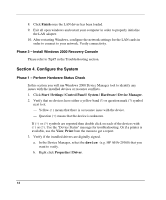
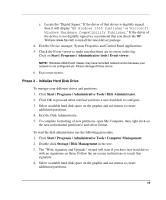
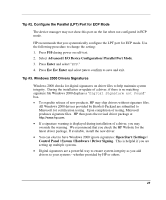
1. Right click My Network Places | Properties | Local Area Connection on your HP server. NOTE: If your HP server hosts several network adapters, the window will show one "Local Area Connection" icon for each Network adapter present in the system. Identify the proper adapter by browsing each one. 2. Click Internet Protocol (TCP/IP) | Properties | Use the following IP address. 3. Enter appropriate IP address. 4. Click the OK to continue, and then OK again to exit the "Local Area Connection Properties" window. Click Yes to restart your computer and take these settings into account. Phase 2 - Attach Clients to Network and Test Network Link 1. Create shares: create a folder on your HP server hard drive then share it (right click Sharing). 2. Create users using Windows 2000 Computer Management utility: Start | Programs | Administrative Tools | Computer Management | System tools | Local Users and Groups | Users. 3. Connect clients PC to the network your HP server operates on. 4. Open a command prompt window to verify the TCP/IP configuration and enter the command: ipconfig /all 5. To verify the server and clients can communicate properly: 18
-
 1
1 -
2
-
3
-
4
-
5
-
6
-
7
-
8
-
9
-
10
-
11
-
12
-
 13
13 -
 14
14 -
 15
15 -
 16
16 -
 17
17 -
 18
18 -
 19
19 -
 20
20 -
 21
21 -
 22
22 -
 23
23 -
24
-
25
-
26
-
27
-
28
-
29
-
30
-
31
-
32
-
33
-
34
-
35
-
36
-
37
-
38
-
39
-
40
-
41
-
42
-
43
-
44
-
45
-
46
-
47
-
48
-
49
-
50
-
51
-
52
-
53
-
54
-
55
-
56
-
57
-
58
-
59
-
60
-
61
-
62
-
63
-
64
-
65
-
66
-
67
-
68
-
69
-
70
-
71
-
72
-
73
-
74
-
75
-
76
-
77
-
78
-
79
-
80
-
81
-
82
-
83
-
84
-
85
-
86
-
87
-
88
-
89
-
90
-
91
-
92
 |
 |
