HP Tc2120 HP Server tc2120 Network Operating System - Installation Guide - Page 60
PHASE 1 – Pre-Installation
 |
UPC - 808736945332
View all HP Tc2120 manuals
Add to My Manuals
Save this manual to your list of manuals |
Page 60 highlights
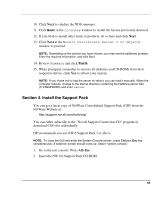
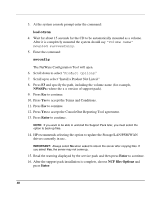
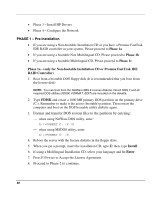
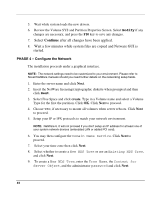
• Phase 3 - Install HP Drivers • Phase 4 - Configure the Network PHASE 1 - Pre-Installation • If you are using a Non-bootable Installation CD or you have a Promise FastTrak IDE RAID controller in your system, Please proceed to Phase 1a • If you are using a bootable Non Multilingual CD, Please proceed to Phase 1b • If you are using a bootable Multilingual CD, Please proceed to Phase 1c Phase 1a - (only for Non-bootable Installation CD or Promise FastTrak IDE RAID Controller) 1. Boot from a bootable DOS floppy disk (It is recommended that you boot from the license disk) NOTE: You can boot from the NetWare SBS 6 License diskette. Novell DOS 7 and all required DOS utilities (FDISK, FORMAT, EDIT) are included on the diskette. 2. Type FDISK and create a 1000 MB primary DOS partition on the primary drive (C:). Remember to make it the active (bootable) partition. Then restart the computer and boot on the DOS bootable utility diskette again. 3. Format and transfer DOS system files to the partition by entering: - when using NetWare DOS utility, enter: A:\>FORMAT C: /X /S - when using MSDOS utility, enter: A:\>FORMAT C: /S 4. Reboot the server with the license diskette in the floppy drive. 5. When you get a prompt, insert the installation CD, type Z: then, type Install. 6. If using a Multilingual Installation CD, select your language and hit Enter. 7. Press F10 twice to Accept the License Agreement. 8. Proceed to Phase 2 to continue. 60
-
 1
1 -
2
-
3
-
4
-
5
-
6
-
7
-
8
-
9
-
10
-
11
-
12
-
13
-
14
-
15
-
16
-
17
-
18
-
19
-
20
-
21
-
22
-
23
-
24
-
25
-
26
-
27
-
28
-
29
-
30
-
31
-
32
-
33
-
34
-
35
-
36
-
37
-
38
-
39
-
40
-
41
-
42
-
43
-
44
-
45
-
46
-
47
-
48
-
49
-
50
-
51
-
52
-
53
-
54
-
 55
55 -
 56
56 -
 57
57 -
 58
58 -
 59
59 -
 60
60 -
 61
61 -
 62
62 -
 63
63 -
 64
64 -
 65
65 -
66
-
67
-
68
-
69
-
70
-
71
-
72
-
73
-
74
-
75
-
76
-
77
-
78
-
79
-
80
-
81
-
82
-
83
-
84
-
85
-
86
-
87
-
88
-
89
-
90
-
91
-
92
 |
 |
