TP-Link TL-WA7210N User Guide - Page 73
Factory Defaults, 9.8 Backup & Restore
 |
View all TP-Link TL-WA7210N manuals
Add to My Manuals
Save this manual to your list of manuals |
Page 73 highlights
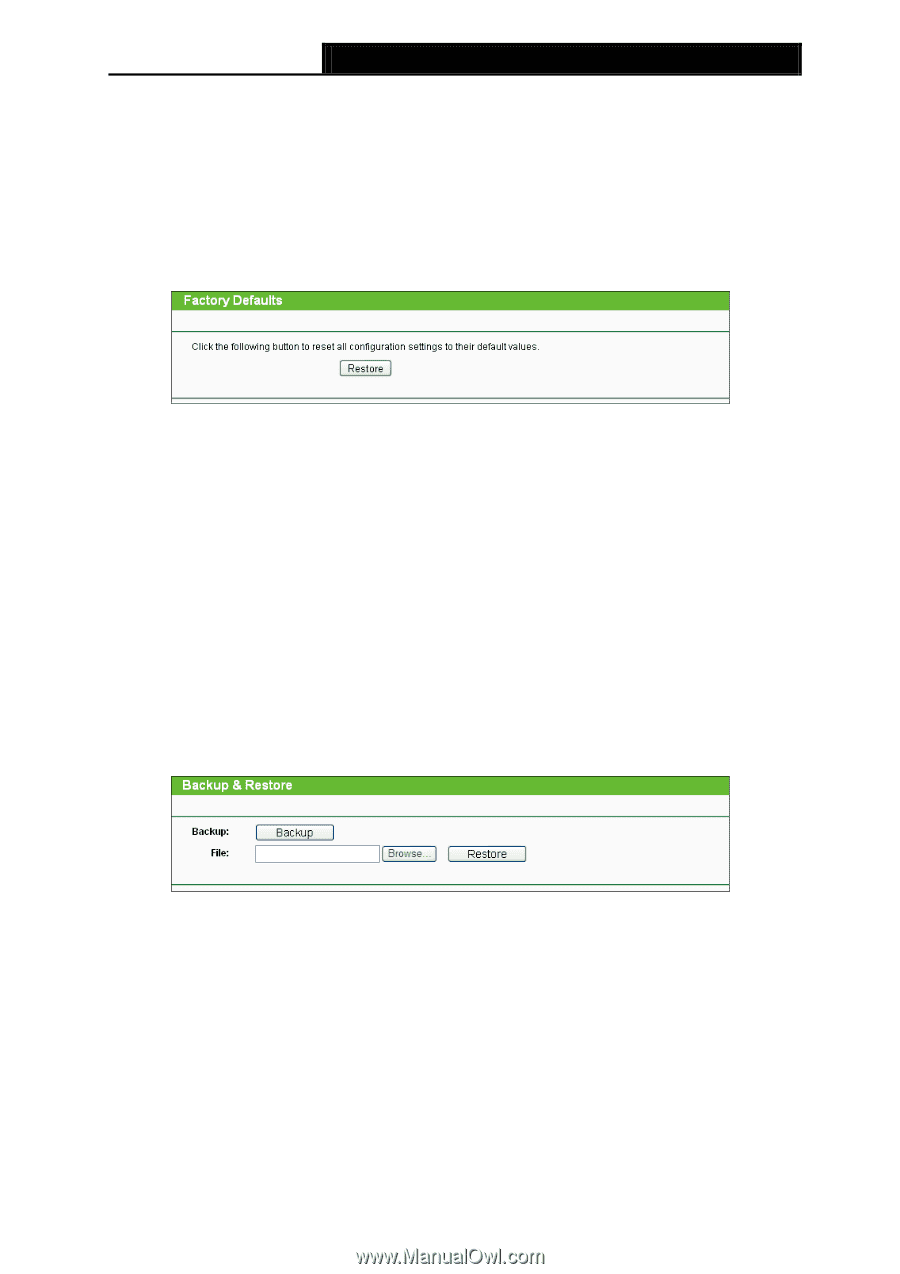
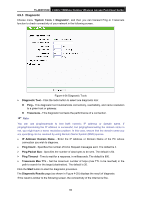
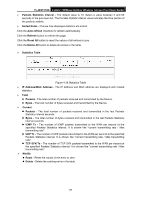
TL-WA7210N 2.4GHz 150Mbps Outdoor Wireless Access Point User Guide Note: The firmware version must correspond to the hardware. The upgrade process takes a few moments and the Device restarts automatically when the upgrade is complete. It is important to keep power applied during the entire process. Loss of power during the upgrade could damage the Device. 4.9.7 Factory Defaults Choose menu System Tools > Factory Defaults, and you can restore the configurations of the Device to factory defaults on the following screen. Figure 4-29 Restore Factory Default Click the Restore button to reset all configuration settings to their default values. Default User Name - admin. Default Password - admin. Default IP Address - 192.168.0.254. Default Subnet Mask - 255.255.255.0. Note: All changed settings will be lost when defaults are restored. 4.9.8 Backup & Restore Choose menu "System Tools > Backup & Restore", and then you can save the current configuration of the Device as a backup file and restore the configuration via a backup file as shown in Figure 4-30. Figure 4-30 Backup & Restore Click the Backup button to save all configuration settings to your local computer as a file. To restore the AP's configuration, follow these instructions: 1. Click the Browse button to find the configuration file which you want to restore. 2. Click the Restore button to update the configuration with the file whose path is the one you have input or selected in the blank. Note: The current configuration will be covered with the uploading configuration file. Wrong process will lead the device unmanaged. The restoring process lasts for 20 seconds and the AP will restart automatically then. Keep the power of the AP on during the process, in case of any damage. 63
-
 1
1 -
2
-
3
-
4
-
5
-
6
-
7
-
8
-
9
-
10
-
11
-
12
-
13
-
14
-
15
-
16
-
17
-
18
-
19
-
20
-
21
-
22
-
23
-
24
-
25
-
26
-
27
-
28
-
29
-
30
-
31
-
32
-
33
-
34
-
35
-
36
-
37
-
38
-
39
-
40
-
41
-
42
-
43
-
44
-
45
-
46
-
47
-
48
-
49
-
50
-
51
-
52
-
53
-
54
-
55
-
56
-
57
-
58
-
59
-
60
-
61
-
62
-
63
-
64
-
65
-
66
-
67
-
 68
68 -
 69
69 -
 70
70 -
 71
71 -
 72
72 -
 73
73 -
 74
74 -
 75
75 -
 76
76 -
 77
77 -
 78
78 -
79
-
80
-
81
-
82
-
83
-
84
-
85
-
86
-
87
-
88
-
89
-
90
-
91
-
92
-
93
-
94
-
95
-
96
-
97
-
98
-
99
-
100
-
101
-
102
-
103
-
104
-
105
-
106
-
107
-
108
-
109
-
110
-
111
-
112
-
113
-
114
-
115
-
116
-
117
-
118
-
119
-
120
-
121
-
122
-
123
-
124
-
125
-
126
-
127
-
128
-
129
-
130
-
131
-
132
-
133
-
134
-
135
-
136
-
137
-
138
-
139
-
140
-
141
-
142
-
143
-
144
-
145
-
146
-
147
-
148
-
149
-
150
 |
 |